HostShop Setup Guide


HostShop is an all-in-one automated platform to manage reseller hosting clients, commerce, billing, payments, service provision, communication and support. It includes an online shop that you can integrate with your website, or you can use one of our ready-made hosting website templates.
You can enable it by going to Users > Set Up HostShop from within your My20i account. The guide below shows how you can quickly setup HostShop from start to finish.
What's in this guide?
- Add your HostShop name and brand URLs
- Getting Started
- Appearance (Optional)
- Payment Gateways
- Connect Stripe to HostShop
- Connect PayPal to HostShop
- Connect GoCardless to HostShop
- Open Shop
- Add your Products for Sale
- Set up Domains
- Set up Hosting
- Set up VPS
- Add 20i Credit
- Link an Existing Sales Website to HostShop
- What's next?
Add your HostShop name and Brand URLs
Configuring and setting up HostShop is quick and easy through the 20i control panel. You’ll first want to ensure you have a domain name with 20i that you want to use for HostShop, usually, this is your sales website.
To set up your HostShop URLs:
- Head to Reseller Customisation
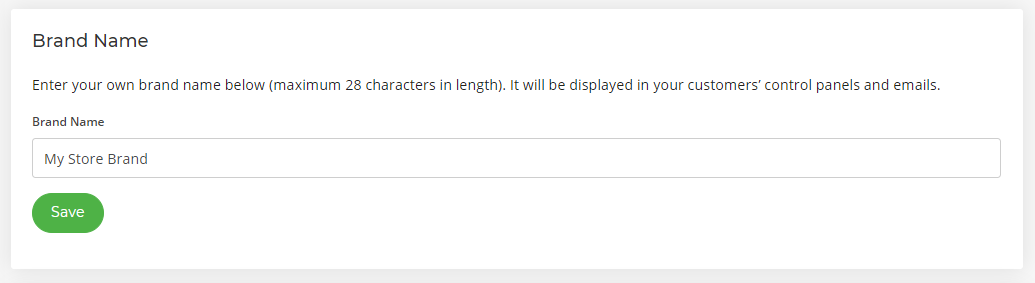
Type your Brand Name in the first text field and select Save.
- Select your Brand Domain from the Control Panel URLs section
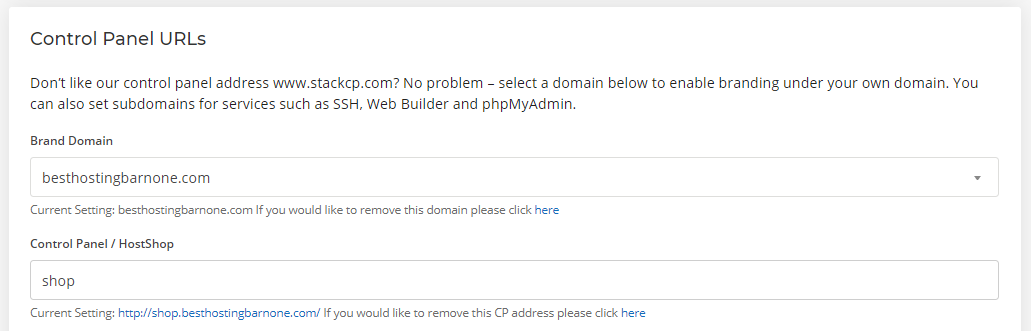
Add a subdomain in the Control Panel field. Some examples may be cp, my, shop, panel or access
- Select Save.
All you’ll now need to do is ensure HostShop is Open from HostShop Configuration and select 'Visit' to view your HostShop installation.
Getting Started
Once you have your branded domain and name set up and ready, select the Set Up HostShop button. You’ll be presented with a form to get started with creating your HostShop - any settings available here will be available to edit at a later date, so don’t worry if you’re not completely decided on your branding just yet.
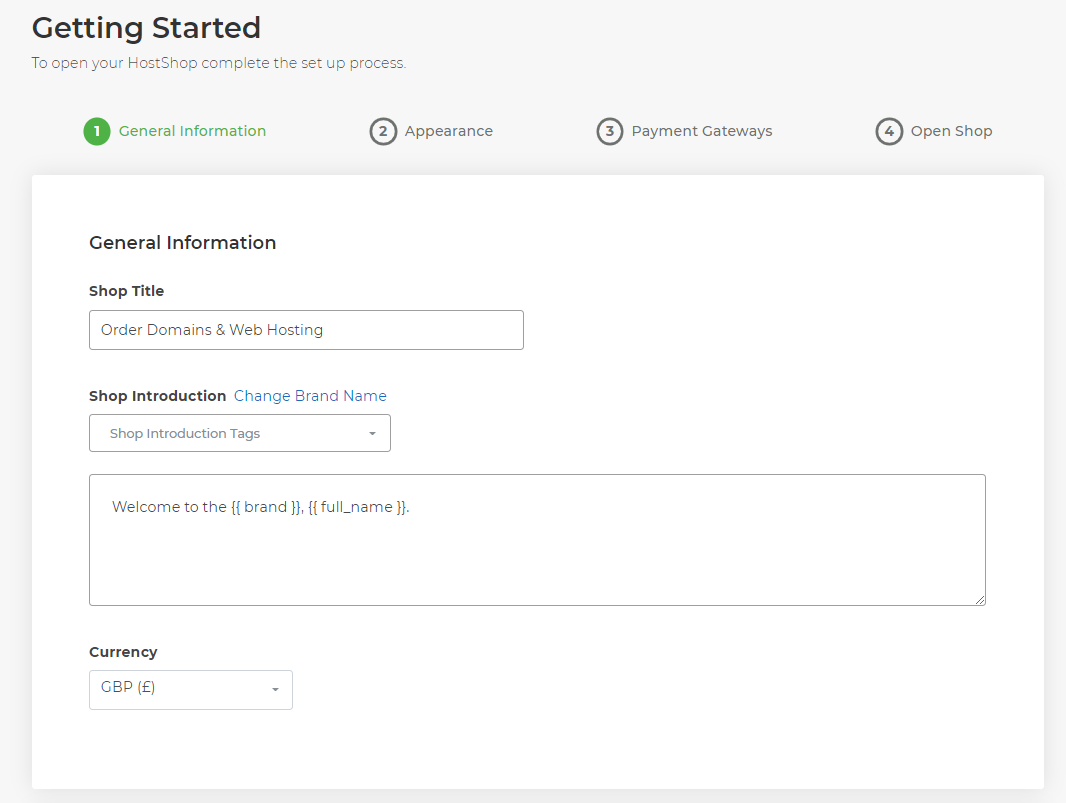
Using the fields available, set up your Shop Title, and write an introduction to your shop – pre-filled tags are available using the Shop Introduction Tags dropdown which will automatically fill to your branded domain and brand name set in the Reseller Customisation area. You can also select your main currency (Multiple currencies can be set later in the Currencies area) and set a Home URL where your HostShop’s home button will send clients to.
Appearance (Optional)
You can use this page to select the theme of your HostShop setup, as well as install a pre-sales template onto your branded domain for you to begin building your frontend sales site.

If you wish to do this, simply select the template you wish to install, and the install location you wish to add the theme, then hit Install at the bottom of the page.
Please note, this step is optional - if you already have a sales website, you can link that so your customers are taken from your existing site through to HostShop to make their purchase, please see the next section in this guide to set that up: Install presales template
Payment Gateways
To collect payment from your customers you'll need to use a payment gateway. We offer various popular gateways including PayPal, Stripe, Mail-In Payments/Bank Transfer, WorldPay, GoCardless, SagePay, Paystack, Paddle and Square.
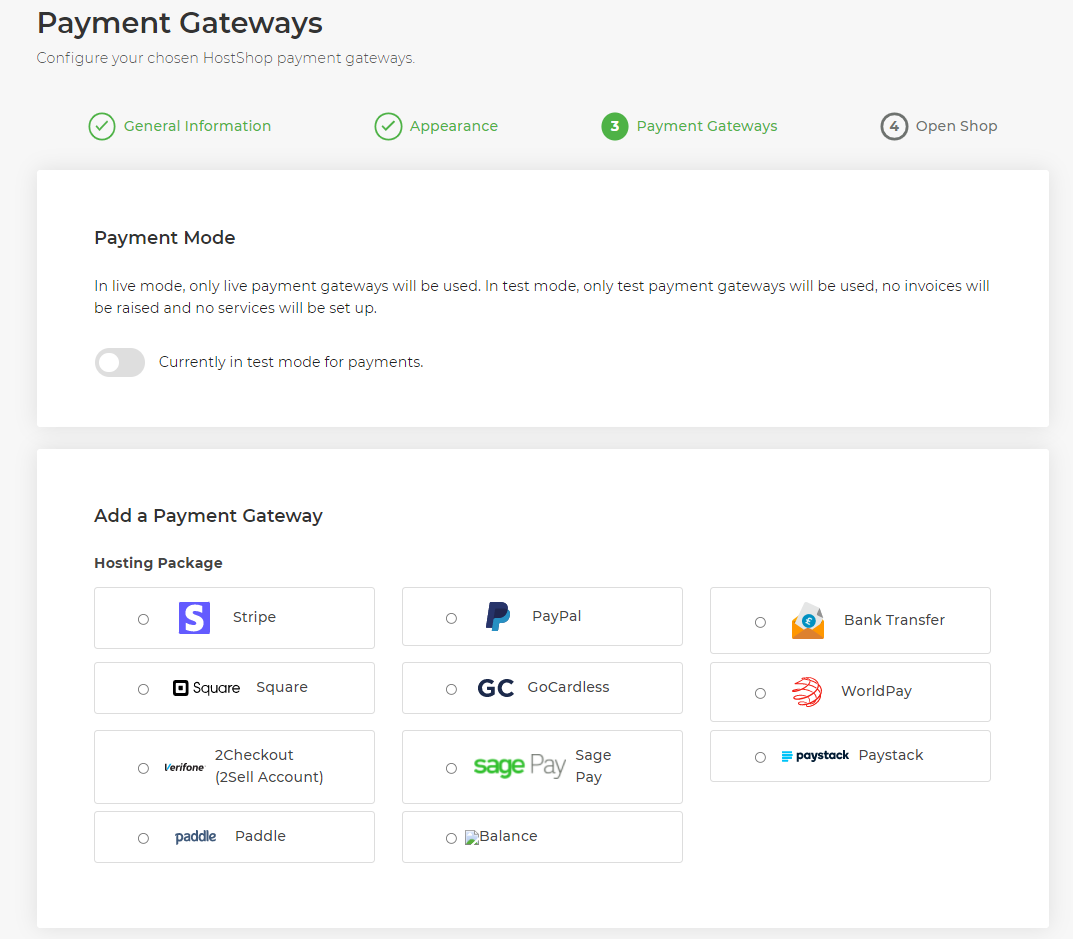
Below are some guides that highlight the steps on how to set up these gateways as needed.
Open Shop
On the next page, simply select Open Shop.
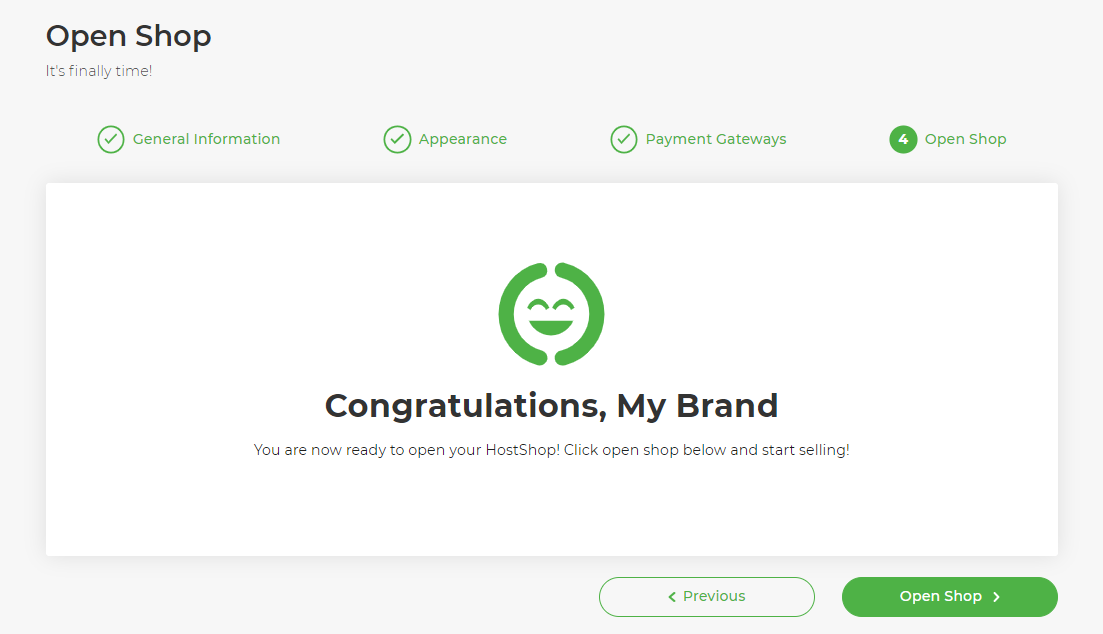
Customers will now be able to visit your shop and buy services from you, we'll make sure whatever they choose to buy is provisioned automatically for you. HostShop is continually being developed and added to, so we'd love to hear your feedback about it via our Feedback Form.
Once you’ve gone through the above and set up your branding, your theme and your gateway, you’re ready to open your HostShop and begin setting up your products.
Add your Products for Sale
The Product Catalogue section within HostShop is where you'll add and configure all of the products you want to sell through HostShop. It's where you'll add your pricing, renewal periods and more details about the products you're wanting customers to purchase from you.
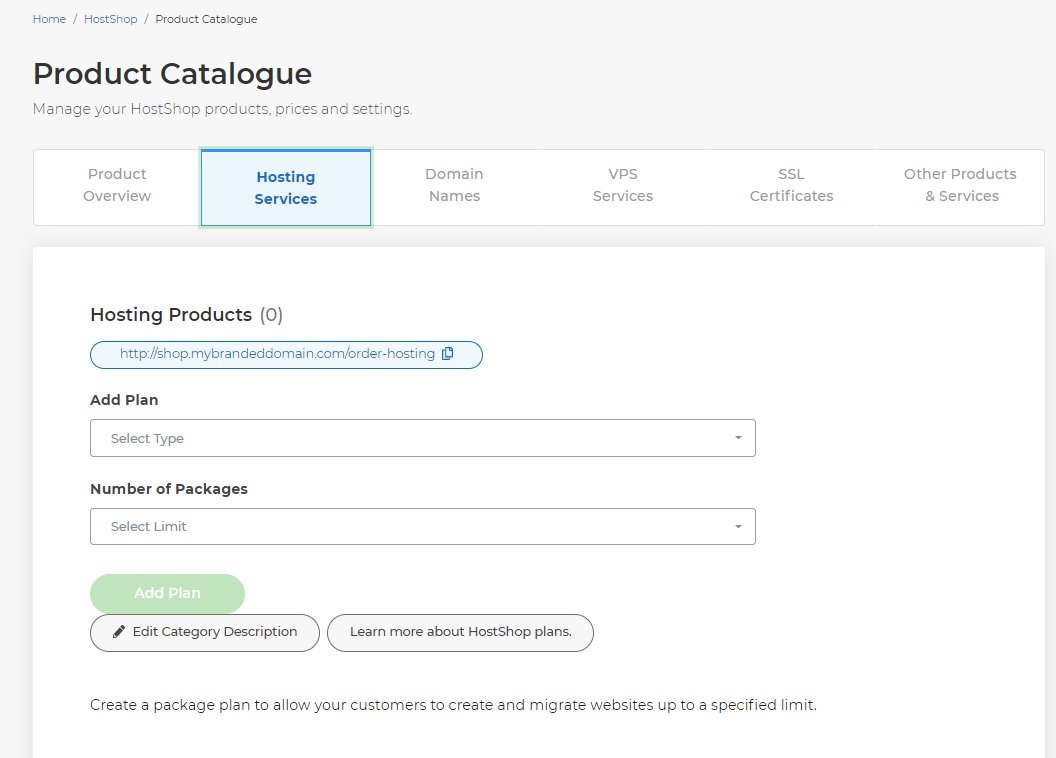
You can choose what products you'd like to be able to sell, and you can even create custom products if you're also looking to provide web design, SEO marketing or any other service. We'd recommend starting by setting up your domains, hosting and VPS, but feel free to add anything else you'd like to be included in your shop.
Note: For domains you've sold through HostShop, or have assigned to customers, you may wish to set those domains to not auto-renew within your My20i account. This way, if the customer doesn't pay for the renewal of their domain, it won't be renewed in My20i. There is a preference to prevent new registrations from being set to auto-renew via Account Preferences.
Add 20i Credit
You’ll need account credit on your 20i account to take orders through HostShop. When a client orders services like domains, we’ll use account credit to pay for the domain so it can be provisioned automatically. To do this:
- Head to the Account Credit section in your 20i account
- Select the amount of credit you’d like to add from the drop-down menu
- Select whether you want to add credit using a card or PayPal
- Select Add Credit
Link an Existing Sales Website to HostShop
HostShop is designed so that you can easily add the shop your current sales site. You do this by linking to the relevant HostShop URL from your live sales site.
We display the URLs you’d need to link-to on the Product Catalogue page.
For each product, there’s a Product Link - you'll use this link on your sales websites to direct the users through to HostShop. If you have buttons such as Buy Now, Order or View Plans, you'll use the links form the Product Catalogue to get your customers to the right page in HostShop.
What’s next?
The next steps are up to you - If you're starting something new then you may be beginning to market your business and onboard your first few customers. If you're an existing business then you can start adding your customers to HostShop and assigning them billing contracts to take the hassle out of managing the billing for them.