How do I order an Unmanaged VPS with cPanel?

To order a Virtual Private Server (VPS) with cPanel included, you should:
Login to My20i and head to Order VPS.
In Step 1, Select Unmanaged.
In Step 2, Choose the specification of the VPS based on your needs: Number of cores, Amount of RAM/memory and the amount of SSD storage.
In Step 3, Select the Data Center where you would like the VPS to be provisioned: London, UK or Dallas, US.
In step 4, You can select Cpanel and choose the type of license you need. This is licensed based on the number of sites you wish to host. The options are:
- Max 5 Sites
- Max 30 Sites
- Max 50 Sites
- Max 100 Sites
These can be upgraded to a higher tier in the future if required.
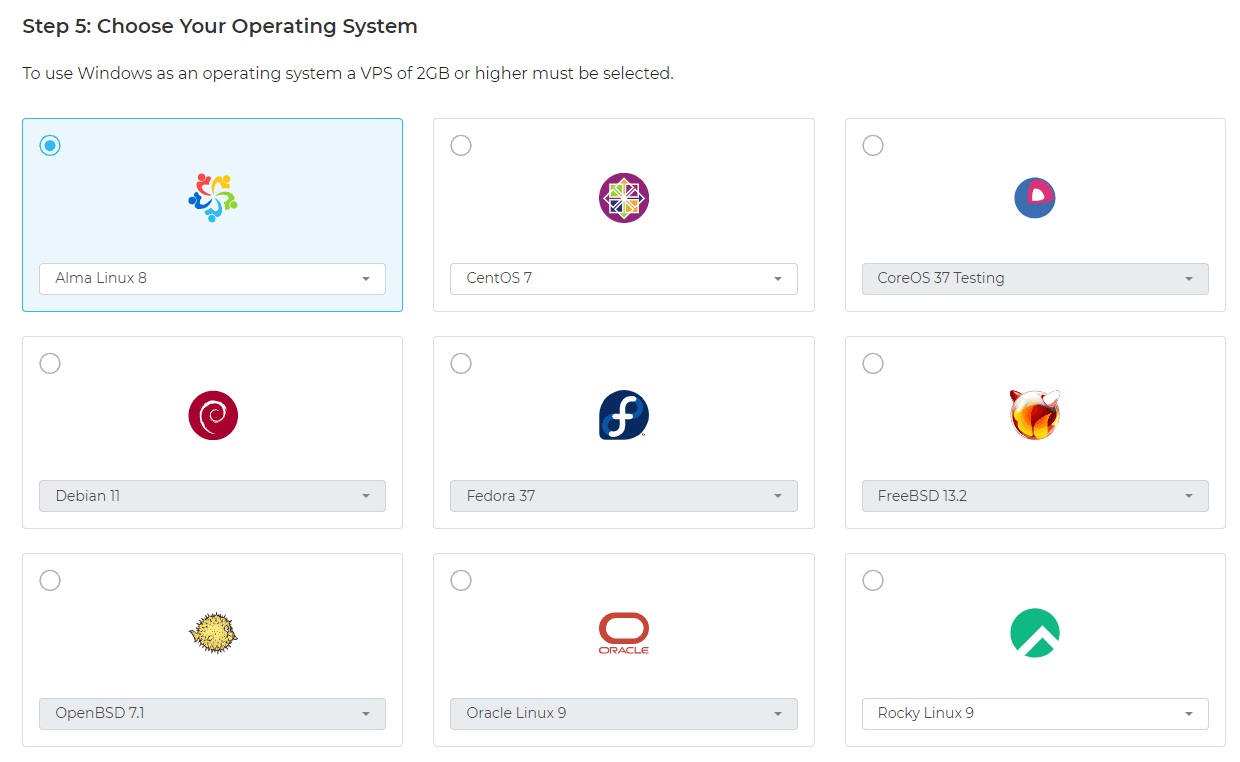
In Step 5, You need to select your Operating System from either Alma Linux 8/9 or Rocky Linux 8/9 as both currently support cPanel. We recommend choosing Alma Linux as it has the biggest support community.
In Step 6, you can add our Snapshot Backup addon to the server which you can set an automatic snapshot to take place on a daily, weekly or fortnightly basis. This will take a backup of the image of your VPS.
In Step 7, you can also add Additional Disks in the form of Block storage which we have more information about here
Once you have selected everything you need, you can choose the Payment frequency on the right-hand side of the page to choose either Monthly or yearly renewal periods and click Add to Basket to continue with the purchase.
Once you have purchased an unmanaged VPS with Cpanel the server will be provisioned and Cpanel will be automatically installed.