How to migrate emails from Microsoft 365 to 20i via a .PST file

To migrate a Microsoft 365 email account to 20i, you will need to use Microsoft's .pst file format to export and import a .pst file. The .pst file format is a Microsoft file format used by Outlook to store copies of emails, calendars, and other logged data. To generate a .pst file, you must first have a Microsoft 365 account.
Please note: these steps are only required for a Microsoft 365/Work account. If you have a personal Microsoft, Outlook.com, MSN.com, or Hotmail.com account instead, you can follow these steps to migrate your mailbox automatically. Similarly, Gmail and IMAP mailboxes can also be migrated automatically.
- To start with, please open your Microsoft 365 email account in Outlook.
- From the Inbox, select New Items, then More Items, then Outlook Data File.

- Once selected, save this file to your local machine.
For this next step, you will need to have set up your 20i mailbox in Outlook and then log in to that email account via Outlook. We have a full support article detailing how to do this here.
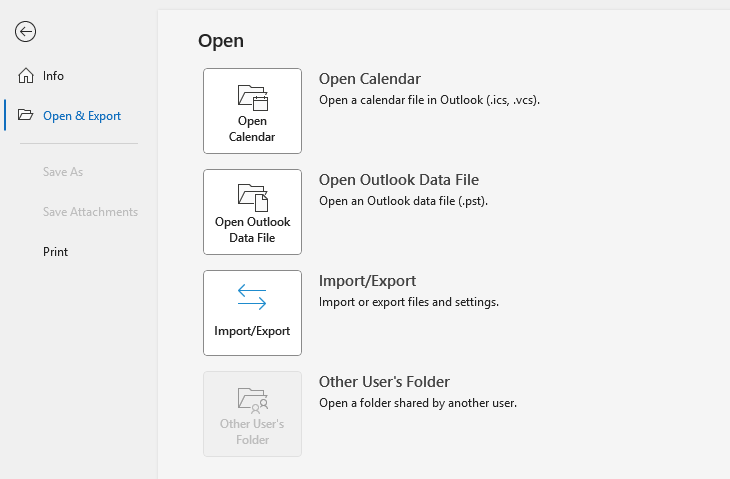
- Once set up, head to the Inbox, navigate to File, then Open & Export, and finally Import/Export.
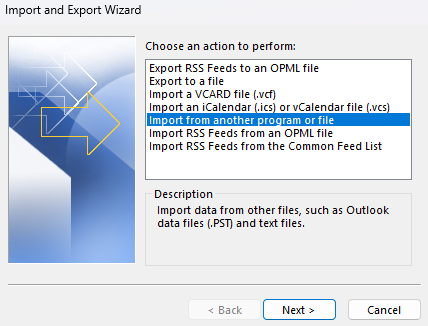
- The Import and Export Wizard should then appear. From this menu, select the Import from another program or file option, then click Next.
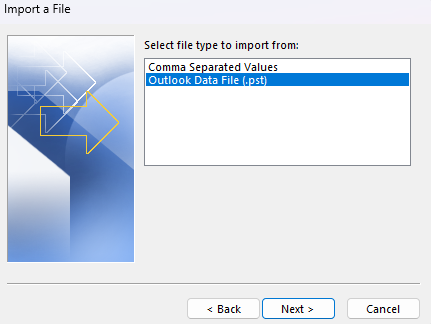
- In the next menu, select Outlook Data File (.pst)
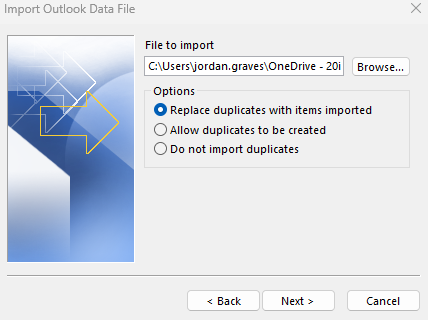
- And then finally, locate the .pst file that you generated, select it and click Next.
- Choose the import items into the current folder option and click finish.
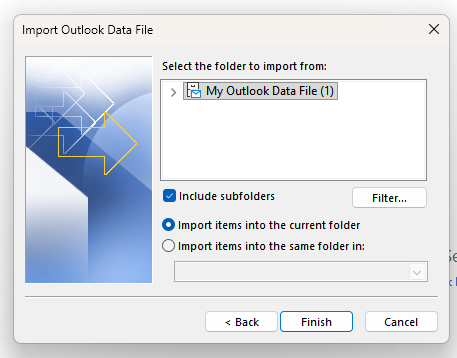
Outlook will now start importing the data from the .pst file into the 20i mailbox. Once complete, you will have successfully migrated a Microsoft 365 email account to 20i using the .pst file import method.