How can I use a custom domain with iCloud mail?
With Apple's latest update to iOS and iCloud+ you can use a custom domain with your iCloud Mail accounts. Setting up iCloud Mail with your custom domain name is easy.
Step 1 - Setting up iCloud Mail on your devices
You'll first need to set up the Mail app on your Apple device.
Set up an iOS or iPadOS device
On your iPhone, iPad or iPod touch, go to Settings > [your name] > iCloud, then turn on Mail.
Set up on a Mac
![]()
On your Mac, choose Apple menu > System Preferences, then do one of the following:
- macOS 10.15 or later: click Apple ID, click iCloud, then select Mail
- macOS 10.14 or earlier: click iCloud, then select Mail
Step 2 - Setting up iCloud Mail with your custom domain
To add your custom domain name you'll need to have an iCloud+ account.
- Head to to icloud.com
- Select Account Settings
- Locate the Custom Email Domain and select Manage
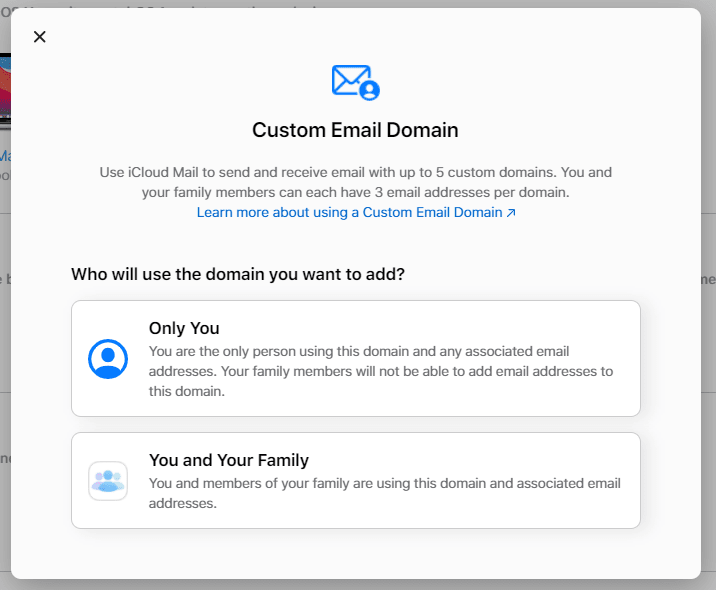
You'll be prompted to confirm who'll use the domain and email addresses you'll be adding:
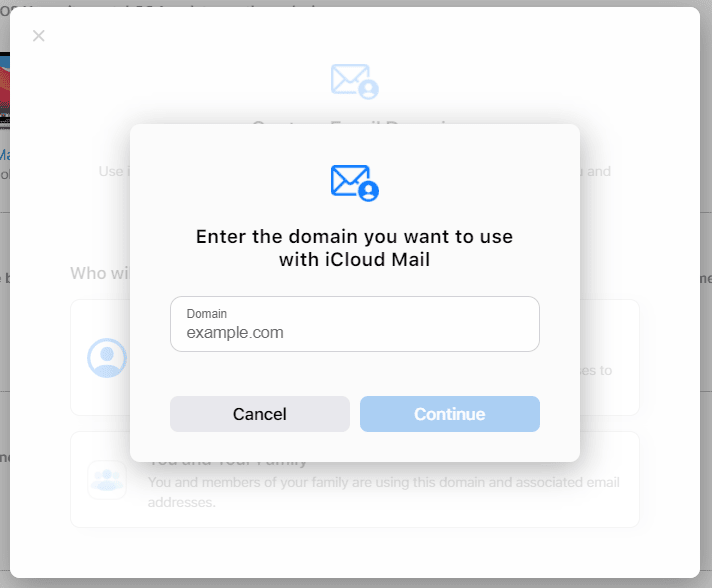
You'll then be asked to enter the domain name you wish to add. Once you've entered your domain name select Continue.
Step 3 - Complete the setup
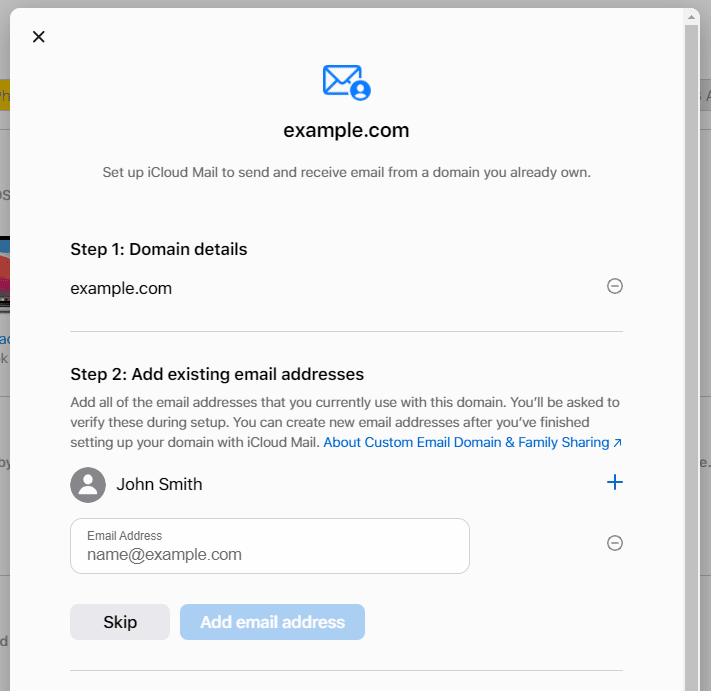
You'll be then prompted to follow a few more steps shown below. You can add your mailbox now or skip to the next step.
This step requires you to enter the DNS records at your registrar. With 20i that's easy and the steps below will show you how you can do that. Select View and you'll be shown the records you need to add.
Add the iCloud Mail DNS to 20i
- Head to Manage Hosting > Options > Manage (or Manage Domains > Options > Manage DNS).
- Select Manage DNS.
- Add the DNS as follows:
MX:
Name: [example.com]. (Can be left blank)
points to: mx01.mail.icloud.com.
priority: 10
MX:
Name: [example.com]. (Can be left blank)
points to: mx02.mail.icloud.com.
priority: 10
TXT:
Name: [example.com]. (Can be left blank)
points to: [personal TXT record provided during setup]
TTL: 3600
TXT:
Name: [example.com]. (Can be left blank)
points to: " v=spf1 redirect=icloud.com"
CNAME:
Name: sig1._domainkey
points to: sig1.dkim.[example.com].at.icloudmailadmin.com.
Once done, select Update DNS.
Back within iCloud, select Finish set up.
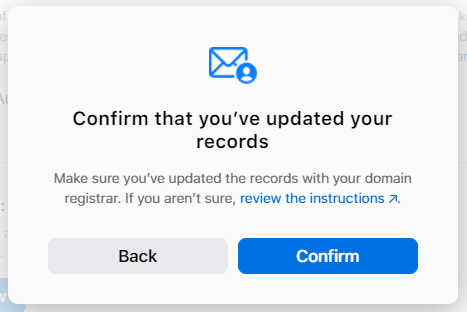
Select Confirm and Apple with verify the DNS records you've just added.
Using the Mail app on your Apple device you should now be able to send and receive emails from your domain name through Apple's email service. If you didn't add an email address in Step 3 you can do so within the iCloud Account Settings > Custom Email Domain > Manage > select your domain and then add an email address.


.PNG)

