How to migrate your website from Siteground to 20i

The following is a step-by-step guide to get you started in moving your sites over from Siteground to 20i – depending on your site setup, you may be able to do this automatically using our Migration Centre, or if not then it can be done manually.
With our Migration Centre
If your site is built in WordPress and you have access to FTP with your Siteground account, you can make use of the WordPress Migration Tool available within our Migration Centre. First, you’ll want to get the necessary details from your Siteground account:
- From your Siteground dashboard, navigate down to My websites and services, and under Websites you should see a button for Manage. Select this to take you to your website details.
- Select Site Tools on your Website Details page.
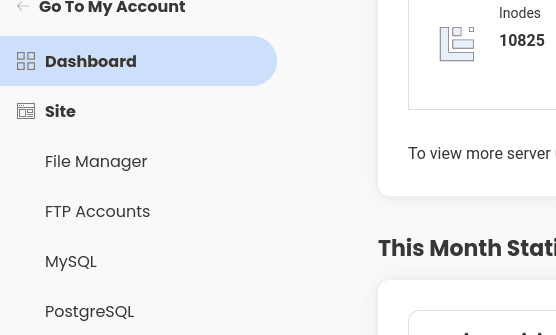
- On the left side of the screen, select Site, then FTP Accounts to show your current FTP accounts.
- If you don’t already have one created, create a new FTP account by defining an account name and password, then hit Create.
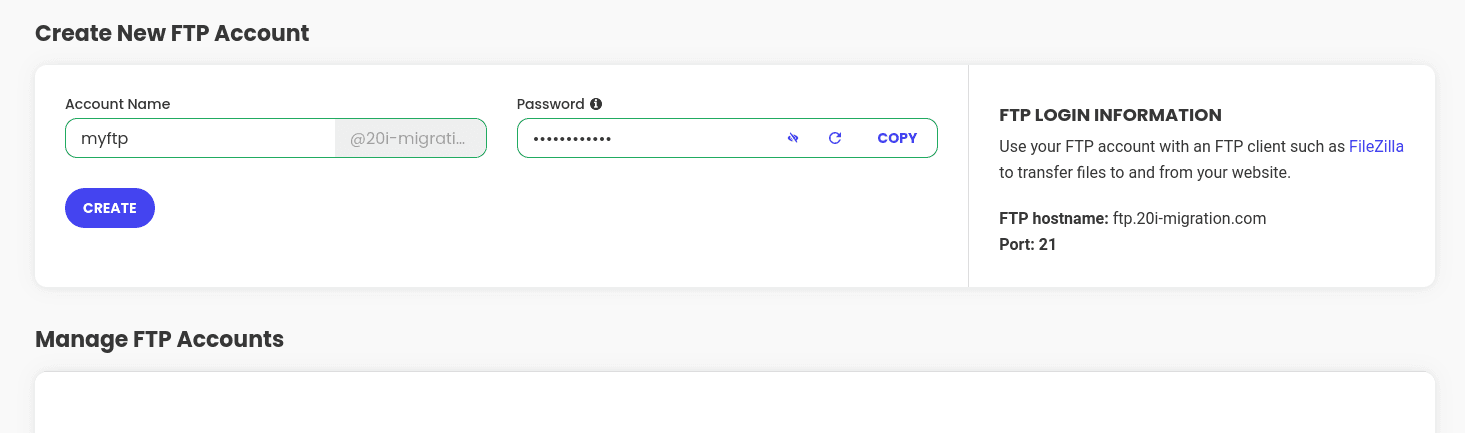
You should now have access to FTP with Siteground – your hostname will be ftp.yourdomain.com, replacing yourdomain.com with your current domain.
Now, within My20i, navigate to the Migration Centre and select Start New Migration and Migrate a WordPress site using FTP/SFTP from the screens that follow. You’ll be requested for FTP details – fill out the details you created within Siteground’s control panel and your domain, and you should be able to initiate the migration. Our system will then pull the site across automatically.
Migrating your site manually
If the above isn’t an option to you, you may need to migrate your site manually to us – you can do so using a full backup from Siteground’s available tools.
We first will need to get a backup of our site files. To do this:
- From your Siteground dashboard, navigate down to My websites and services, and under Websites you should see a button for Manage. Select this to take you to your website details.
- Select Site Tools on your Website Details page.
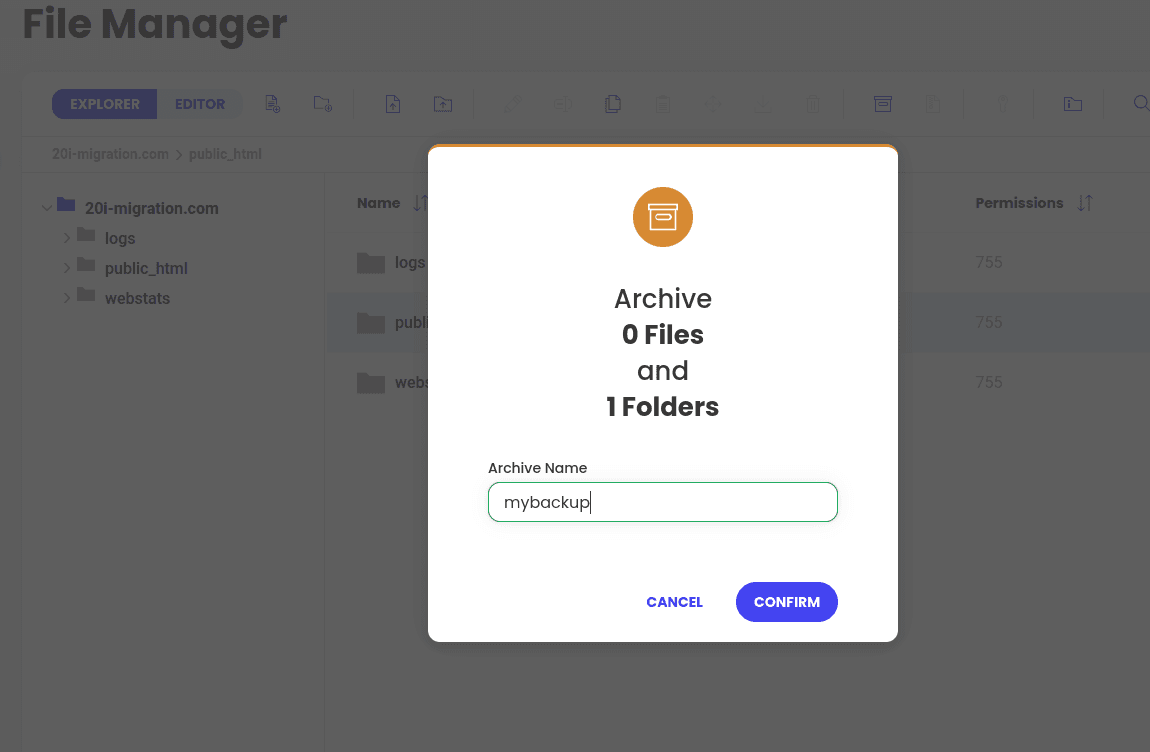
- Select File Manager to open up Siteground’s built-in file manager. From here, you can select the folder your site is in, and then right-click and select Archive.
- You will be prompted to name your archive, and given a summary of the folders and files it contains. Name your archive something memorable, such as ‘mysitebackup’, then select Confirm.
- A .zip file of your site will be generated within the file manager – you can then use FTP or the file manager to download this to your device.
Next, we need a backup of any databases your site is using.
Note: If you do not use any databases for your site, you can move onto the next step.
- Select Site Tools on your Website Details page.
- On the left side of the screen, select Site, then MySQL to open your MySQL Manager.
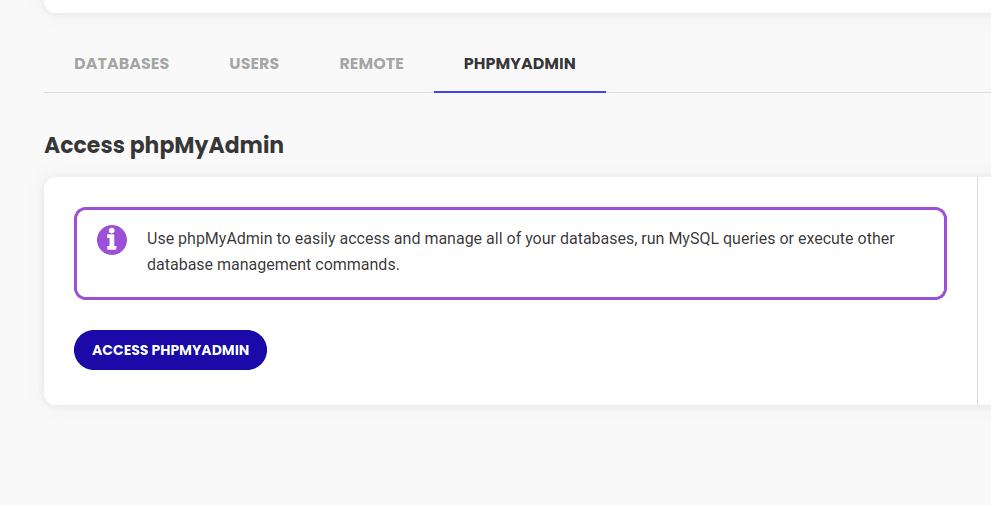
- At the top of this page, select PHPMyAdmin, then Access PHPMyAdmin to access your databases.
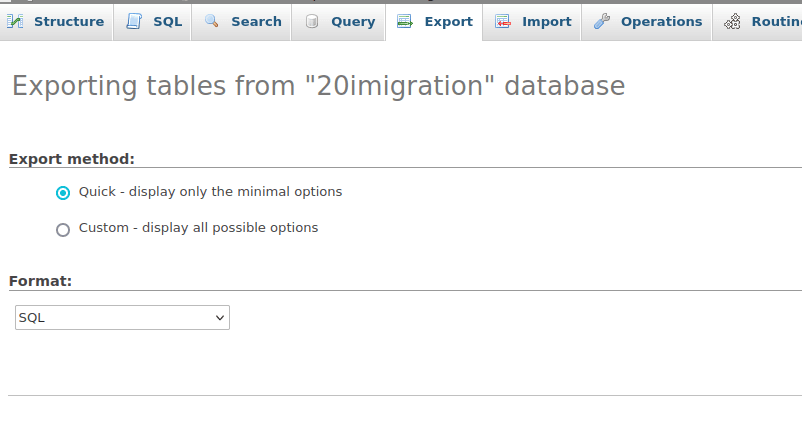
- You’ll be presented with a new control panel – select your Database name from the left side of the screen, and then select Export at the top of the page. This will bring you to an area where you can save an export of your database and download it as an SQL file. You will need to do this for each of your databases.
Now that you have a full backup of your site, you can create a package within My20i and import these files. For your site files, these can be uploaded via FTP or using our File Manager.
You will then want to create databases for each of the databases you exported - You can do that via My20i > Manage Hosting > [select package] > MySQL Databases. Note down the hostname, database name/username and password for your new database as you'll need these details later.
In order to import your databases with the SQL files you downloaded, once again we recommend using phpMyAdmin for this purpose:
- My20i > Manage Hosting > [select package] > phpMyAdmin
- Automatically login to phpMyAdmin for each of your databases. Click the 'Import' tab at the top of your page.
- Browse your computer for the database export you have taken previously
- Select the format that matches the export: this will be .SQL for most cases
- Click 'Go'
If the import fails, you may wish to try again with 'Enable foreign key checks' unchecked.
Once these have been uploaded, you’ll need to update the credentials of your site in the website configuration files. The exact file you need to update depends on the software the website is running, but we've listed the most common configuration files below:
- WordPress: wp-config.php
- Joomla: configuration.php
- Drupal: sites/default/settings.php
- Magento: app/etc/local.xml