How do I restore a site using Timeline Backups?

You can easily restore lost data using the Timeline Backups tool which you can order from within your 20i account. Timeline Backups takes a backup of all your websites and databases every day automatically, and stores them for 30 days.
You can restore from any available snapshot at any time.
Site Files
- Head to the package you want to retrieve data for.
- Select Timeline Backups.
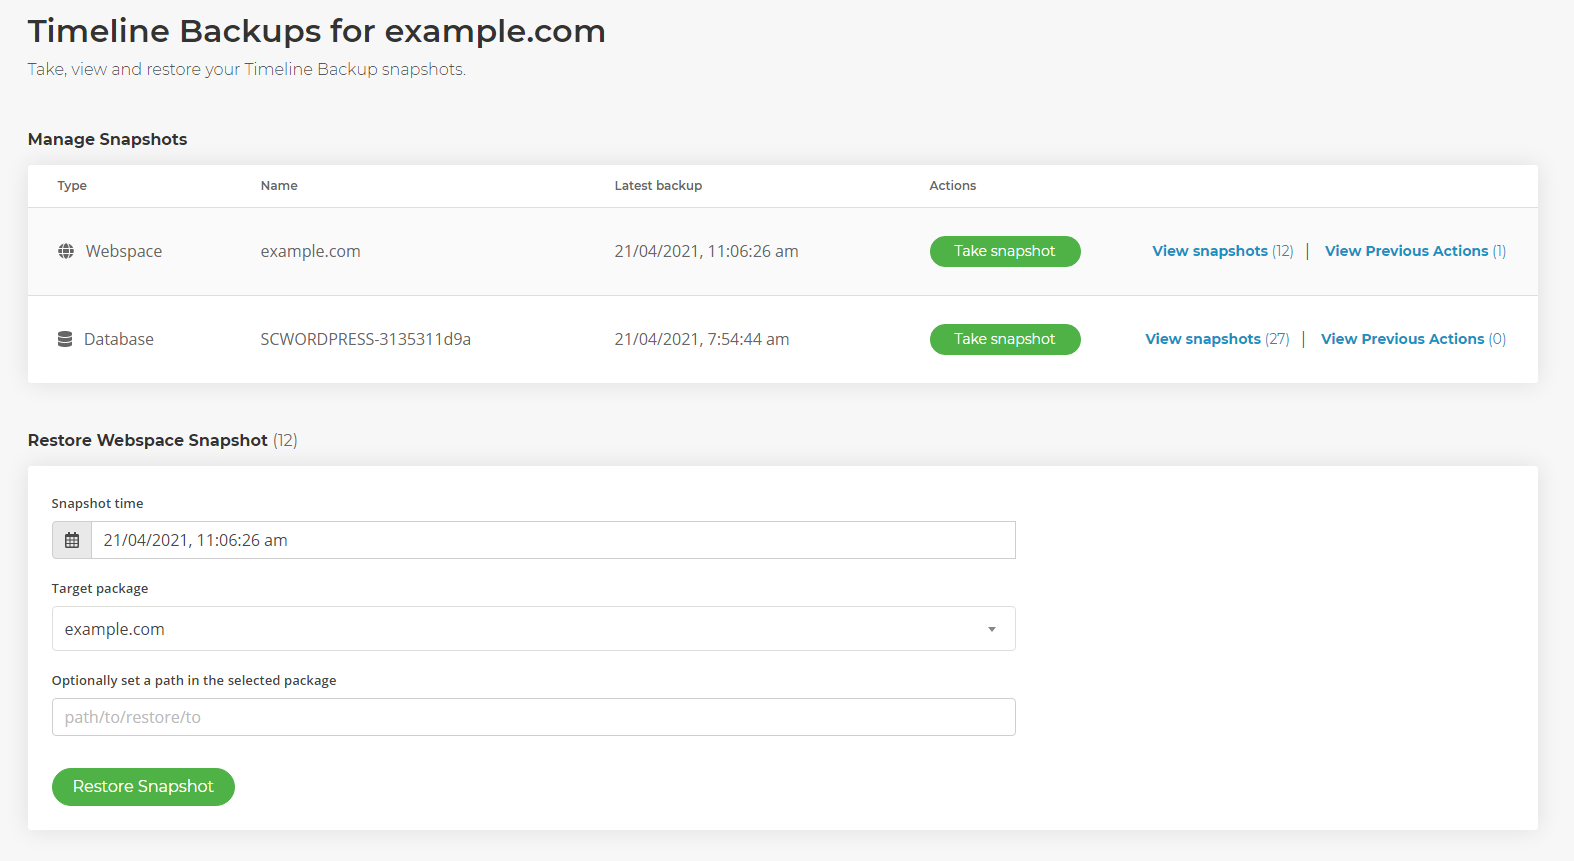
- You should see two types of backup: Web and Database. To restore the site files select View Snapshots next to Web.
- Select a Snapshot Time, the package you want to restore the data to, and (optionally) a path.
- Leaving the path field empty will replace the current files with that of the restore.
Databases
- Head to the package you want to retrieve data for.
- Select Timeline Backups.
- You should see two types of backup: Web and Database. To restore the site files select View Snapshots Databases.
- Select a Snapshot Time, the target package and the database you want to overwrite.
- Optionally, you can select to Restore to file which will dump a .SQL file in the webspace which you can manually import.
Restoring a Deleted Hosting Package
- Head to Manage Hosting and recreate the hosting package that was deleted.
- Select Timeline Backups.
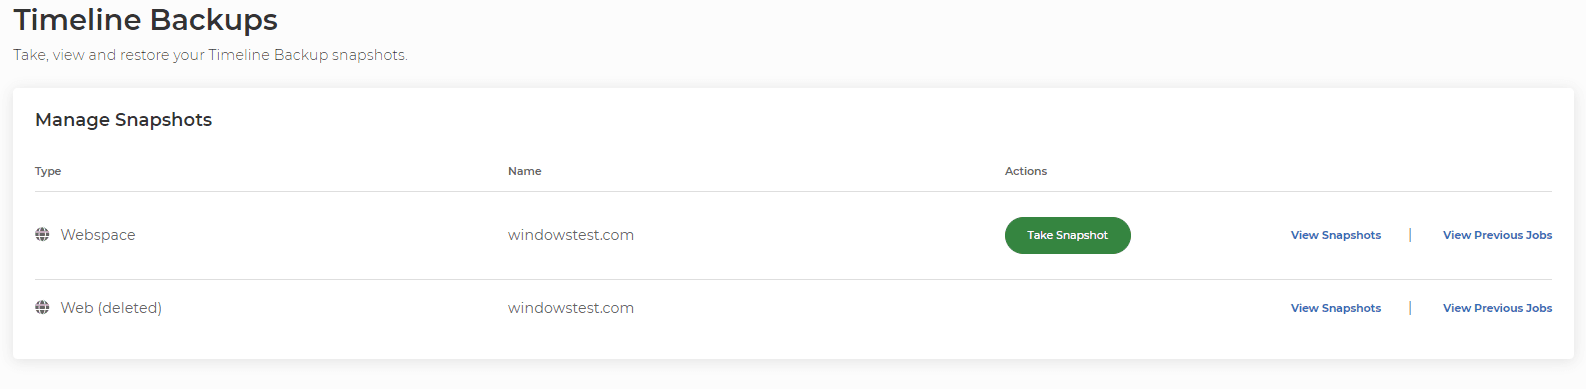
- You should see that the Web & Database has (deleted) next to them. These are the backups from when the hosting package was deleted. To restore this, select View Snapshots.
- Select a Snapshot Time, the target package and the site files & database you want to restore into.
5. Once restored, the configuration file of the website will need to be updated with the new database details and credentials. For WordPress, this will be the wp-config.php.