CDN – Edge Cache Questions
Edge caching support articles: all about how StackCache helps your site load faster, and what to do if you have any issues.
How do I configure StackCache?
StackCache comes free for all WordPress sites on our WordPress Managed Hosting and Reseller WordPress Hosting platforms. StackCache has a number of options that can be used to personalise your caching, depending on what your site needs.
This includes altering the cache expiry for different file types, additional options for how caching should be handled and when purging should occur, and the means to exclude pages from StackCache’s caching.
How do I access the StackCache settings?
In order to access the settings for StackCache, you'll need to sign in to the wp-admin area of your site.

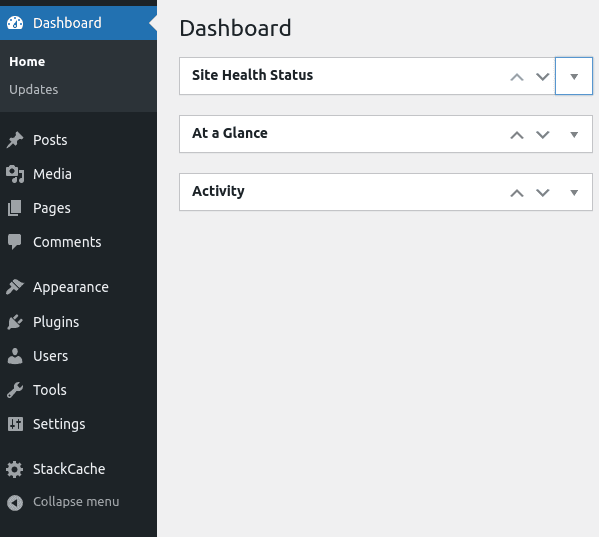
Once there, from the dashboard you will see StackCache listed as one of the options in the sidebar - select this, and you'll be greeted with the main page for StackCache. From here you can begin making changes as you need.

The settings within StackCache are broken down into four sections:
- Cache Expiry Settings
- StackCache Configuration
- Advanced Settings
- Cache Exclusion
Cache Expiry Settings
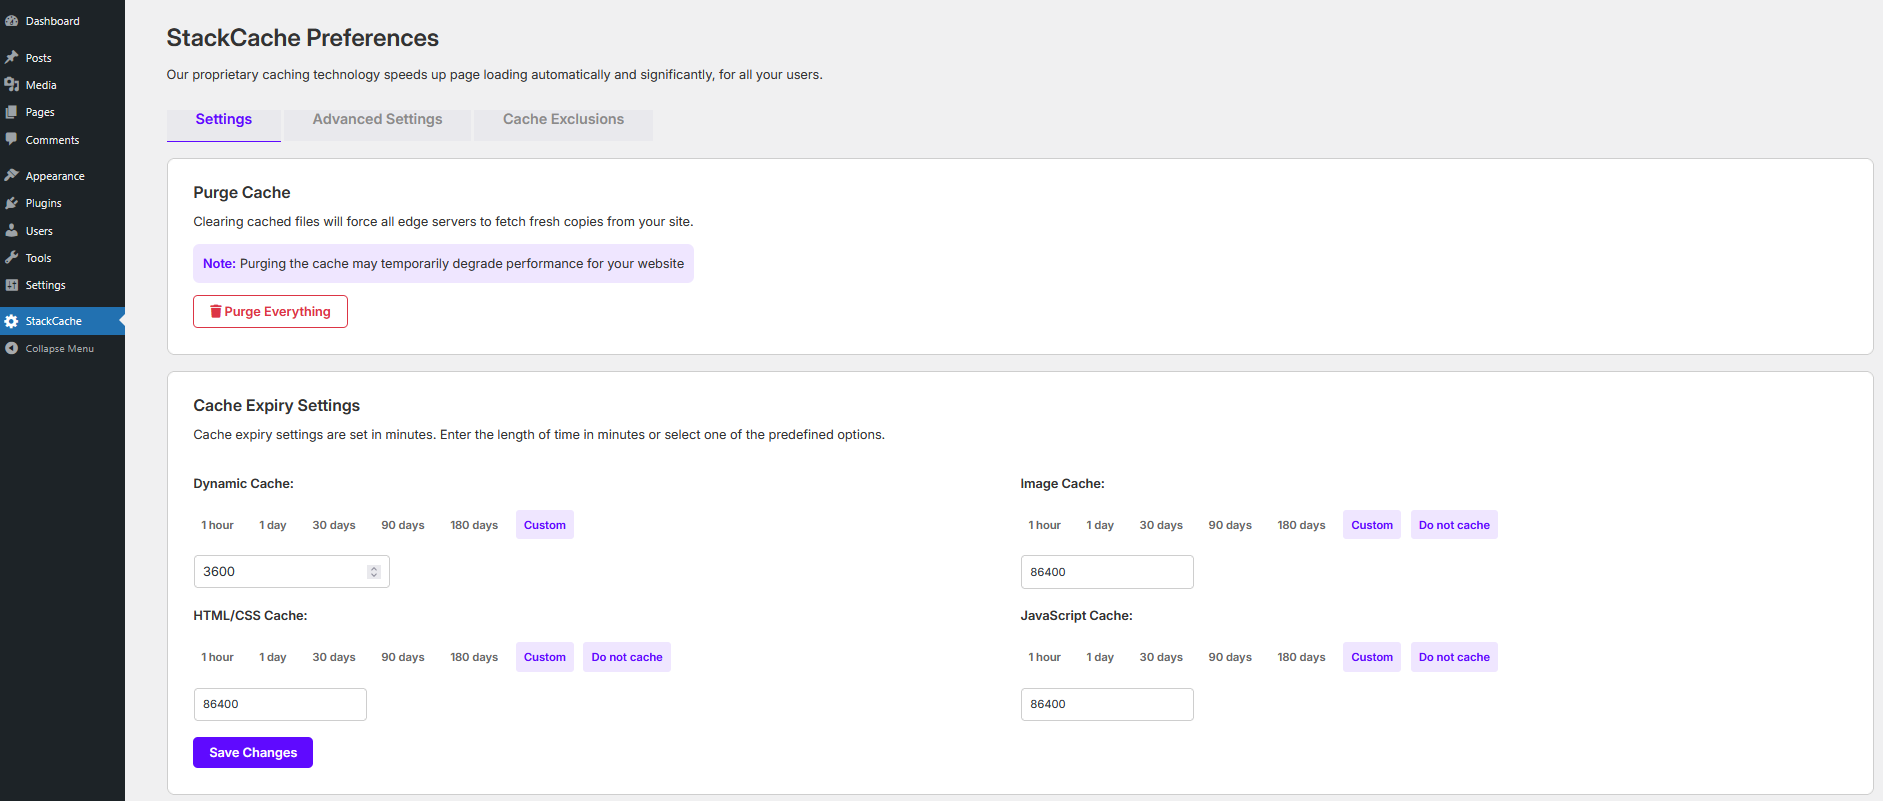
The first section focuses on managing your site's cache expiry settings for different types of files - these settings determine how long a file type is stored for in cache before a fresh version is requested, and can be set for the following:
- Dynamic Cache: StackCache is primarily responsible for the caching of dynamic content on your site, such as scripts, comments and forms. This value handles how long they're stored for in seconds. By default, the value is set to 3600, which is 1 hour in seconds. Below the box, you'll see various preset values that will auto-fill the corresponding number of seconds for that time, or you can enter your own value.
- Image Cache: This value sets how long your different types of image are stored for, including types like PNG, JPEG, WEBP and SVG. The default value is 1 day.
- HTML/CSS Cache: This value handles how long the HTML content of your site is stored. The default value is 1 day.
- JavaScript Cache: This defines how long the JavaScript for your site is stored for. The default value is 1 day.

These change the expiry dates of files that match the file type – the modifications are saved and stored in the .htaccess file in the root of your site folder. They’ll be saved in a format such as this:
#+StackCache
#={"images":"A86400","css":"A86400","javascript":"A86400"}
ExpiresActive ON
ExpiresByType "image/jpeg" "A86400"
ExpiresByType "image/jpg" "A86400"
ExpiresByType "image/gif" "A86400"
ExpiresByType "image/png" "A86400"
ExpiresByType "image/svg+xml" "A86400"
ExpiresByType "image/webp" "A86400"
ExpiresByType "image/vnd.microsoft.icon" "A86400"
ExpiresByType "image/x-icon" "A86400"
ExpiresByType "image/ico" "A86400"
ExpiresByType "font/ttf" "A86400"
ExpiresByType "font/otf" "A86400"
ExpiresByType "application/x-font-opentype" "A86400"
ExpiresByType "application/x-font-woff" "A86400"
ExpiresByType "application/x-font-ttf" "A86400"
ExpiresByType "application/font-woff" "A86400"
ExpiresByType "font/woff2" "A86400"
ExpiresByType "application/vnd.ms-fontobject" "A86400"
ExpiresByType "text/css" "A86400"
ExpiresByType "text/javascript" "A86400"
ExpiresByType "application/javascript" "A86400"
#-StackCache
StackCache Configuration
Further changes can be made to the behaviour of WordPress and StackCache using the settings available in this section.

- Automatic WordPress Updates: This adds a rule to wp-config that disables WordPress core updates – useful for if you wish to keep your WP version to a specific one for security or compatibility. This is enabled by default.
- Hide Purge Cache Link: The header bar at the top of wp-admin has an area that states Purge Cache and allows for you to purge the cache from anywhere in wp-admin. This option hides that link if it’s not needed. It’s disabled by default.
- Allow Editors to control StackCache: By default, StackCache is only accessible by wp-admin users with Administrator level access. This option changes it to allow Editor roles access as well, in case these need to clear the cache to show new updates. This is disabled by default.
- Disable StackCache: This temporarily disables the StackCache plugin entirely for debugging purposes. By default, this is enabled.
Advanced Options
The Advanced Options area allows for more specific cache-related modifications to be made to StackCache.
These settings can cause issues with the caching if implemented poorly, and so we recommend only enabling these on advice of either a developer or our support team.
These options are as follows:
- Remove PHP Session Cookies From All Pages: Prevent PHP Sessions from being started by your website. This will allow cache to function if PHP Session cookies are preventing it.
- Remove PHP Session Cookies Matching Empty PHP Sessions: This prevents any empty sessions being set by PHP cookies.
- Remove All Cookies From Your Homepage: Stops any cookies being set by your home page to help guarantee a cache hit. If you require cookies around your site but are looking for a quick loading home page, this can enable full page caching on your homepage whilst allowing cookies to be set on subpages.
- Make Automatic Cache Purging Purge Everything: When we detect content changes, we automatically purge the cache for the post/page URL modified, the index page and your sites RSS feed automatically. Enabling this option will trigger a full cache purge whenever these events are detected.
- Perform Automatic Cache Purging For All Post Types: By default, we only automatically purge the cache when standard post types are modified. Enabling this options will trigger a cache purge regardless of post type.
- Disable WordPress Built-in Theme / Plugin Editor: This is the equivalent of defining DISALLOW_FILE_EDIT in your wp-config.php file.
- Hide WordPress Version: Strip the meta generator tags from the page source and RSS feeds. This makes it harder for bots to identify the version of your WordPress site.
Cache Exclusions
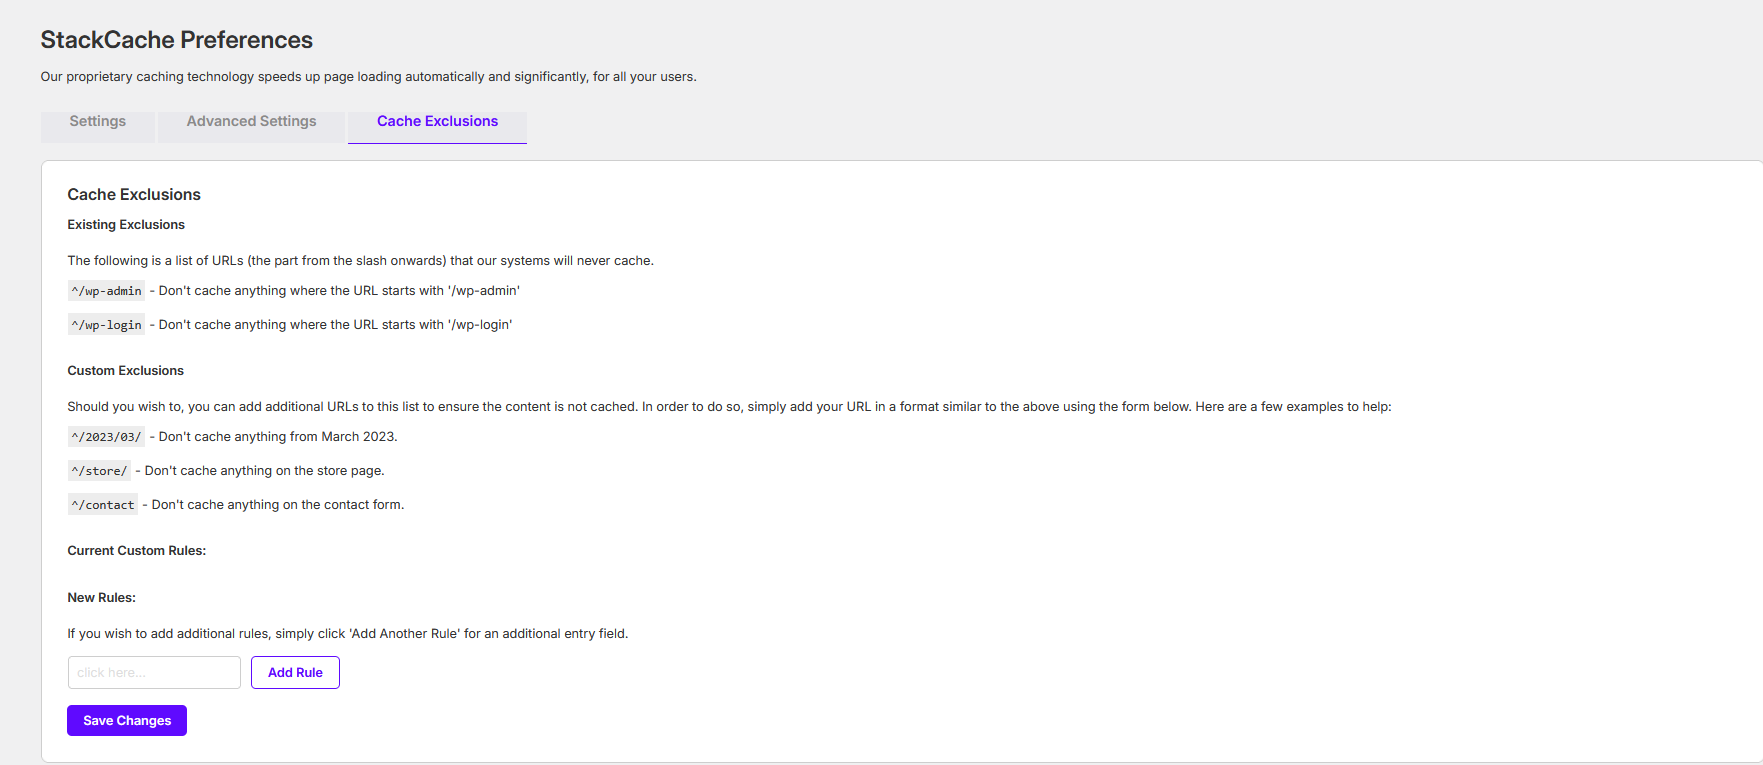
The last page of settings allows for cache exclusions to be added to StackCache.

This informs StackCache to not cache that endpoint. Several examples are given of the formatting required for these rules. You can add multiple new rules using the Add Another Rule button if needed, which will create a new field for you to add an additional rule to.
Note: This only excludes the pages from StackCache caching. Origin and CDN cache can still cache these pages if implemented.
 Ruth Turner
How long is website data cached for at a CDN node?
The CDN itself is used to cache static content. By default, the following file types are cached for 60 minutes before being purged automatically.
| bmp | class | css | csv |
| doc | docx | ejs | eot |
| eps | gif | ico | jar |
| jpeg | jpg | js | mid |
| midi | otf | pict | |
| pls | png | ppt | pptx |
| ps | svg | svgz | swf |
| tif | tiff | webp | woff |
| woff2 | xls | xls2 | robts.txt |
The 20iCDN comes free with all shared and Managed Hosting.
 Austin B.
Why am I getting a 'Too Many Redirects' error?
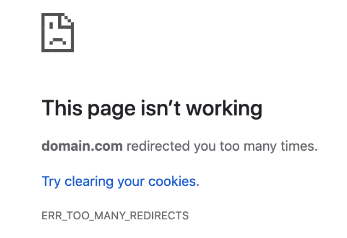
'Too Many Redirects' errors are caused by sites stuck in a loop of redirects.

What is the ERR_TOO_MANY_REDIRECTS?
One or multiple redirections point to themselves, resulting in the site being unable to load as it will continuously redirect until either the browser stops it early or the site goes down.
Most commonly, ERR_TOO_MANY_REDIRECTS are caused by incorrect or poorly-defined redirect rules in your .htaccess file, or a plugin forcing a redirect over and over.
Common causes of ERR_TOO_MANY_REDIRECTS
Below are some common causes - 'always true' rules, mixed content and caching. We'll explain what they mean and show you how to fix them.
Always true rules
Redirect rules set in the .htaccess file have conditions. These conditions decide when a redirect rule should redirect a site, so that the site doesn’t always redirect. If these conditions aren’t set correctly however, they can always be ‘true’, meaning that the redirect will always occur and as a result the site will loop.
For example, we have a site domain.com and we try to redirect this to our subdomain my.domain.com
One way we could do this is via the following:
RewriteCond "%{HTTP_HOST}" "domain.com$"
RewriteCond "%{REQUEST_URI}" "^/"
RewriteRule ".*" "https://my.domain.com/" [L,R=301]
In the above example, we have our condition:
RewriteCond "%{HTTP_HOST}" "domain.com$"Which states that, if the URL contains ‘domain.com’, redirect the site. However, this will lead to a loop, as our subdomain also contains ‘domain.com’, resulting in the too many redirects error.
A much better way to do this redirect would be instead to use:
RewriteCond %{HTTP_HOST} !^my\.domain\.com [NC]
RewriteRule ^(.*)$ http://my\.domain\.com/$1 [R=301,L]
Which instead uses the condition:
RewriteCond %{HTTP_HOST} !^my\.domain\.com [NC]This checks to see if the URL is not the subdomain, and redirects the site if it’s not.
It’s worth looking through your rules and making sure this type of logical loop doesn’t occur.
If you’re unsure, try renaming your .htaccess file. If the error stops when doing so, something in that file is causing the loop itself.
Mixed Content
The term ‘Mixed Content’ refers to when parts of a website on HTTPS try to load content over HTTP. In more uncommon cases, this can result in a site correcting itself to HTTP, then redirecting to HTTPS, resulting in a loop between the two which causes the ERR_TOO_MANY_REDIRECTS.
In cases such as this, it’s best to temporarily remove any rules that may be enforcing HTTPS, and then updating all of your site’s URLs to ensure they’re either all on HTTP or all on HTTPS.
We have a full guide on finding and fixing mixed content here.
Force HTTPS Scripts
Some Content Management Systems (CMS) such as Joomla have options that can force HTTPS connections to your site as a part of the integration. Enabling these makes tweaks to the code to enforce this – however, if you’ve already included your own scripts to force HTTPS or are using 20i’s option to do so in the SSL/TLS area, then this could potentially conflict and lead to a loop.
Check your current CMS setup to see if any options to force HTTPS connections are enabled. If they are, disable or remove any other scripts or options that will be enforcing this to remove any conflicts.
Caching
Caching can also cause a redirect loop as site and server caching can store redirects, resulting in a rule that has been removed to continue to be used.
The quickest way to check to see if this is the case is to visit the site with a query string at the end, for example:
https://mydomain.com/?nocache
Anything after the '?' is ignored, so you can write anything. Doing so will bypass the cache on the site and force the site to load directly.
If the site then loads fine without the redirect error, you can confirm that caching is what's causing the redirect.
Check your site for any cache folders and clear them, and then clear the edge cache from within your package:
- Log into My20i and head to your Manage Hosting area
- Select Options > Manage on the hosting package you’d wish to edit
- Select Edge Caching from under the CDN section of the package

At the bottom of the Edge Caching page, select Purge Everything. The server cache will be cleared within a few minutes.
Now you should be free of the 'too many redirects' error. Get in touch with our support team if you need further help.
Why am I getting a cache status 'MISS'?
Headers returning x-cdn-cache-status MISS indicate the request was served by the origin 20i server. This means that the response was not found in the cache and so was fetched from the origin server. This could result in a longer time-to-first byte (TTFB) and a longer total load time. On pages you want to be cached you'd expect to see x-cdn-cache-status HIT.
A cache 'MISS', or 'BYPASS' status is usually caused under three main conditions:
- Browser cookies being set
- Conflicting caching plugins
- Cache-control headers set in a .htaccess file
- Being logged into /wp-admin
Browser cookies
When a cookie is in use on a webpage the CDN edge cache will automatically avoid caching the content. When present, cookies work with the PHP as the page is loaded in order to perform a unique action. When a page is served from cache, it’s already been generated previously by the server. If the page is cached, the cookie cannot be generated and perform its action with the page load as expected.
Some applications also use a PHPSESSID cookie which prevents pages from being cached, for example, WooCommerce sets a PHPSESSID. In many cases this cookie doesn't alter behaviour, so disabling the cookie is one way to optimise and configure your site to work best with cache.
We have an option you can use within StackCache to help with this.
- Log in to /wp-admin and head to StackCache which you'll find down the left-hand side.
- By default, Remove PHP Session Cookies Matching Empty PHP Sessions will already be set, but you may wish to try selecting Remove PHP Session Cookies From All Pages.
- Select Save Changes.
Once saved, log out of /wp-admin and try refreshing your site or page you're trying to ensure is cached.
Conflicting Caching Plugins
Our platform comes with various layers of caching built-in. One of the most effective of these caching layers, especially at scale, is our edge cache system.
Unfortunately, most cache plugins will interfere with this and as a result, we don't recommend running any caching plugins on your WordPress site.
This includes, but is not limited-to: W3TC, Super Cache, WP Rocket and Hummingbird.
Don't panic! You won't need them - all caching plugins are built for speed, and you can rest assured our StackCache plugin will do that hard work for you.
Cache-control headers set in a .htaccess file
Cache-Control and Expires headers can be set in the .htaccess file within the root directory for the site. These let you control various elements of how your site is cached, including preventing caching altogether.
If you were to add Cache-Control: no-store into a .htaccess file then the HTTP headers would serve a directive to prevent the site from caching and a cache MISS would be received via the HTTP headers.
If you receive a cache MISS then you should review your .htaccess file for any conflicting directives.
Being logged into /wp-admin
When you're logged into /wp-admin we'll always force a cache bypass in the HTTP headers to ensure WordPress admin is never cached. If you're trying to ensure your site is being cached you'll need to logout of /wp-admin first, and then test your site, otherwise, the site will never be cached.
 Austin B.
Does the 20i CDN perform cache warming?
Yes. The 20i CDN performs cache warming to ensure cached pages are served as frequently as possible, to as many users as possible.
When a user requests a web page, a cached copy is stored at the 20iCDN node closest to where they made the request.
If another user requests the same web page and uses the same CDN node they’ll be served the ‘warmed’ cache generated by the first user. This ensures that they get a cache HIT on their first visit, meaning that the website will load faster.
 Austin B.
 Chris Wright