How do I use the HostShop checkout configurator?

Ensuring your client’s experience purchasing products through your HostShop environment is as quick and convenient as possible is a top priority, including the checkout process. As a Reseller, you can make use of HostShop’s Checkout Configurator to alter the checkout appearance, add and remove options and ensure clarity for any purchase the client may wish to make.
How do I access the Checkout Configurator?
To access this tool:
- Login to My20i.
- On the sidebar, select HostShop, and then Checkout Configurator.
Modifying the Checkout
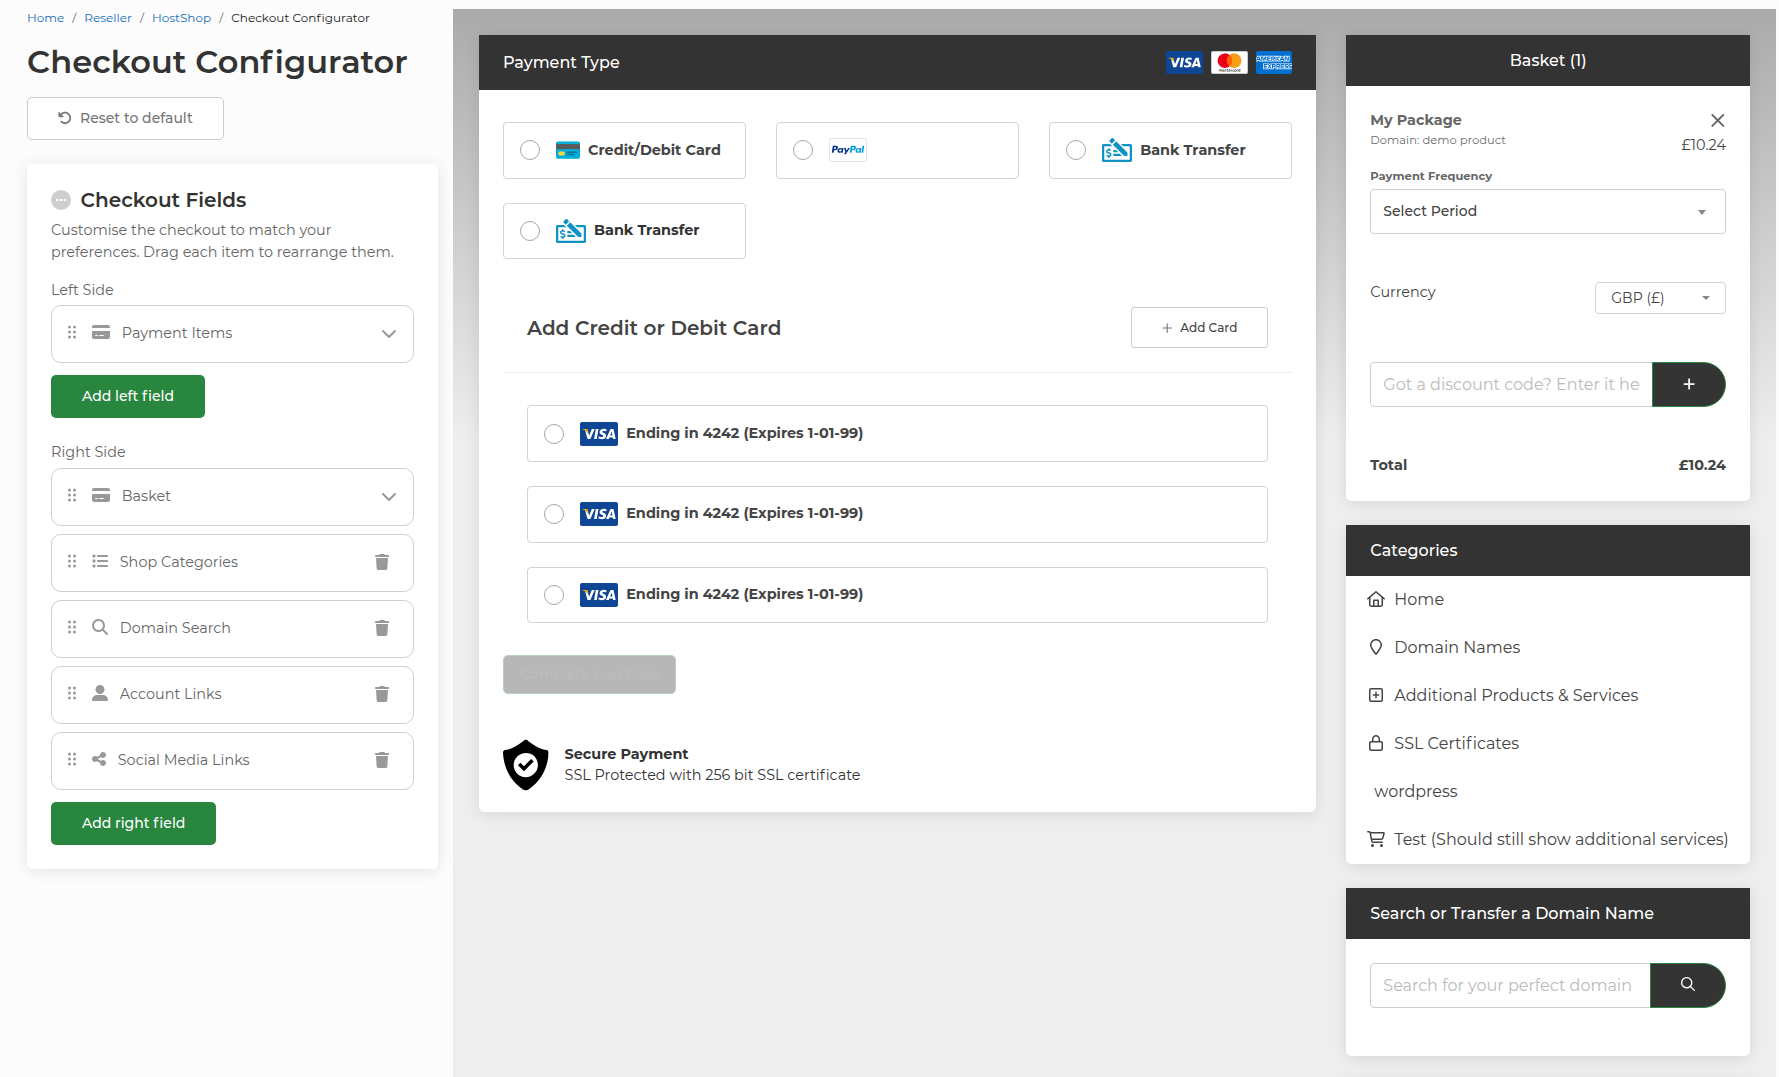
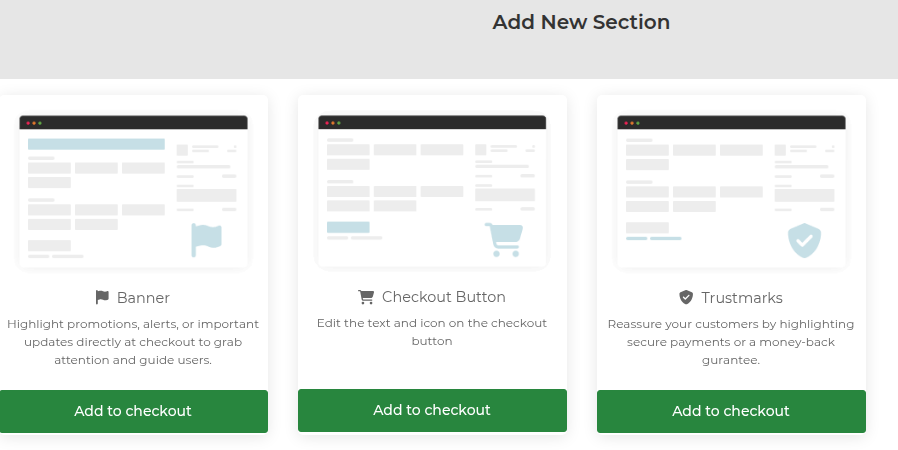
Using the Checkout Fields box on the left-hand side, you can add and modify fields to the left and right of your checkout area. To add a new field, click the Add Field option in the relevant section. A list of available items will appear for you to choose from.
You will also see a downward arrow next to fields such as the Basket or Payment Items – these options can be expanded by selecting the arrow to edit the subsections within these fields.
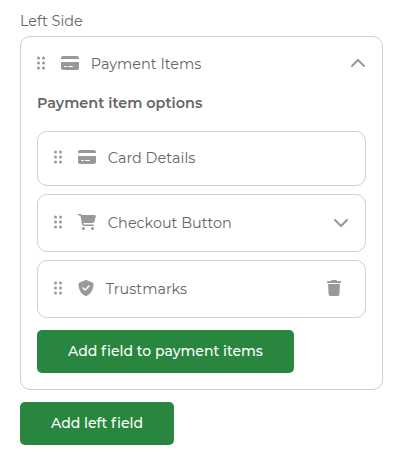
To remove a field, select the bin icon next to the entry you wish to remove.