Using the .NET Core application registration tool

The application registration feature is designed to streamline the management of your .NET Core applications, making it simple to keep your projects organized and under control. Here's how you can use this tool effectively:
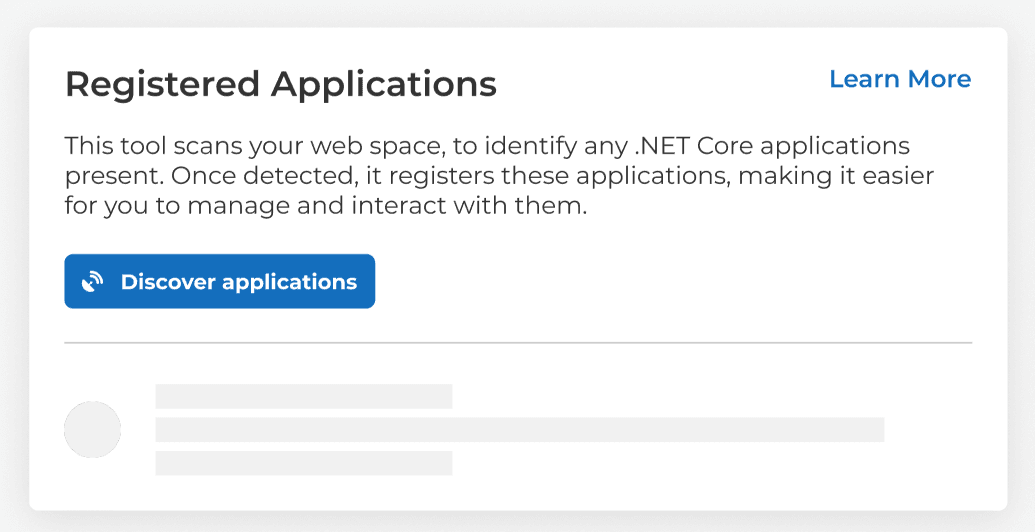
Step 1: Discovering Your Applications
When you first navigate to the .NET Core Application Registration Tool, you'll find that no applications have been discovered yet. This is the starting point for the tool to scan and identify .NET Core applications within your web space.
To initiate the discovery process:
- Click on the Discover applications button.
- The tool will scan your web space to detect any .NET Core applications present.
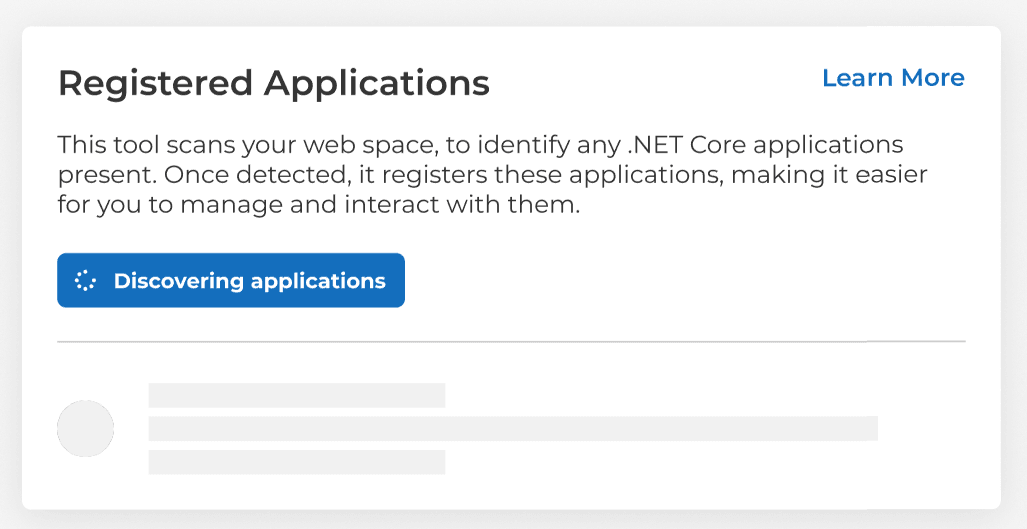
Step 2: Application Discovery in Progress
Once you have initiated the application discovery process, the tool will display a status indicating that it is Discovering applications.
During this stage:
- The tool is actively scanning your web space.
- Please wait for the discovery process to complete before taking any further actions.
Step 3: Managing Your Applications
After the tool has completed its scan, it will display the discovered .NET Core applications under the "Registered Applications" section.
Here you can:
- View detailed information about each discovered application.
- Navigate to the application files directly by clicking on View in File Manager.
- Unregister an application if necessary by clicking on Unregister Application.
- Rediscover applications to refresh the list and detect any new additions or changes.

Additional Information and Support
- Each application's details will include the path to the application's main executable file (e.g., app.dll).
- If you make changes to your web space or add new .NET Core applications, use the Rediscover applications button next to the application to update applications information.