How to Install a Node.js App on a Cloud Server

Deploying a Node.js application to the cloud can seem complex, but with the right steps, it becomes a straightforward process. This guide will walk you through the process of installing and running a Node.js app on your cloud server. Let’s dive in!
Please note: These steps require a Node.js Optimised Cloud Server, it's not possible to deploy Node.js apps using other server optimisation profiles.
Step 1: Connect to Your Server and Navigate to the Document Root
The first step is to connect to your Node.js Optimised Cloud Server using SSH.
Navigate to the document root of the domain. This is typically the public_html directory. For example:
cd ~/public_htmlStep 2: Create the .env File
Node.js applications often rely on environment variables for configuration. In the document root, create a .env file that specifies the port and environment settings for your app. A typical .env file looks like this:
PORT=8080- PORT: The port number your app will use for connections. If the port isn’t specified in the app’s files, confirm it with the customer or developer.
Step 3: Configure the Application with ecosystem.config.js
Return to the domain’s document root directory and check if an ecosystem.config.js file exists. This file contains the configuration for your app. If it doesn’t exist, create it by running:
pm2 ecosystemEdit the generated file to match your app’s specific details. Below is a sample configuration template:
module.exports = {
  apps: [
    {
      name: 'your-domain-app-name', // Replace with your domain or app name
      cwd: '/home/virtual/vps-12345/1/a1b2c3d4/public_html', // Path to your app
      script: 'npm',
      args: 'start',
      env: {
        NODE_ENV: 'production',
      },
      exp_backoff_restart_delay: 100,
    },
  ],
};
Key Fields to Update:
- name: Use your domain name or a unique identifier for the app.
- cwd: Set this to the absolute path of your application’s directory.
- script: Typically
npm, but adjust if your app uses a different runtime. - args: Usually
start, but modify this if your app requires a custom start command.
Save the file after making these changes.
Moreover, the start command for the application must be noted within package.json.
The command must start the application, depending on the framework being used.
Step 4: Deploy the Application
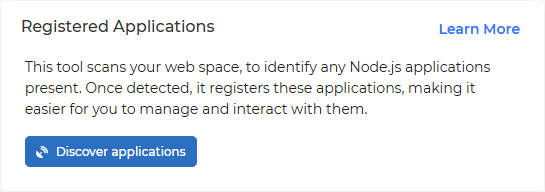
Navigate back to the package overview page, and click the "Discover Applications" button in the right-hand sidebar.
After a few seconds, the app should be discovered.
Once the app discovery is successful, the app will be started automatically.
Step 5: Access Your Site
Open a web browser and navigate to your domain. If everything is configured correctly, your Node.js app should now be live and accessible online.
Troubleshooting Tips
- Port Conflicts: Ensure the port specified in the
.envfile isn’t already being used by another service. - Permissions: Double-check file and directory permissions to ensure the app can access necessary resources.
- Logs: Use PM2’s logging features to debug issues.
- Log out and login again: If logged in before running the app discovery, log out and login again to fix this.
By following these steps, you can successfully deploy a Node.js application to the cloud. Whether you’re managing a personal project or handling client requests, this guide ensures a smooth and professional deployment process. Happy coding!