How to Edit the Default Site Pages

Within your control panel, you have the option to create Default Webpage Templates that are displayed whenever a site is offline, deactivated, or otherwise unavailable. This feature allows you to maintain a consistent, branded appearance even during downtime. By customising these templates, you can replace generic error messages with a unique look and a tailored message, helping to keep your website professional and user-friendly, no matter the circumstances.
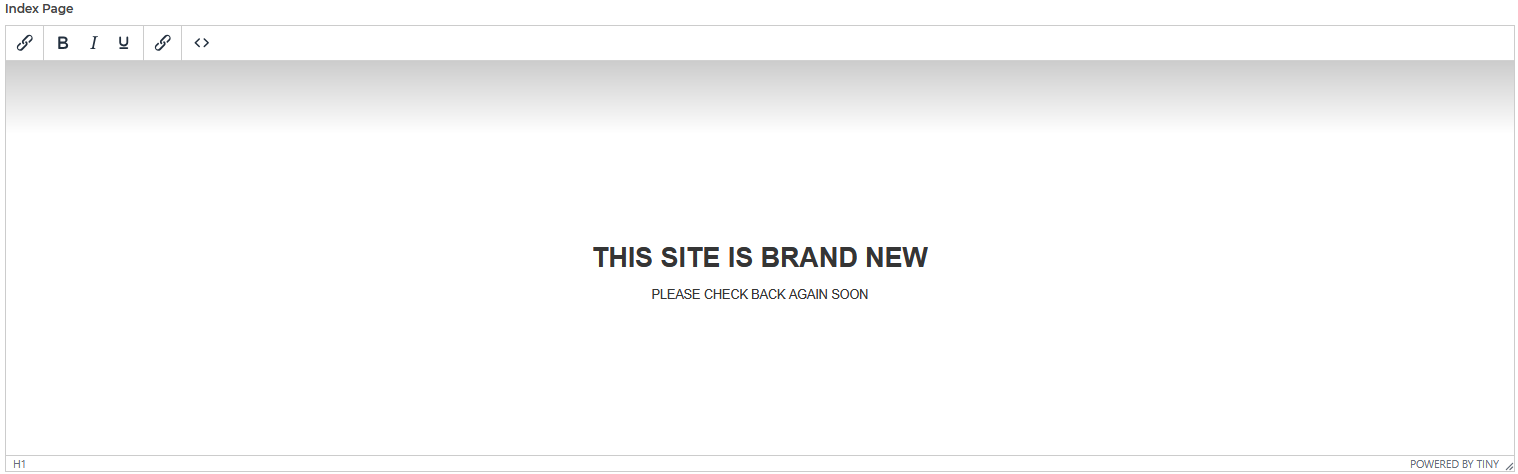
The Default Site Pages you can edit are as below:
- Index page
- Maintenance page
- Deactivated site page
- Service unavailable page
You will have complete control over editing and customising each default page, with the option to reload the original template at any time. In addition, you can configure unique templates for different package types, such as WordPress packages, Linux packages, and more. This flexibility enables you to deliver tailored holding pages that align with the specific service or hosting environment, ensuring a consistent and professional experience across all your offerings.
When you visit the Default Website Pages, the first thing you will need to select is the package type for which you wish to configure the pages.

Once you have selected the package type, you can begin editing each individual page. Within the pages, you can add text and edit the display of the text, as well as the ability to insert links and images. You can also edit all the content via HTML code if you prefer.
Note: Changes applied can take up to an hour to take effect.