Getting Started with Virtual Nameservers

This guide will go through the process of setting up virtual nameservers. Before following these steps you'll need to ensure that you have purchased virtual nameservers. This can be done by logging into your 20i account, hovering over Manage Services on the left-hand side of the control panel and clicking Order Virtual Nameservers.
You will also need to register or transfer a domain name into your 20i account and ensure that it’s using our nameservers. It's not possible to use a domain name that is registered elsewhere as your virtual nameservers. This is required due to the changes made to the domain and DNS to allow the Virtual Nameservers to work correctly.
Once you have a domain and have purchased Virtual Nameservers, you can set these up by hovering over Manage Reseller on the lefthand side of the control panel and clicking Manage Virtual Nameservers. This will show a page like this:
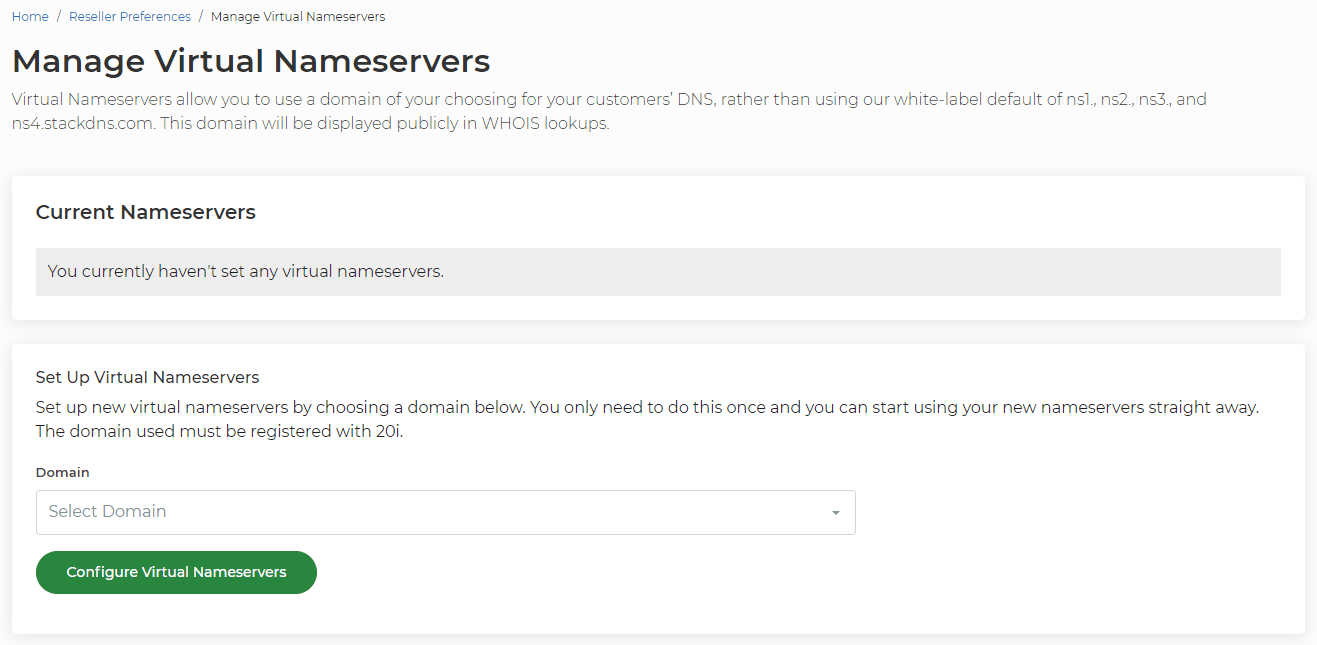
On this page, you can select the domain you wish to use in the dropdown box and then click the Configure Virtual Nameservers button to set nameservers to use that domain.
Once the domain has been set the page will update to look like this:
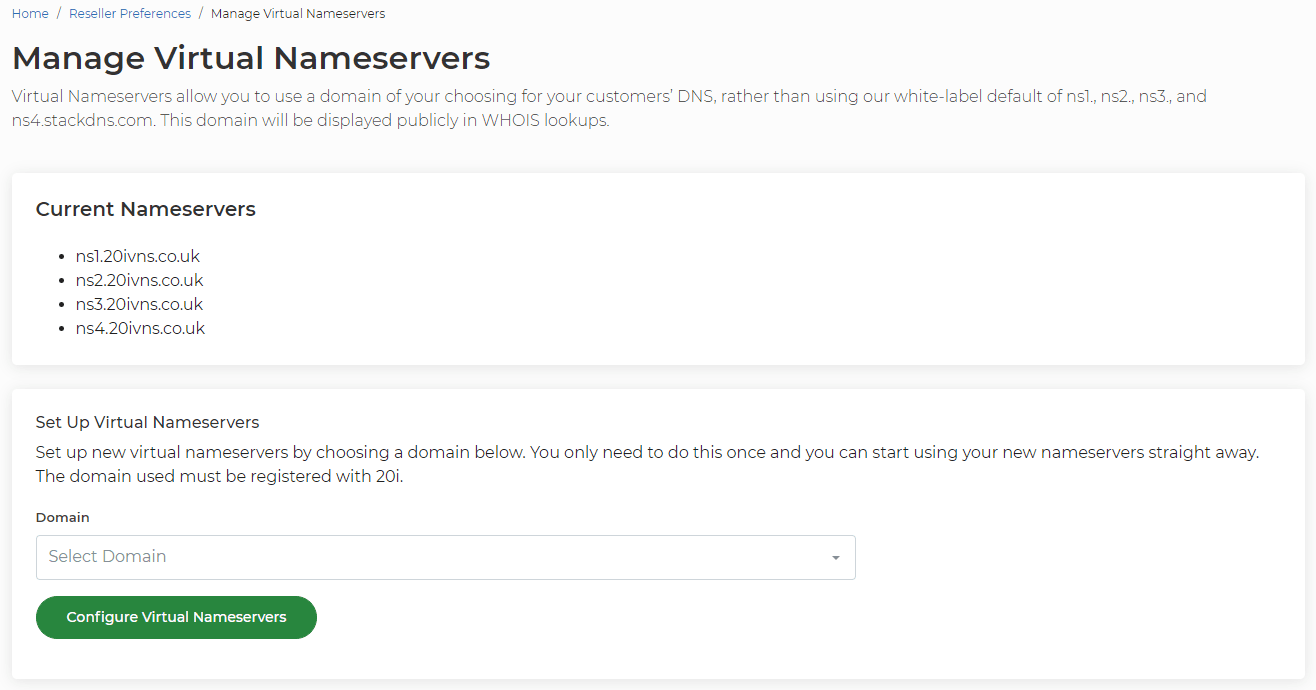
Once these have been set then the required changes will be made on our side for these nameservers to begin working. You will be able to update the nameservers on any domains to use these new nameservers and DNS will still be managed as normal within your 20i account.