How do I create and send welcome emails?

As a 20i hosting reseller, there are two types of welcome emails that can be sent to your customers:
- Package Welcome Emails - when they are assigned a hosting package
- StackCP User Welcome Emails - when they are given access to StackCP
Firstly, you’ll need to create the templates that will be used. To do this:
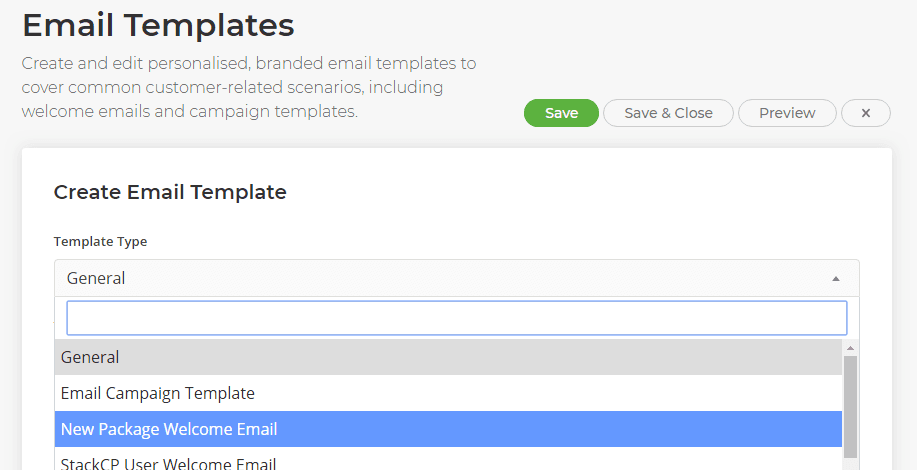
- Head to Email Templates from the My20i homepage.
- Select Create New and choose your Template Type. In this example we’ll be setting up a Package Welcome Email.
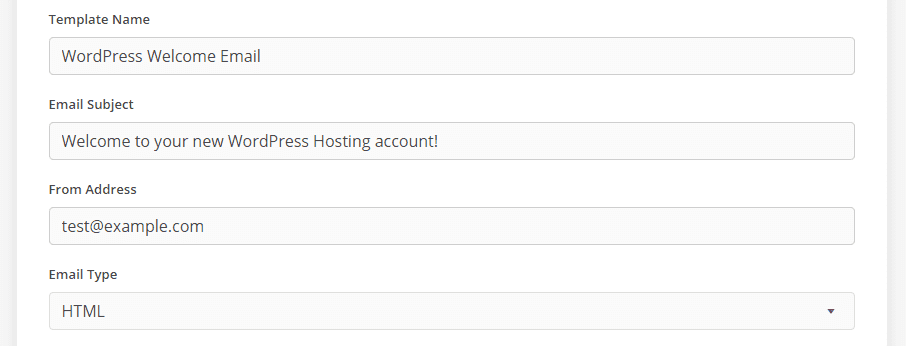
- Give your template a name so you can identify it. For example, ‘WordPress Welcome Email’.
- Enter the email subject that will appear when your customer receives the email, for example ‘Welcome to your new WordPress Hosting account!’
- We’d recommend leaving the email type as HTML, but you can also use plain text if you wish.
- Select Load Default Template and you’ll be given a full example of a welcome email.
- Should you wish to edit the default template, you can use the email tags to include additional dynamic content to your email.
- You can select Preview to view your email template before saving.
- Select which hosting package types you would like to utilise this template. You can select multiple hosting pack types.
- Finally, select Save & Close.
This process can be used for any kind of email, such as newsletters.
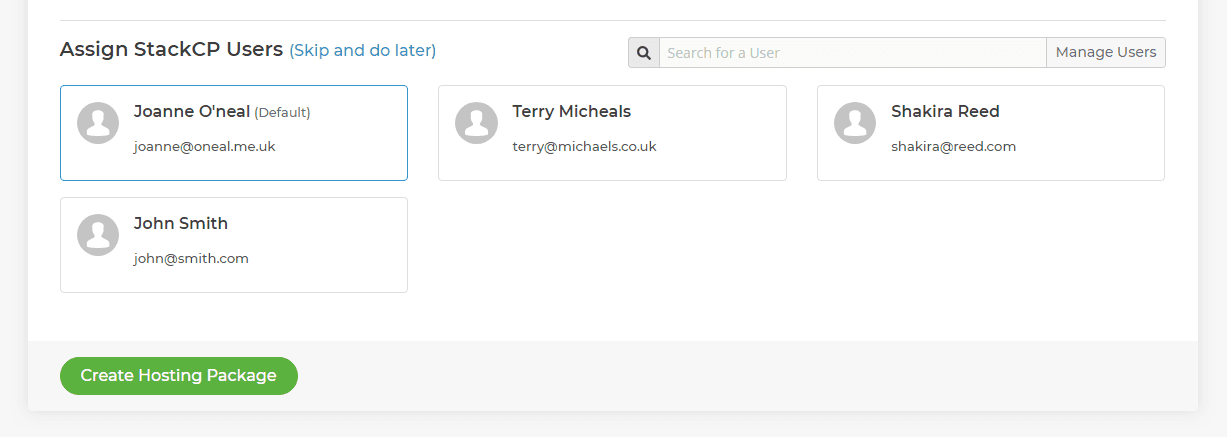
You can send a welcome email when you create a hosting package.
When you select Add Hosting from the Manage Hosting section, you can assign a StackCP user to the hosting package. Doing so will then send the email address associated with that StackCP user the welcome email for the hosting package type that’s been chosen.
To resend a welcome email, simply locate the hosting package from Manage Hosting, then select Options > Resend Welcome Email. You can then choose the StackCP user to send the welcome email to.