How to Import DNS Records into My20i from a Zone File

My20i provides an easy way to manage DNS records, including importing them when needed. This guide will walk you through both processes: exporting DNS records via command line and importing them using the My20i control panel.
Exporting DNS Records
To export your DNS records ready to import into My20i you will need to follow these steps. This will require Command Line access on your local device:
Step 1: Open the Command Line
You will need access to a terminal or command prompt on your local machine.
Step 2: Run the Export Command
Use the following format to export DNS records:
dig <record-type> <domain> ANY @<name-server> +nostat +nocmd +nocomments > <filename>Example Export Command
For exporting the full DNS records for 20i.support, use:
dig 20i.support ANY @ns1.stackdns.com +nostat +nocmd +nocomments > zone.txtThis command:
- Queries ns1.stackdns.com for all DNS records of
20i.support. - Suppresses unnecessary output (no stats, command headers, or comments).
- Saves the result in
zone.txt.
Step 3: Save the File
Once the command has been executed, ensure that zone.txt is saved in a known location. You will use this file in the next section for importing.
Importing DNS Records into My20i
Once you have your exported DNS file, you can import it into My20i.
Step 1: Navigate to the Manage DNS Section
Log in to My20i.
Go to Manage Hosting > [Package Name] > Options > Manage > Manage DNS.
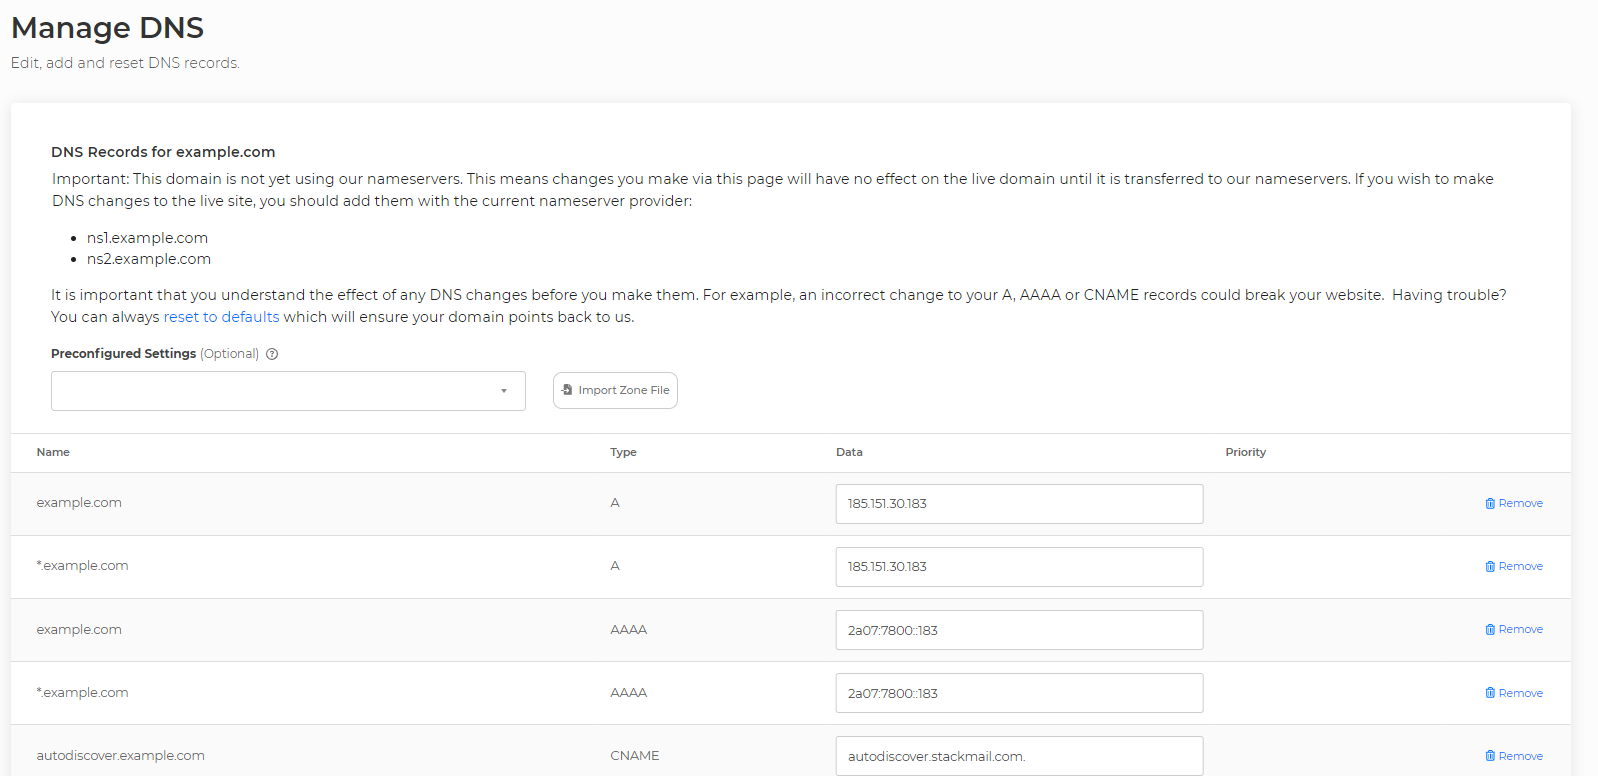
Step 2: Click on Import DNS
Click the Import Zone File button.
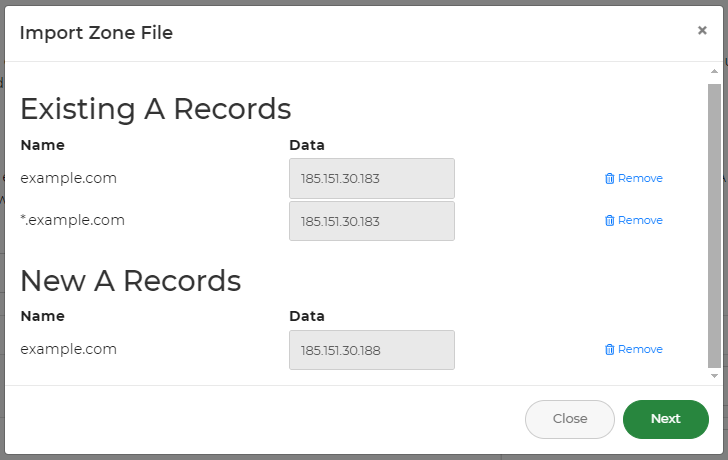
Paste in the contents of your zone.txt file you exported earlier and click Parse File.

Step 3: Review and Confirm
My20i will parse the file and display a preview of the records.
Ensure that all records (A, CNAME, MX, TXT, SRV, etc.) are correctly listed.
Click Make Changes to apply the changes.
Important: Save the DNS Before Exiting
Once you've confirmed that all records have been imported successfully, click Save to finalize the changes before leaving the page.
Step 4: Verify the Imported Records
Go to Manage DNS and check that all entries are correctly displayed.
Use dig or nslookup to verify records:
dig example.com ANY @ns1.stackdns.com nslookup example.com ns1.stackdns.com