WordPress Hosting: Migrating an existing WordPress website to 20i

If your WordPress website is currently hosted with a different provider, please ensure you have an up-to-date backup of your WordPress data and database before beginning the migration process.
If you have more than 10 sites to move over, and would like some assistance; contact our support team to learn more about our Assisted Migration service.
There are three ways to migrate your existing WordPress website:
- Using our Migration Centre to migrate using FTP/SFTP
- Use a WordPress migration plugin
- Manual migration
1/ The 20i Migration Centre
This is the most convenient way to migrate. It can migrate any type of website from another host automatically, but in this example we’ll use WordPress.
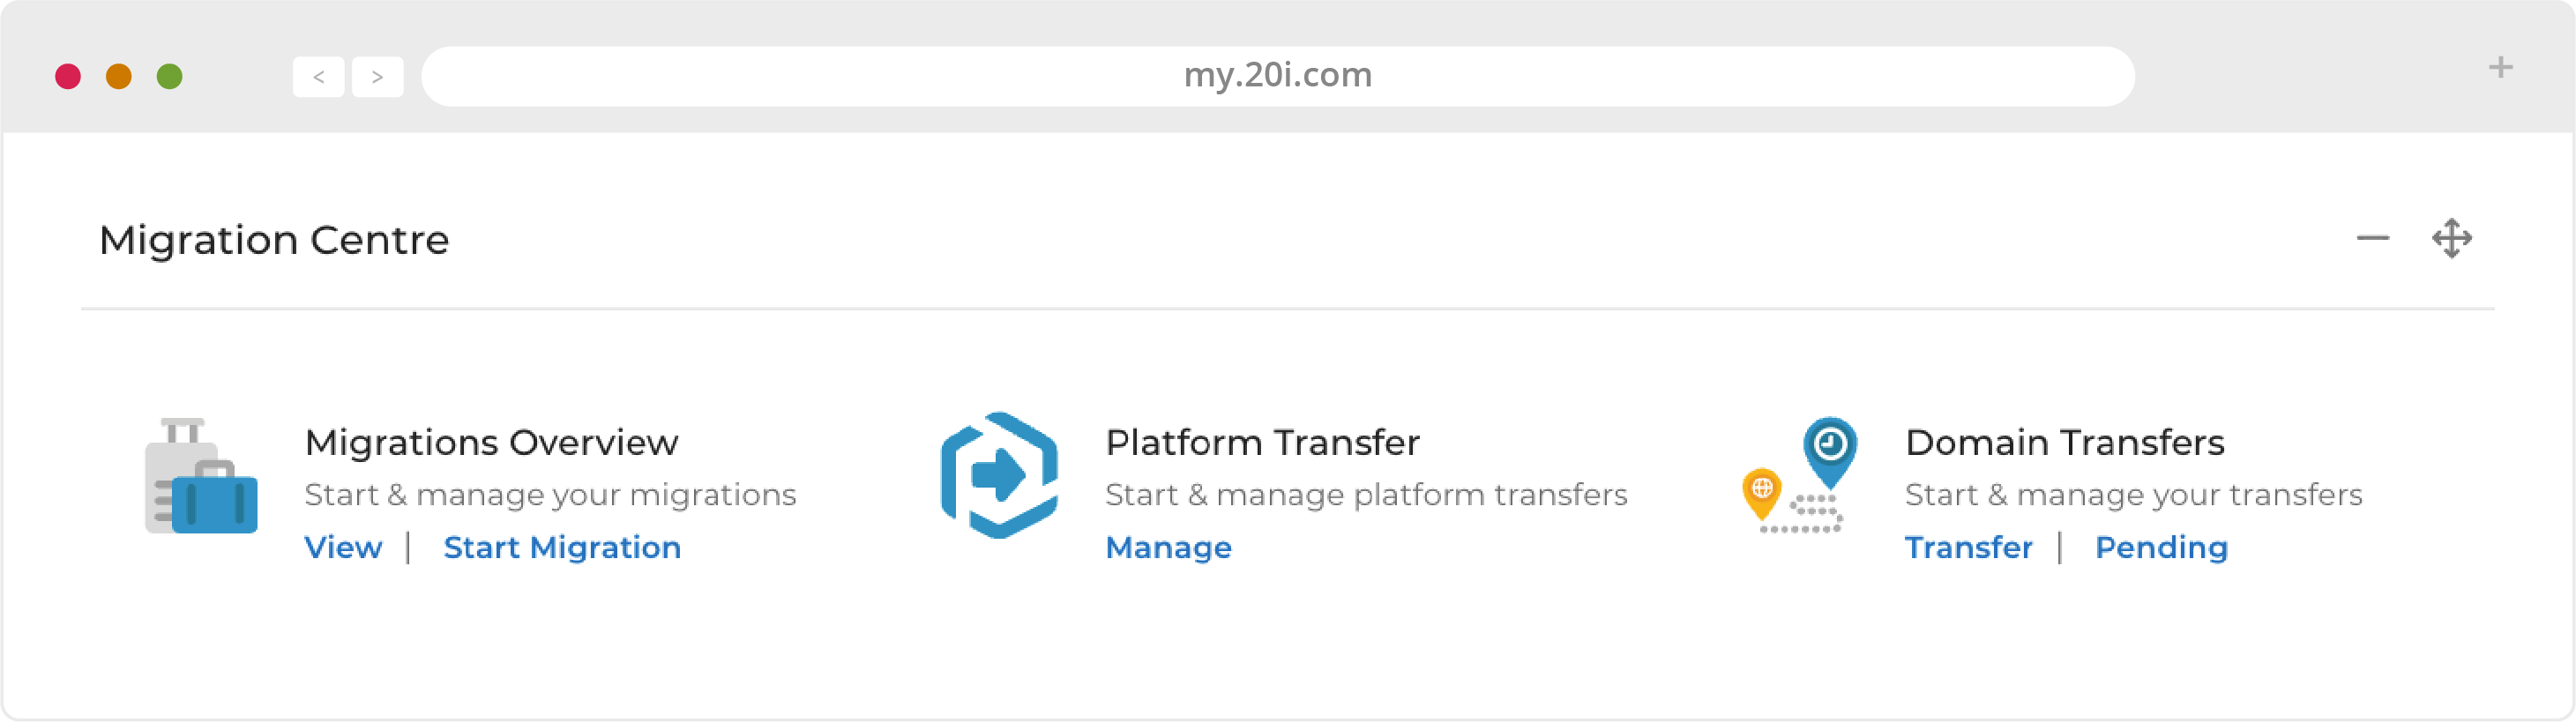
Head to the Migrations Centre control bar in My20i and select 'Start Migration'
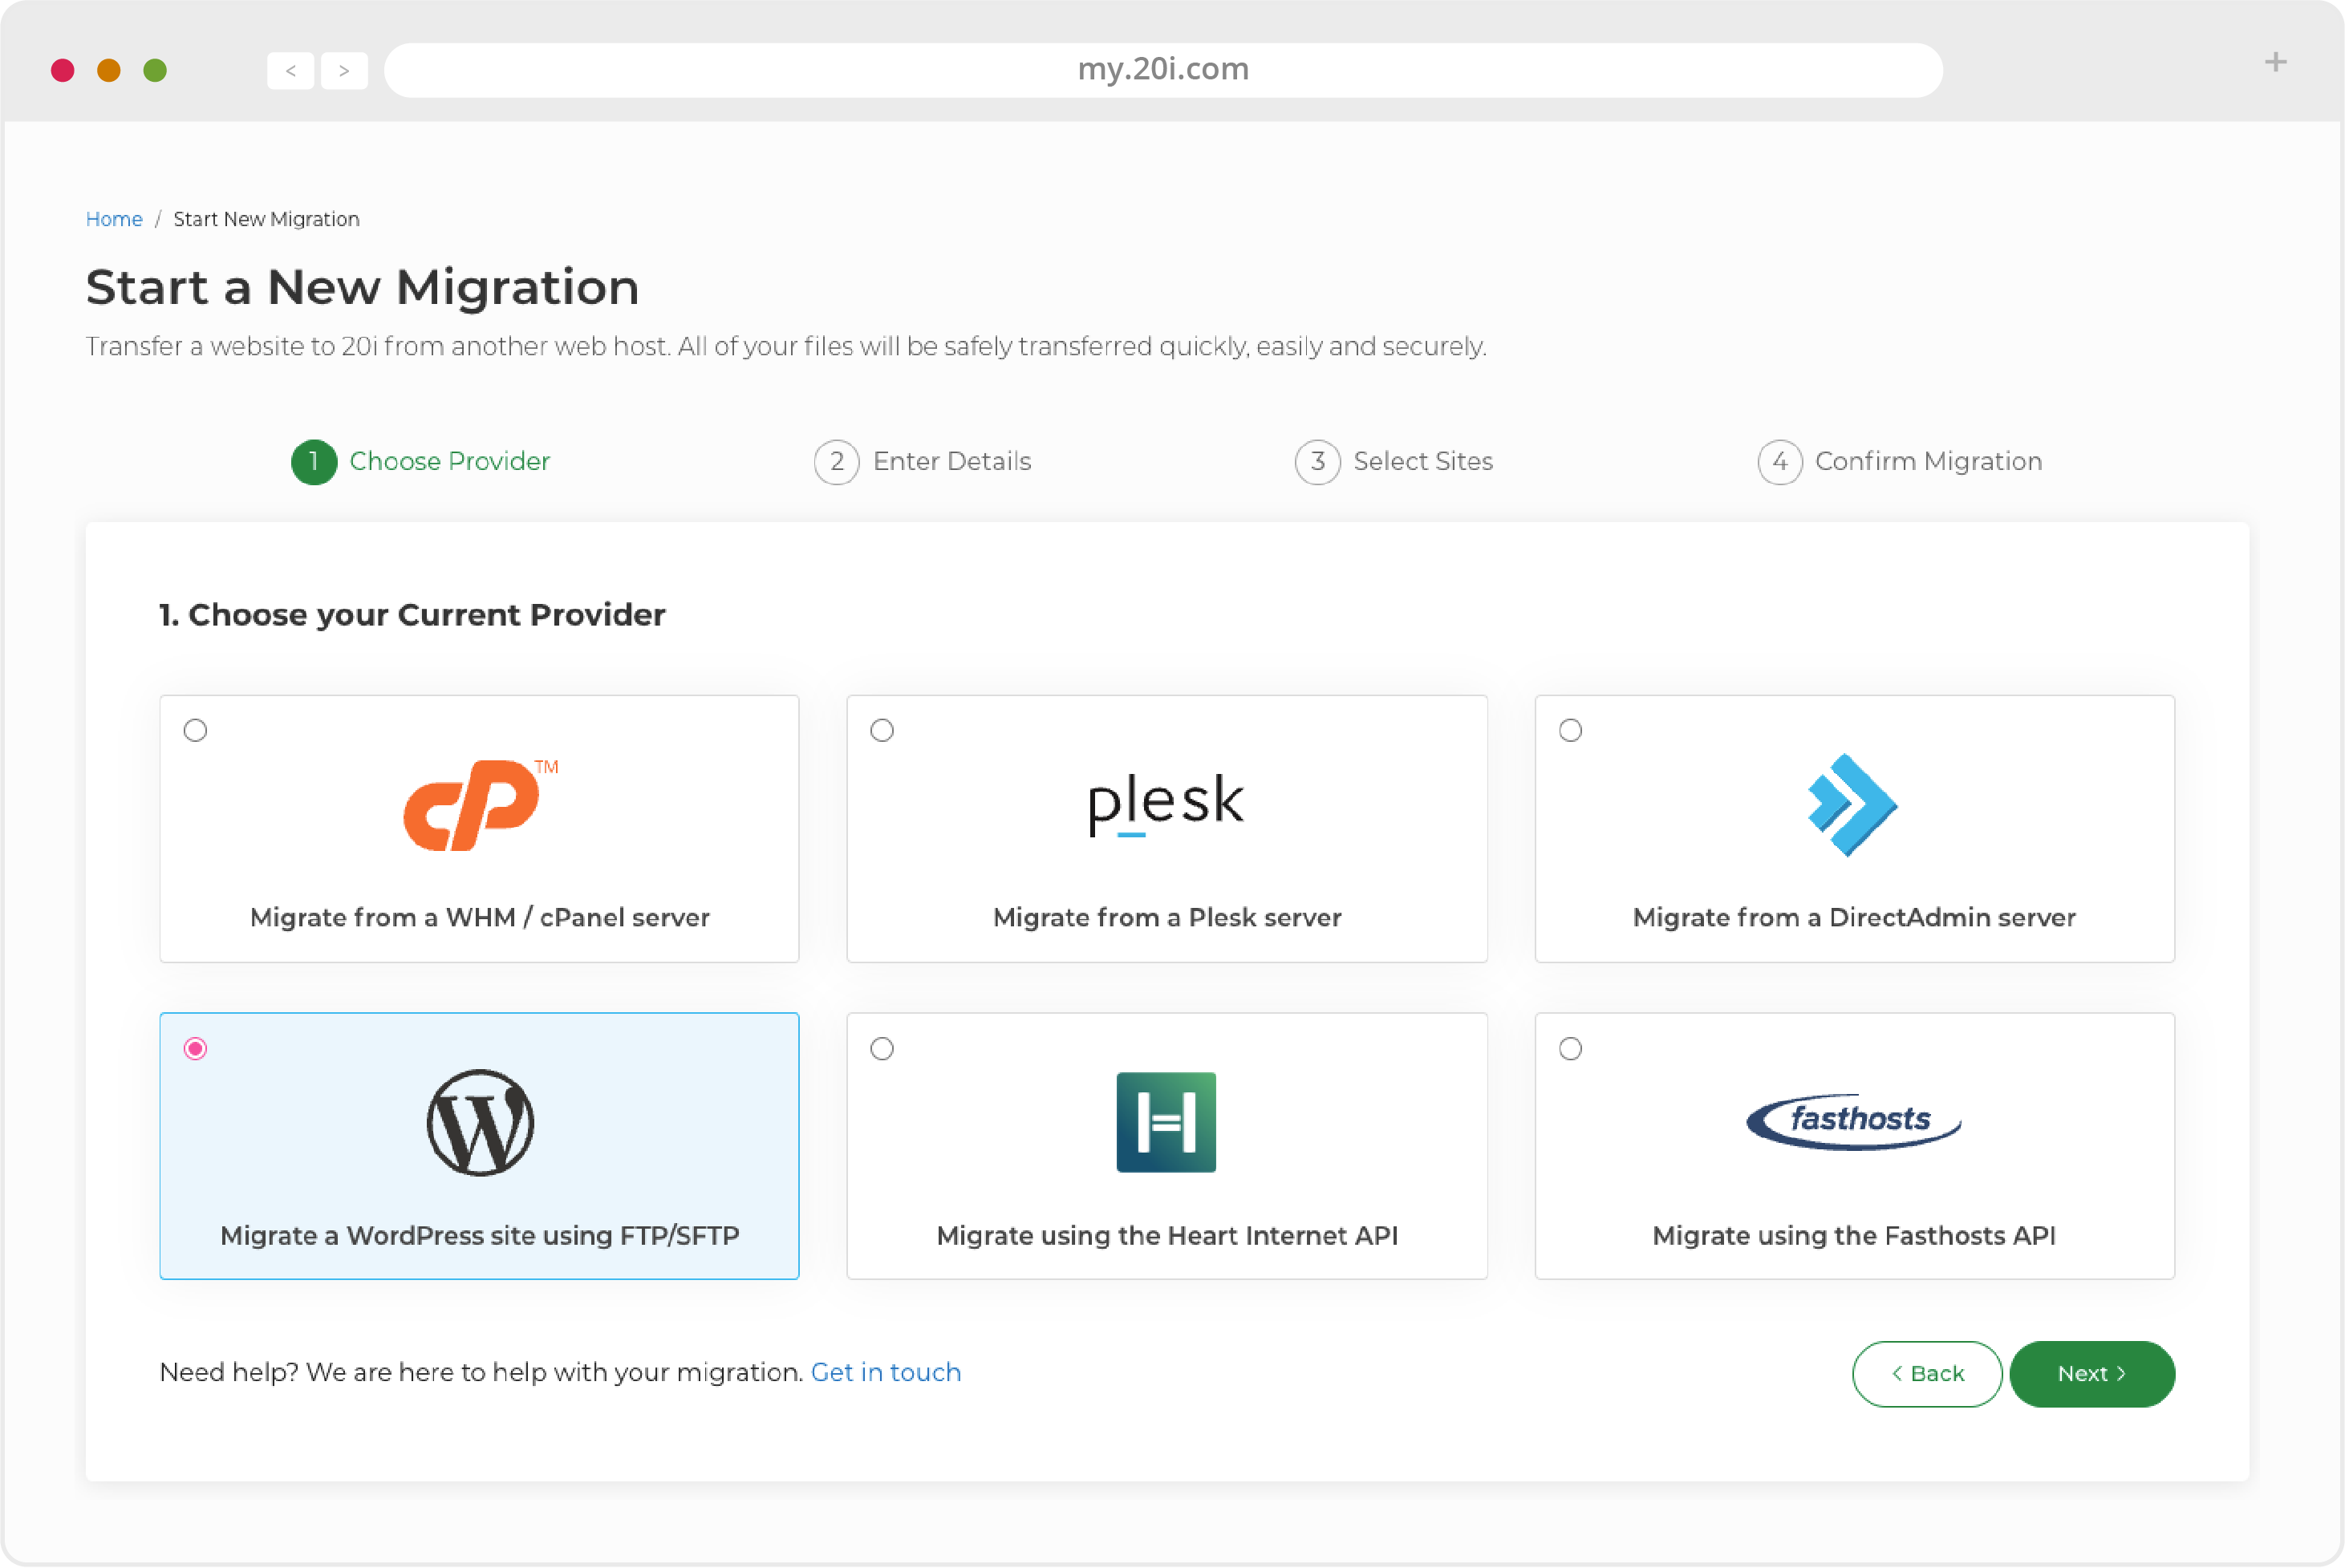
Click the ‘Start Migration’ button and choose 'Migrate a WordPress site using FTP/SFTP'
Then enter the following four pieces of information:
- Hostname: the FTP/SFTP hostname, so the server you’d connect to
- Domain: the domain name of the site you’ll be migrating
- Username: the FTP/SFTP username you’ll use, it is very often the domain of the site e.g. example.com
- Password: the password you’d use to connect to FTP/SFTP
The Migration Centre will then show the packages to be migrated. Begin the migration process by pressing ‘Start New Migration’
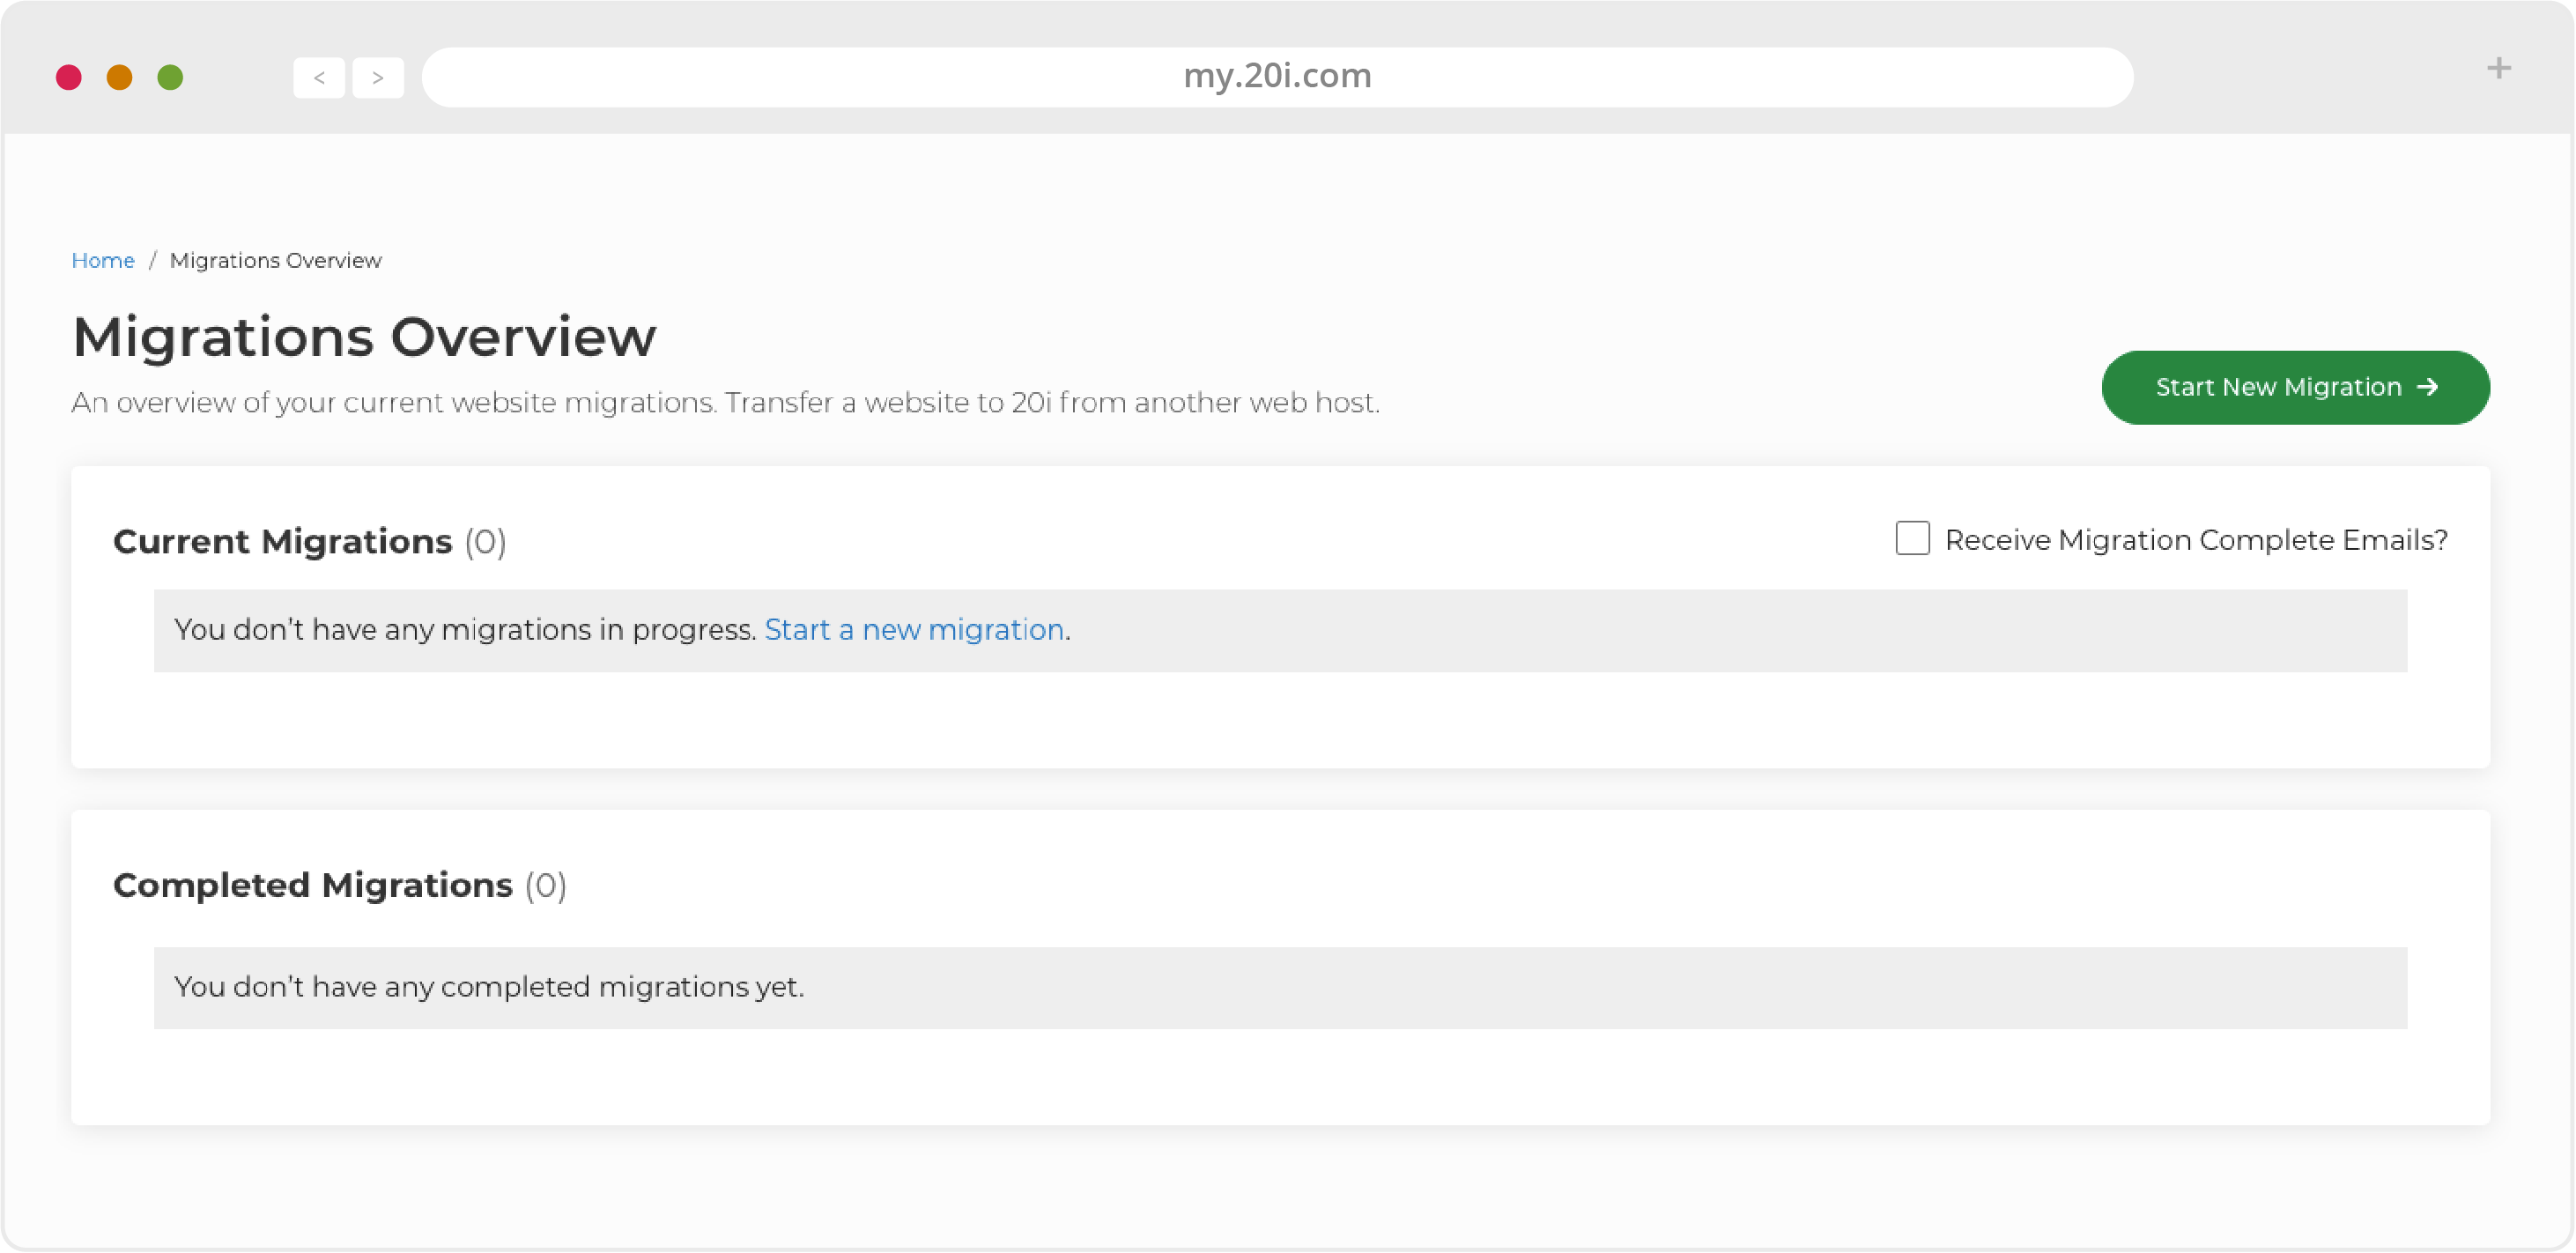
Average sized sites migrate in 30 minutes to 1 hour. By default, you’ll get an email to let you know the migration has completed.
If you don’t want these notification emails, then you can turn them off by unchecking the ‘Receive Migration Complete Emails?’ box near the top of the Migrations Overview page.
2/ Using a migration plugin
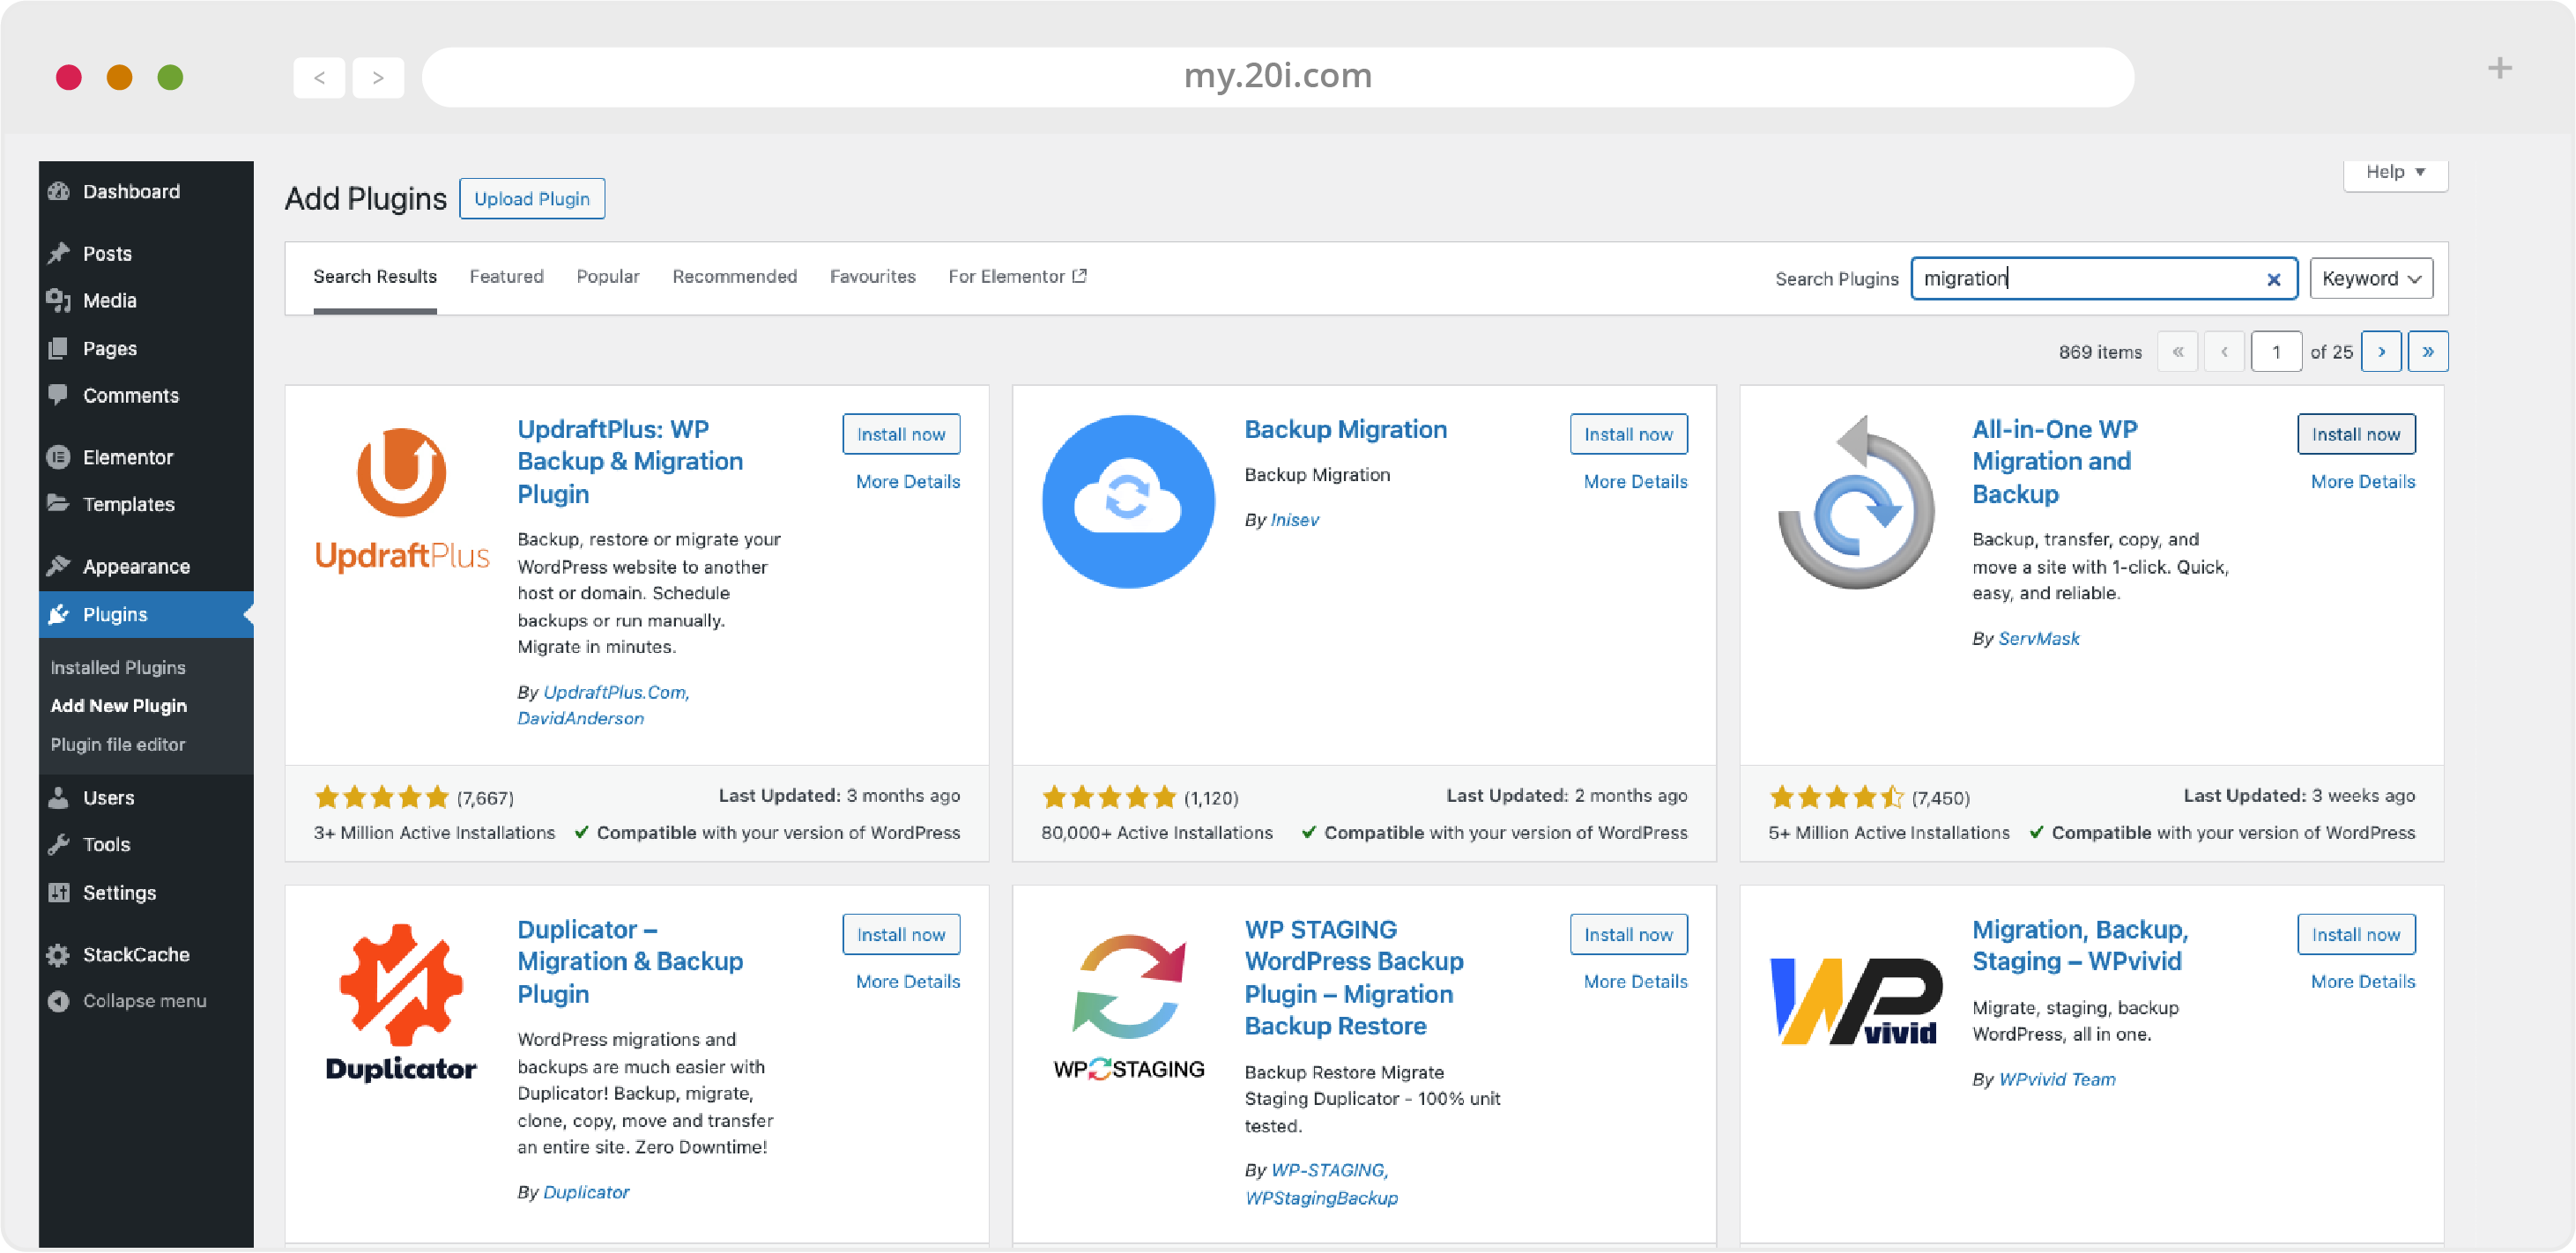
There are a variety of free migration plugins in the official WordPress plugin directory, located at https://en-gb.wordpress.org/plugins.
The majority are compatible with 20i hosting, but we recommend using All-in-One WP Migration.
Install the migration plugin by logging-in to your existing WordPress website, then choosing ‘Plugins’ > ‘Add new’
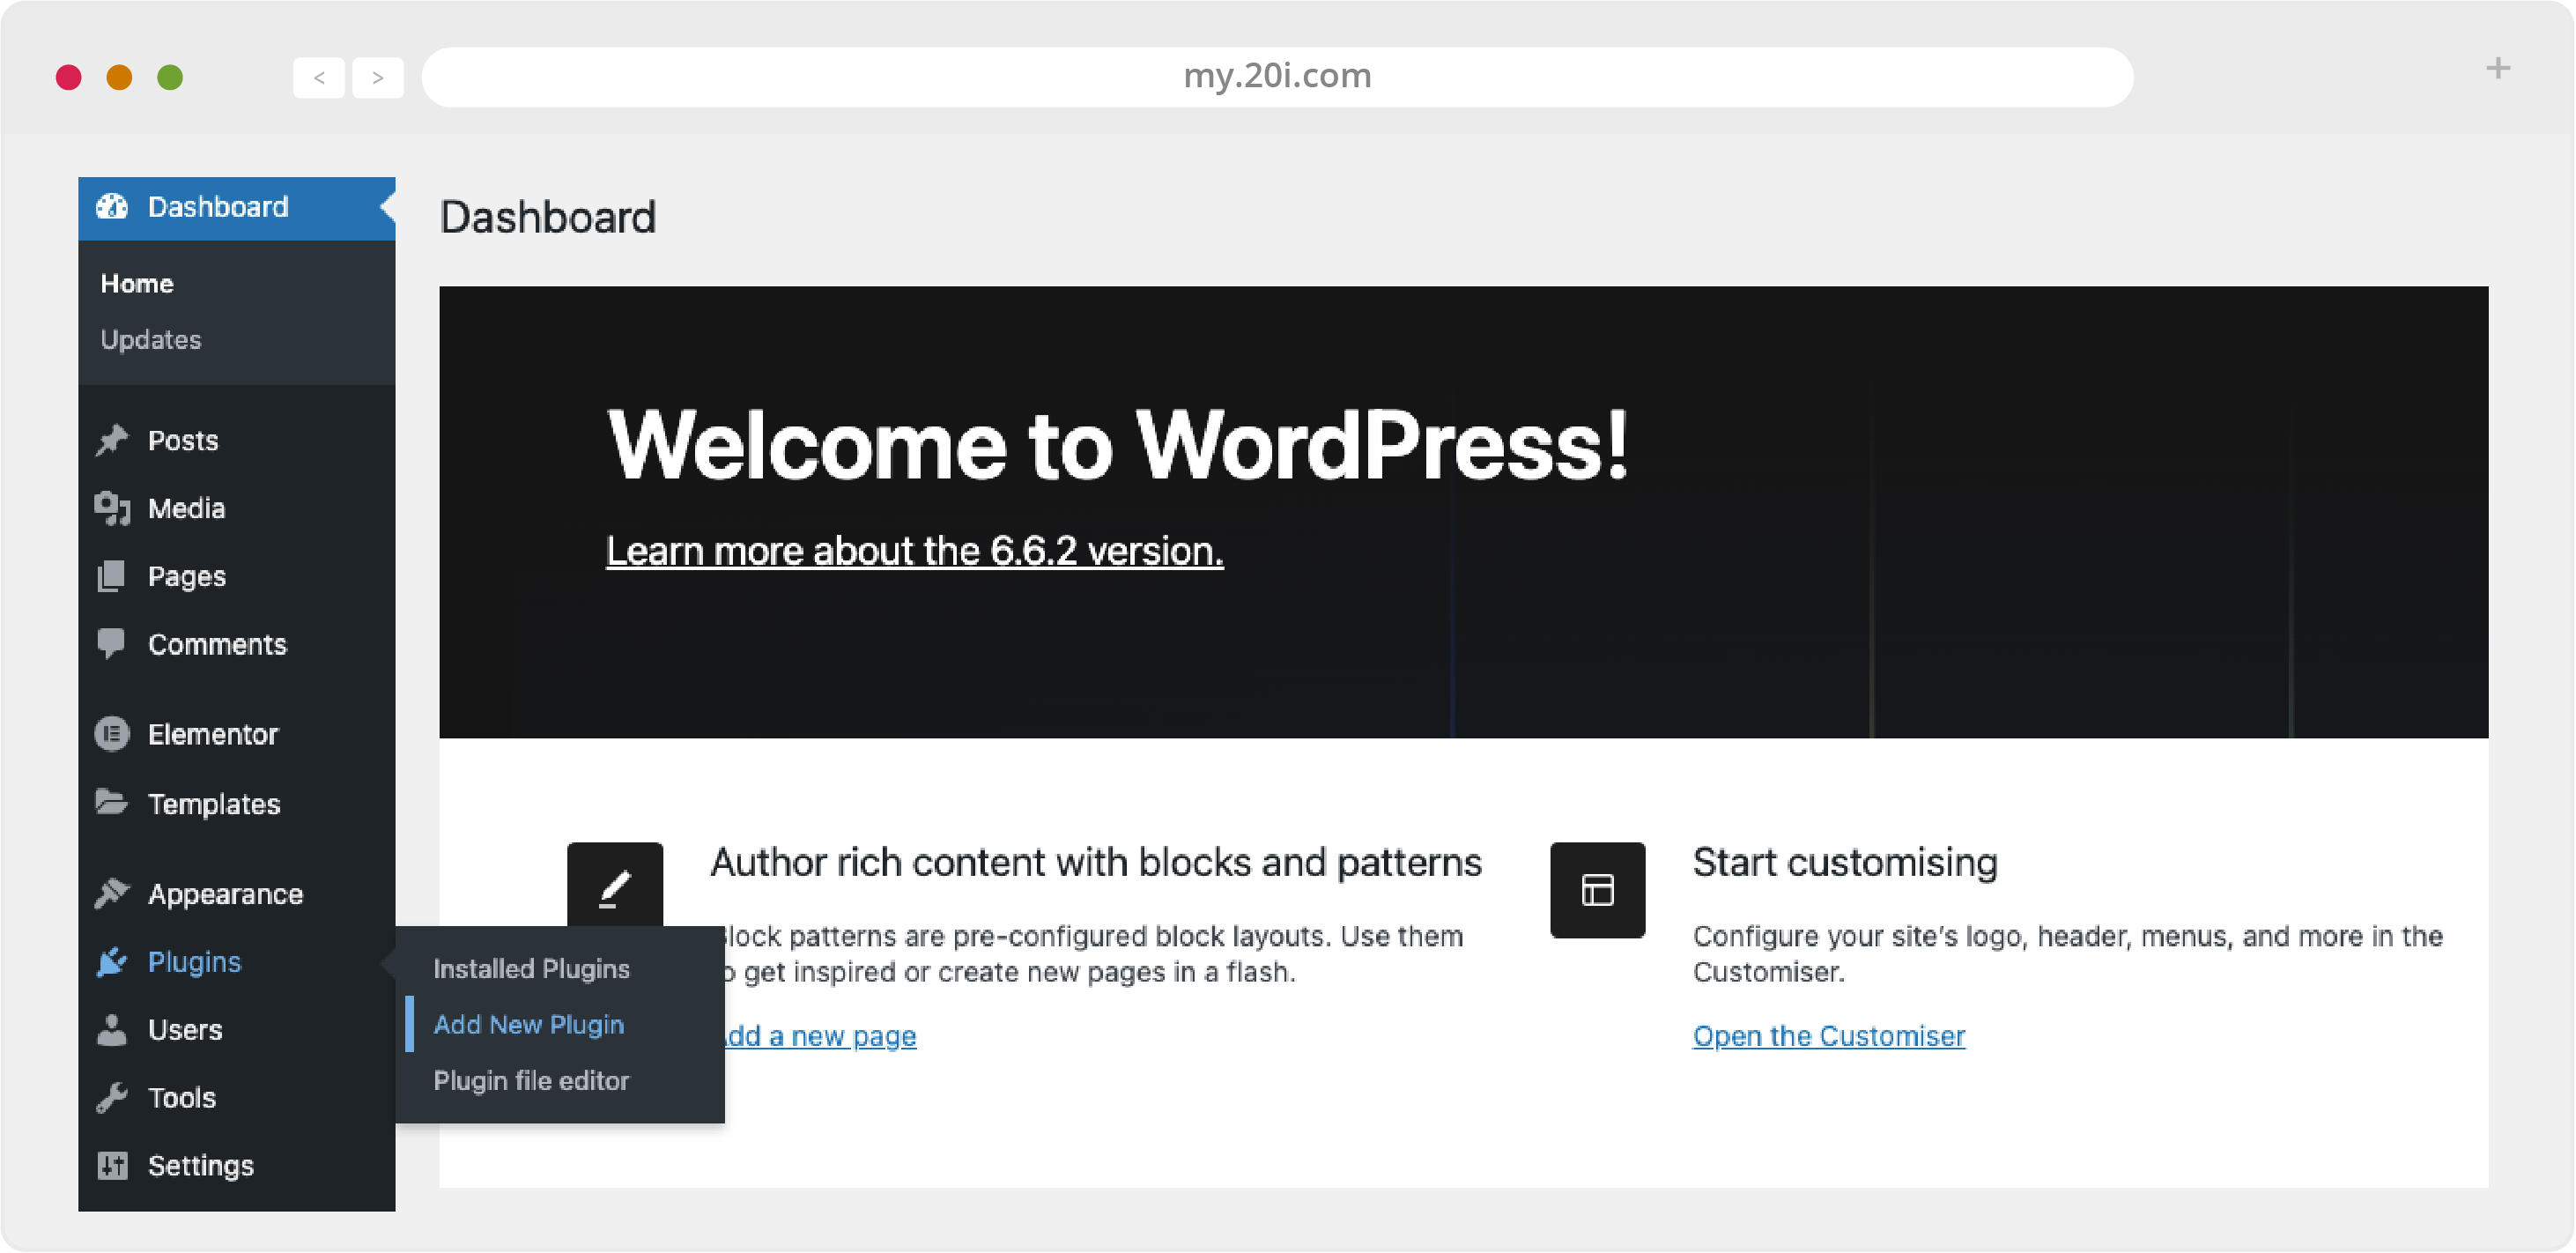
Search for the migration plugin of your choice, click ‘Install’, and then activate it on the same screen
Follow the plugin creator’s guidance for site migration (this will usually involve going to ‘Tools’ and/or ‘Settings’ in your WordPress dashboard and following the instructions)
3/ Manual migration
Here's how to migrate manually:
1. Download your website’s files
Make an FTP connection using the details from your old provider, and download all files from the web space to your local computer.
2. Downloading your database
You’ll need to bring along all the databases your website is using for it to work properly. All major hosts will be running phpMyAdmin management software. Here is how to export your databases:
- Access phpMyAdmin
- Click the database you wish to backup down the left-hand side
- Click the ‘Export’ tab at the top of your page
- Leave ‘Quick’ selected under Export Method
- Select your desired format - we recommend SQL for most cases - and Select ‘Go’
3. Upload website files to 20i
Before you change nameservers or update DNS for your domain, you’ll need to transfer the website files you downloaded to your local machine in step 1.
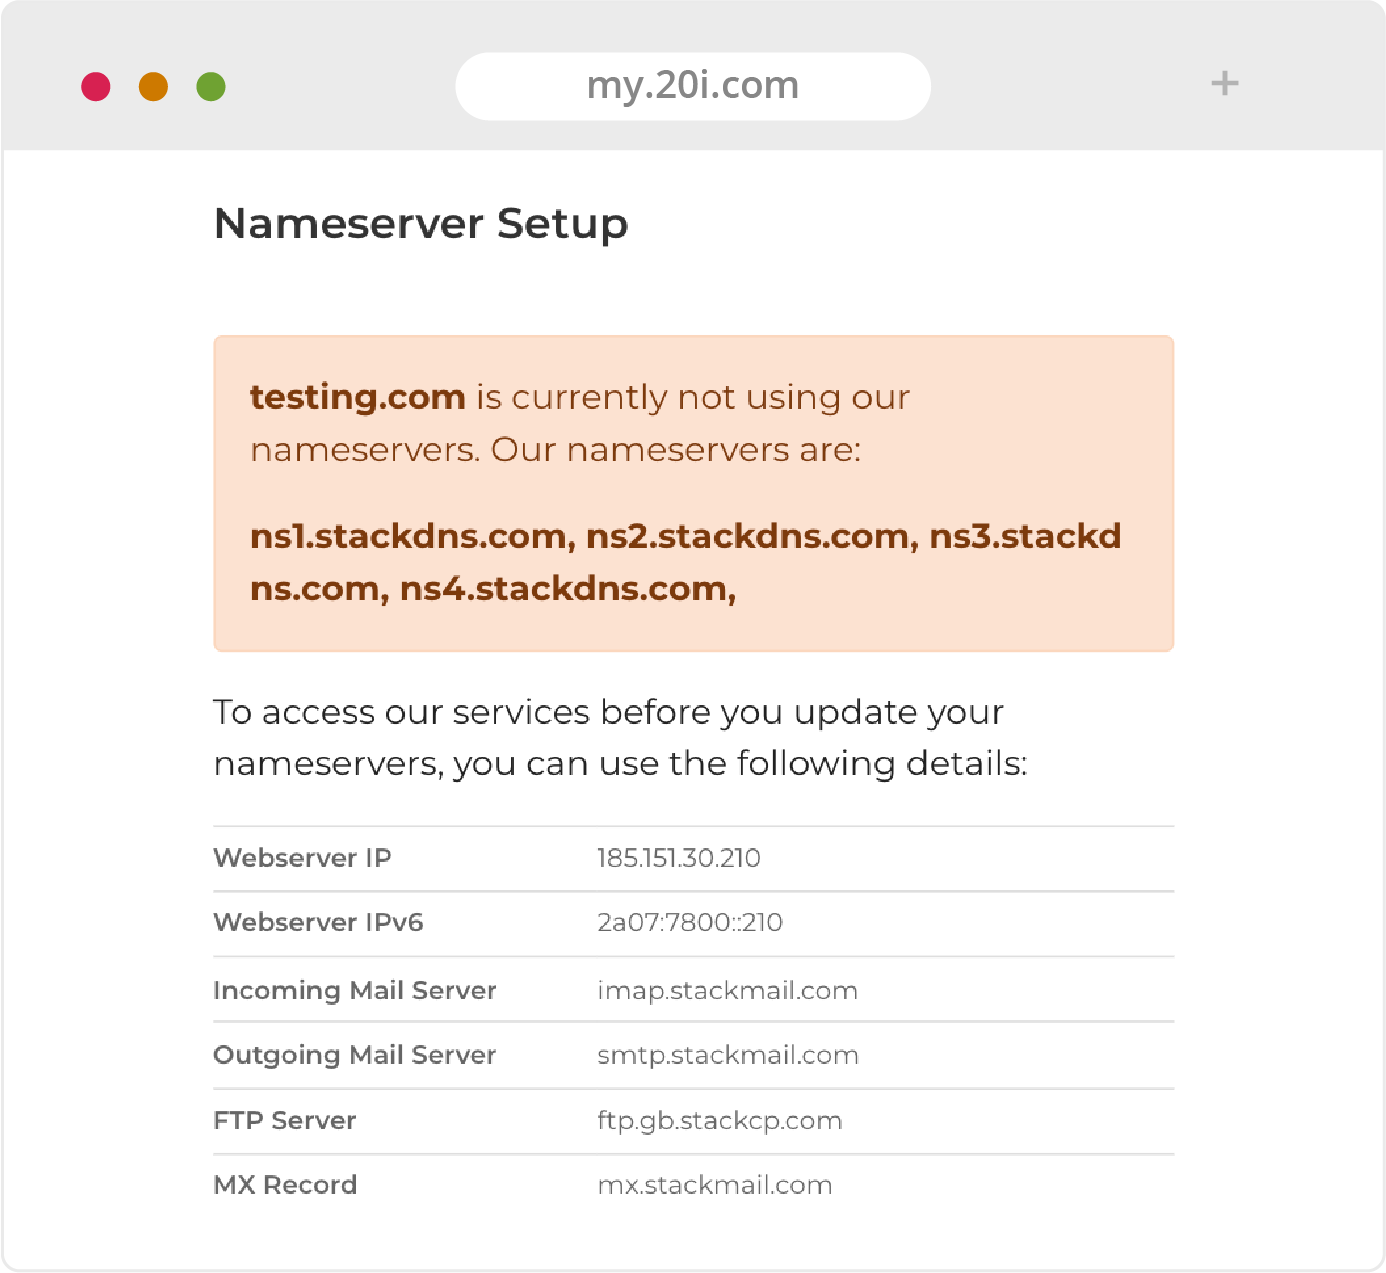
Get the FTP hostname from the ‘Nameserver Setup’ section of your new package on My20i. This information appears when the domain of the package you are managing is not using our nameservers.
Scroll down and you’ll see the details on the right-hand side when you’re managing your hosting package.
Use FTP to connect to your new package, and be careful to put the files from your website in the same hierarchy as they were on your old platform.
4. Create databases on 20i
Do this by navigating to My20i > Manage Hosting > [select package] > MySQL Databases. Note down the hostname, database name/username and password for your new database as you’ll need these details later. Repeat this step for each database you want to import.
5. Import your database backup to the newly-created database
Once again we recommend using phpMyAdmin for this purpose:
- My20i > Manage Hosting > [select package] > phpMyAdmin
- Automatically log in to phpMyAdmin for each of your databases. Click the ‘Import’ tab at
the top of your page - For each of your databases click ‘Sign in ‘ and navigate to the ‘Import’ tab at the top

- Browse your computer for the database export you have taken previously
- Select the format that matches the export: this will be SQL for most cases
- Click ‘Go’. If the import fails, you may wish to try again with ‘Enable foreign key checks’
unchecked
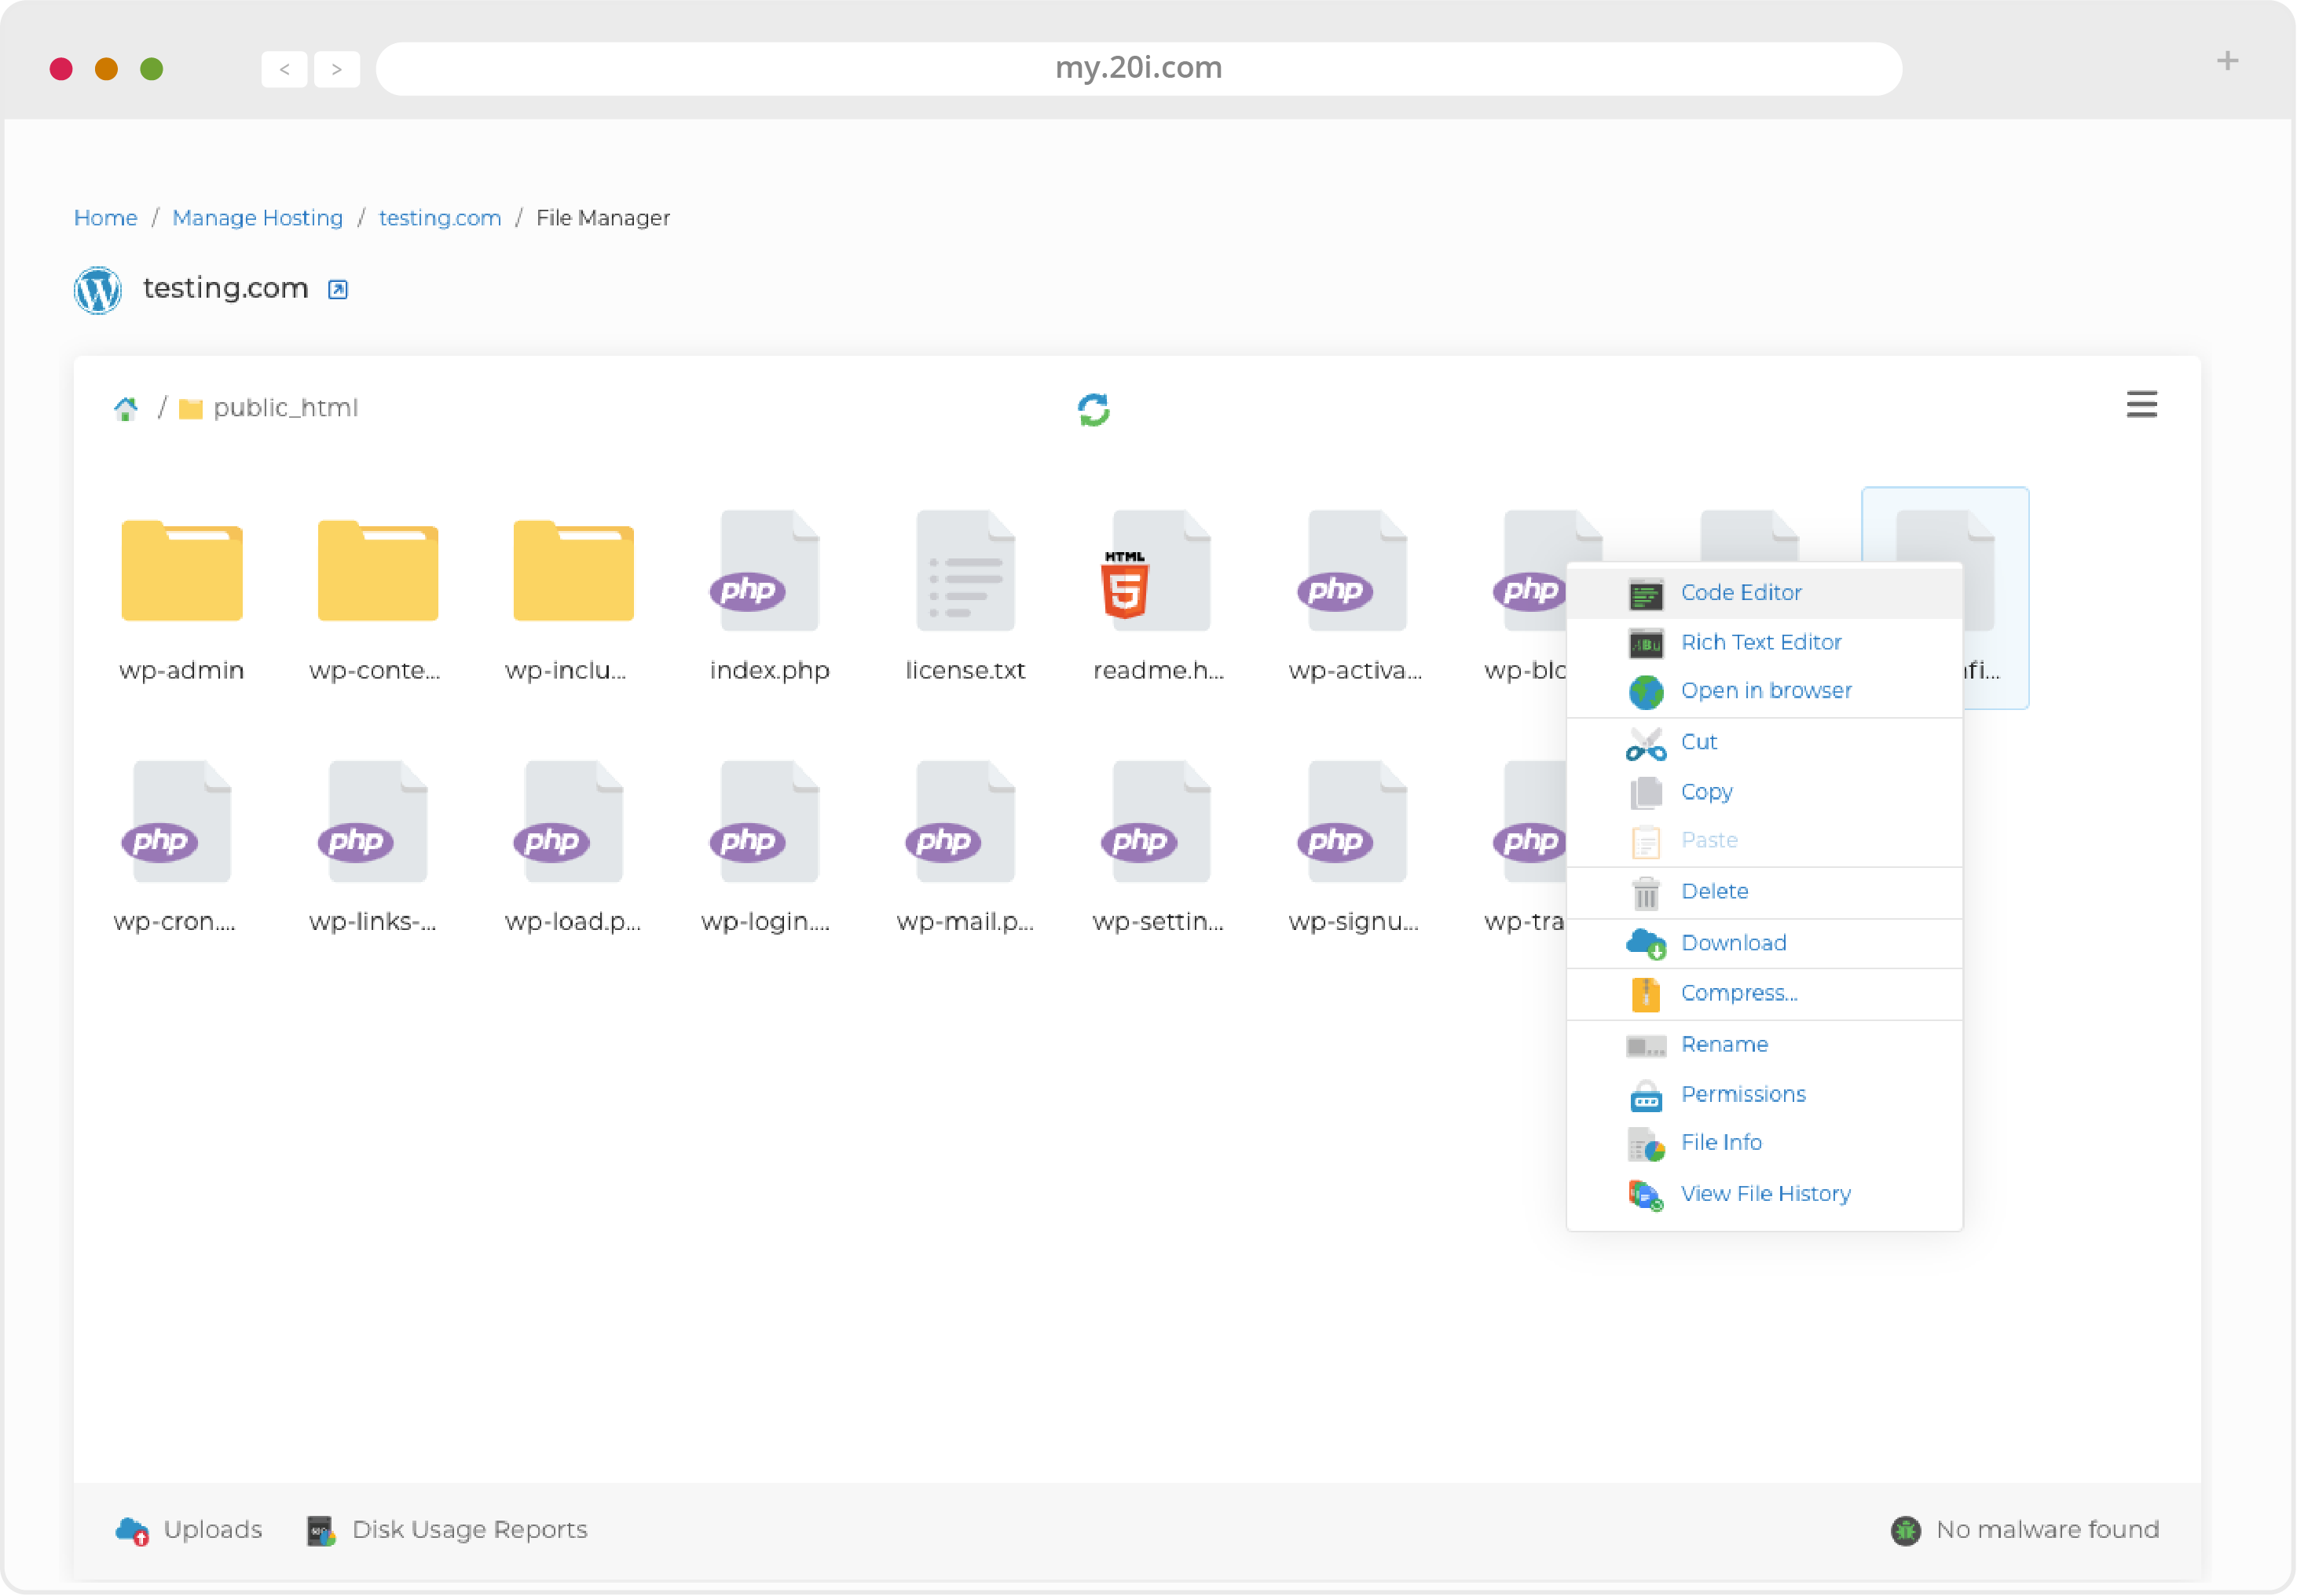
6. Update wp-config.php
Use the Code Editor feature of our File Manager and open the wp-config.php file. Update the credentials and save your changes.
7. The website will now be fully functional on our platform
With your website migration completed; you are ready to learn about our powerful, purpose build control panel.
If something went wrong and you need any help with migration: our Support Team are available 24/7 to help.
>> Next Step: The My20i control panel