Managed Cloud Hosting: Migrating Your Site

Migrating Your Site
If you already have a website, it’s now time to migrate it to 20i. Moving your website over is safe and painless.
Migration Centre
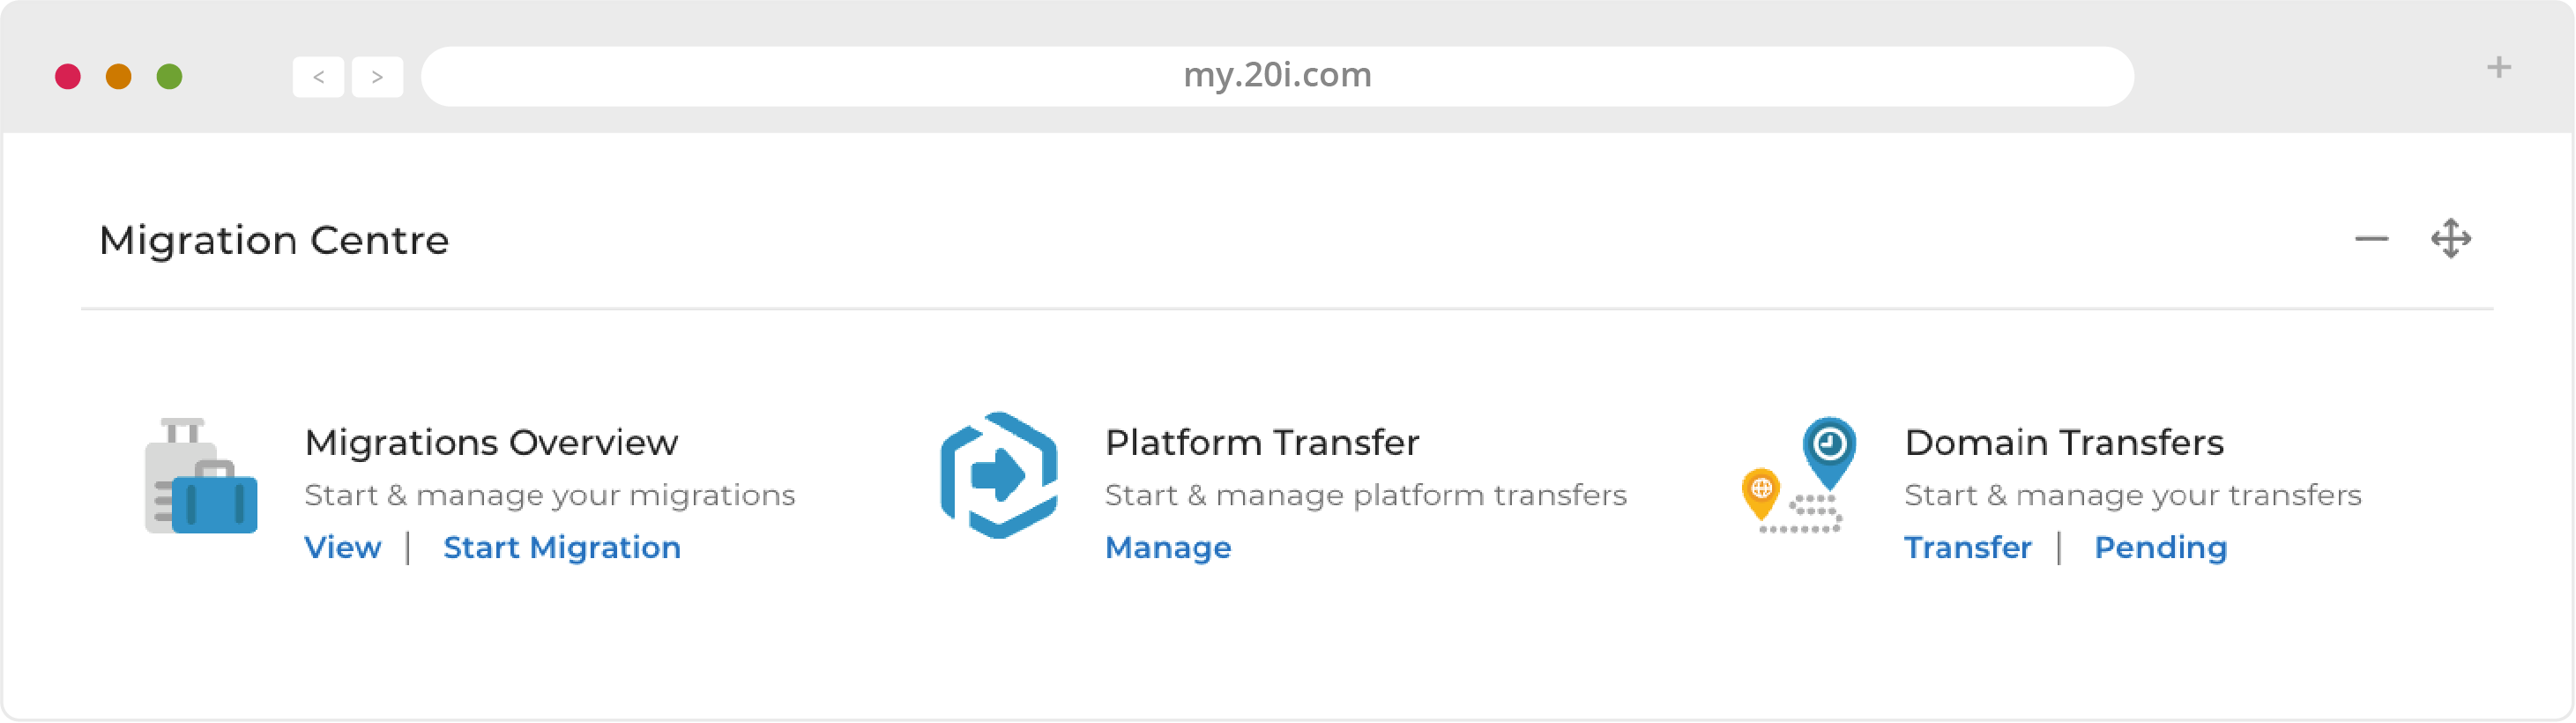
Our automatic Migration Centre will move all the files for your website(s), database(s) and email. It supports automatic migrations from web hosts who use the cPanel or Plesk control panels, as well as Fasthosts.
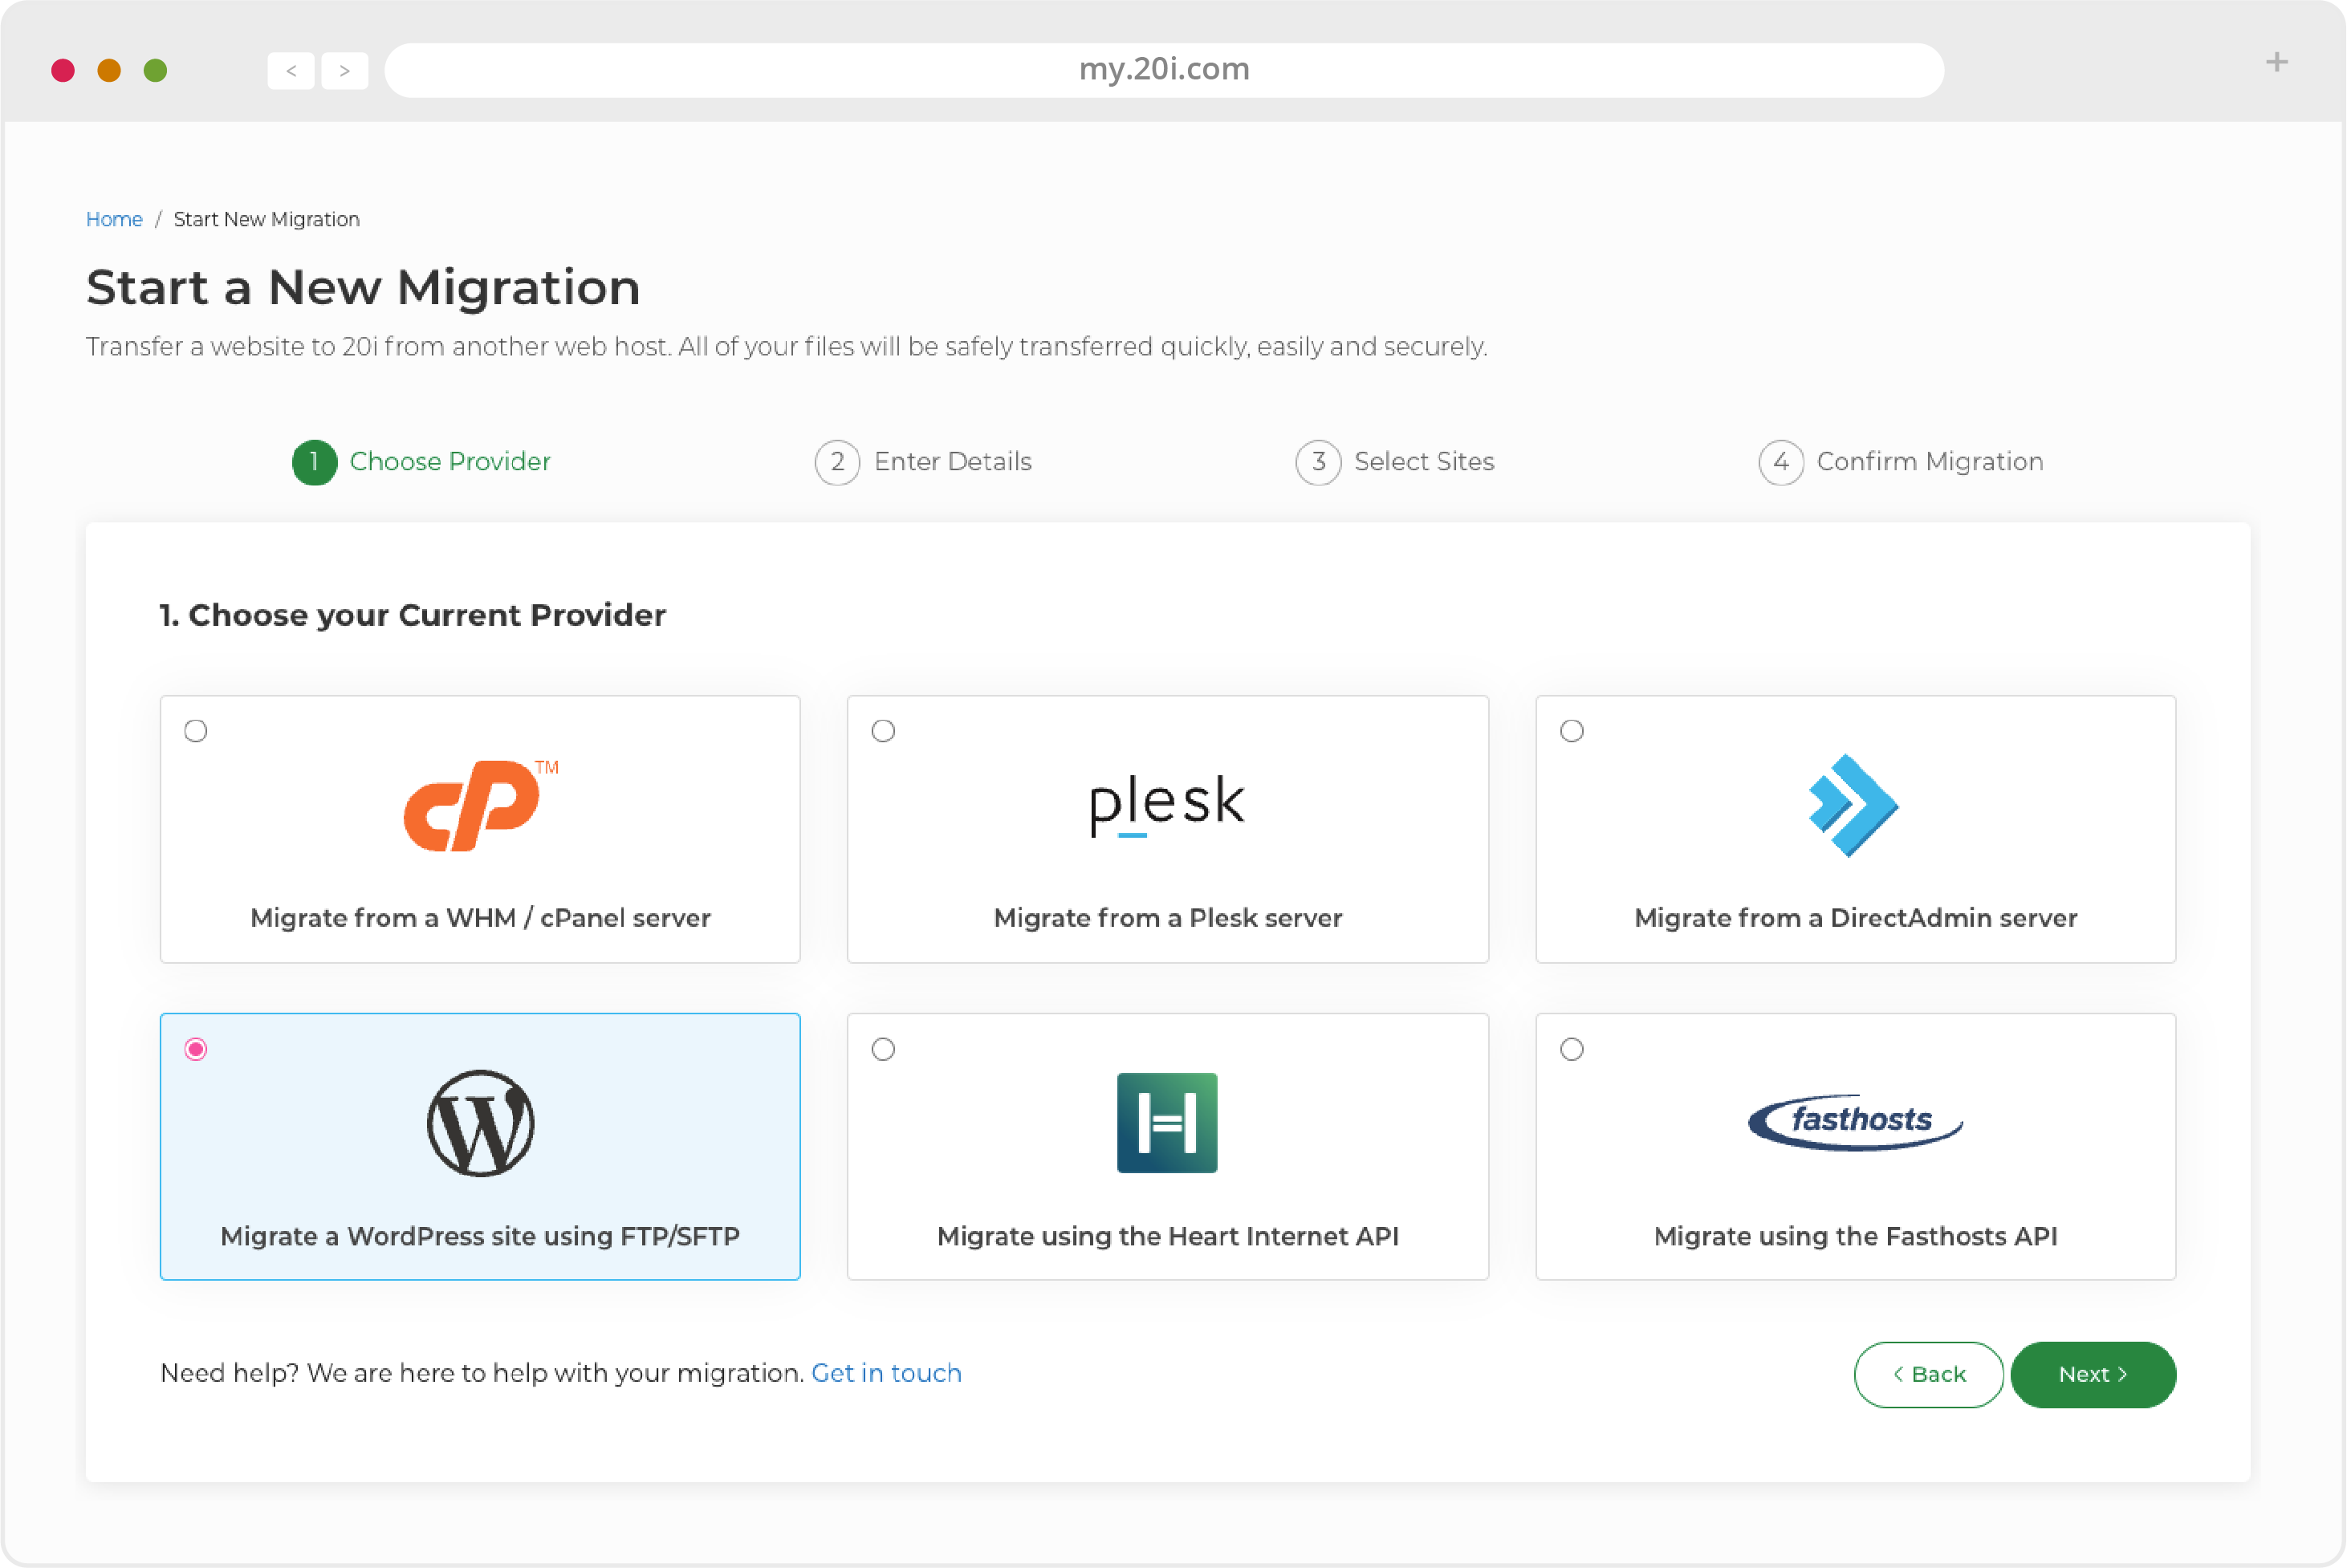
1. Choose your provider from the list and click 'Next'.
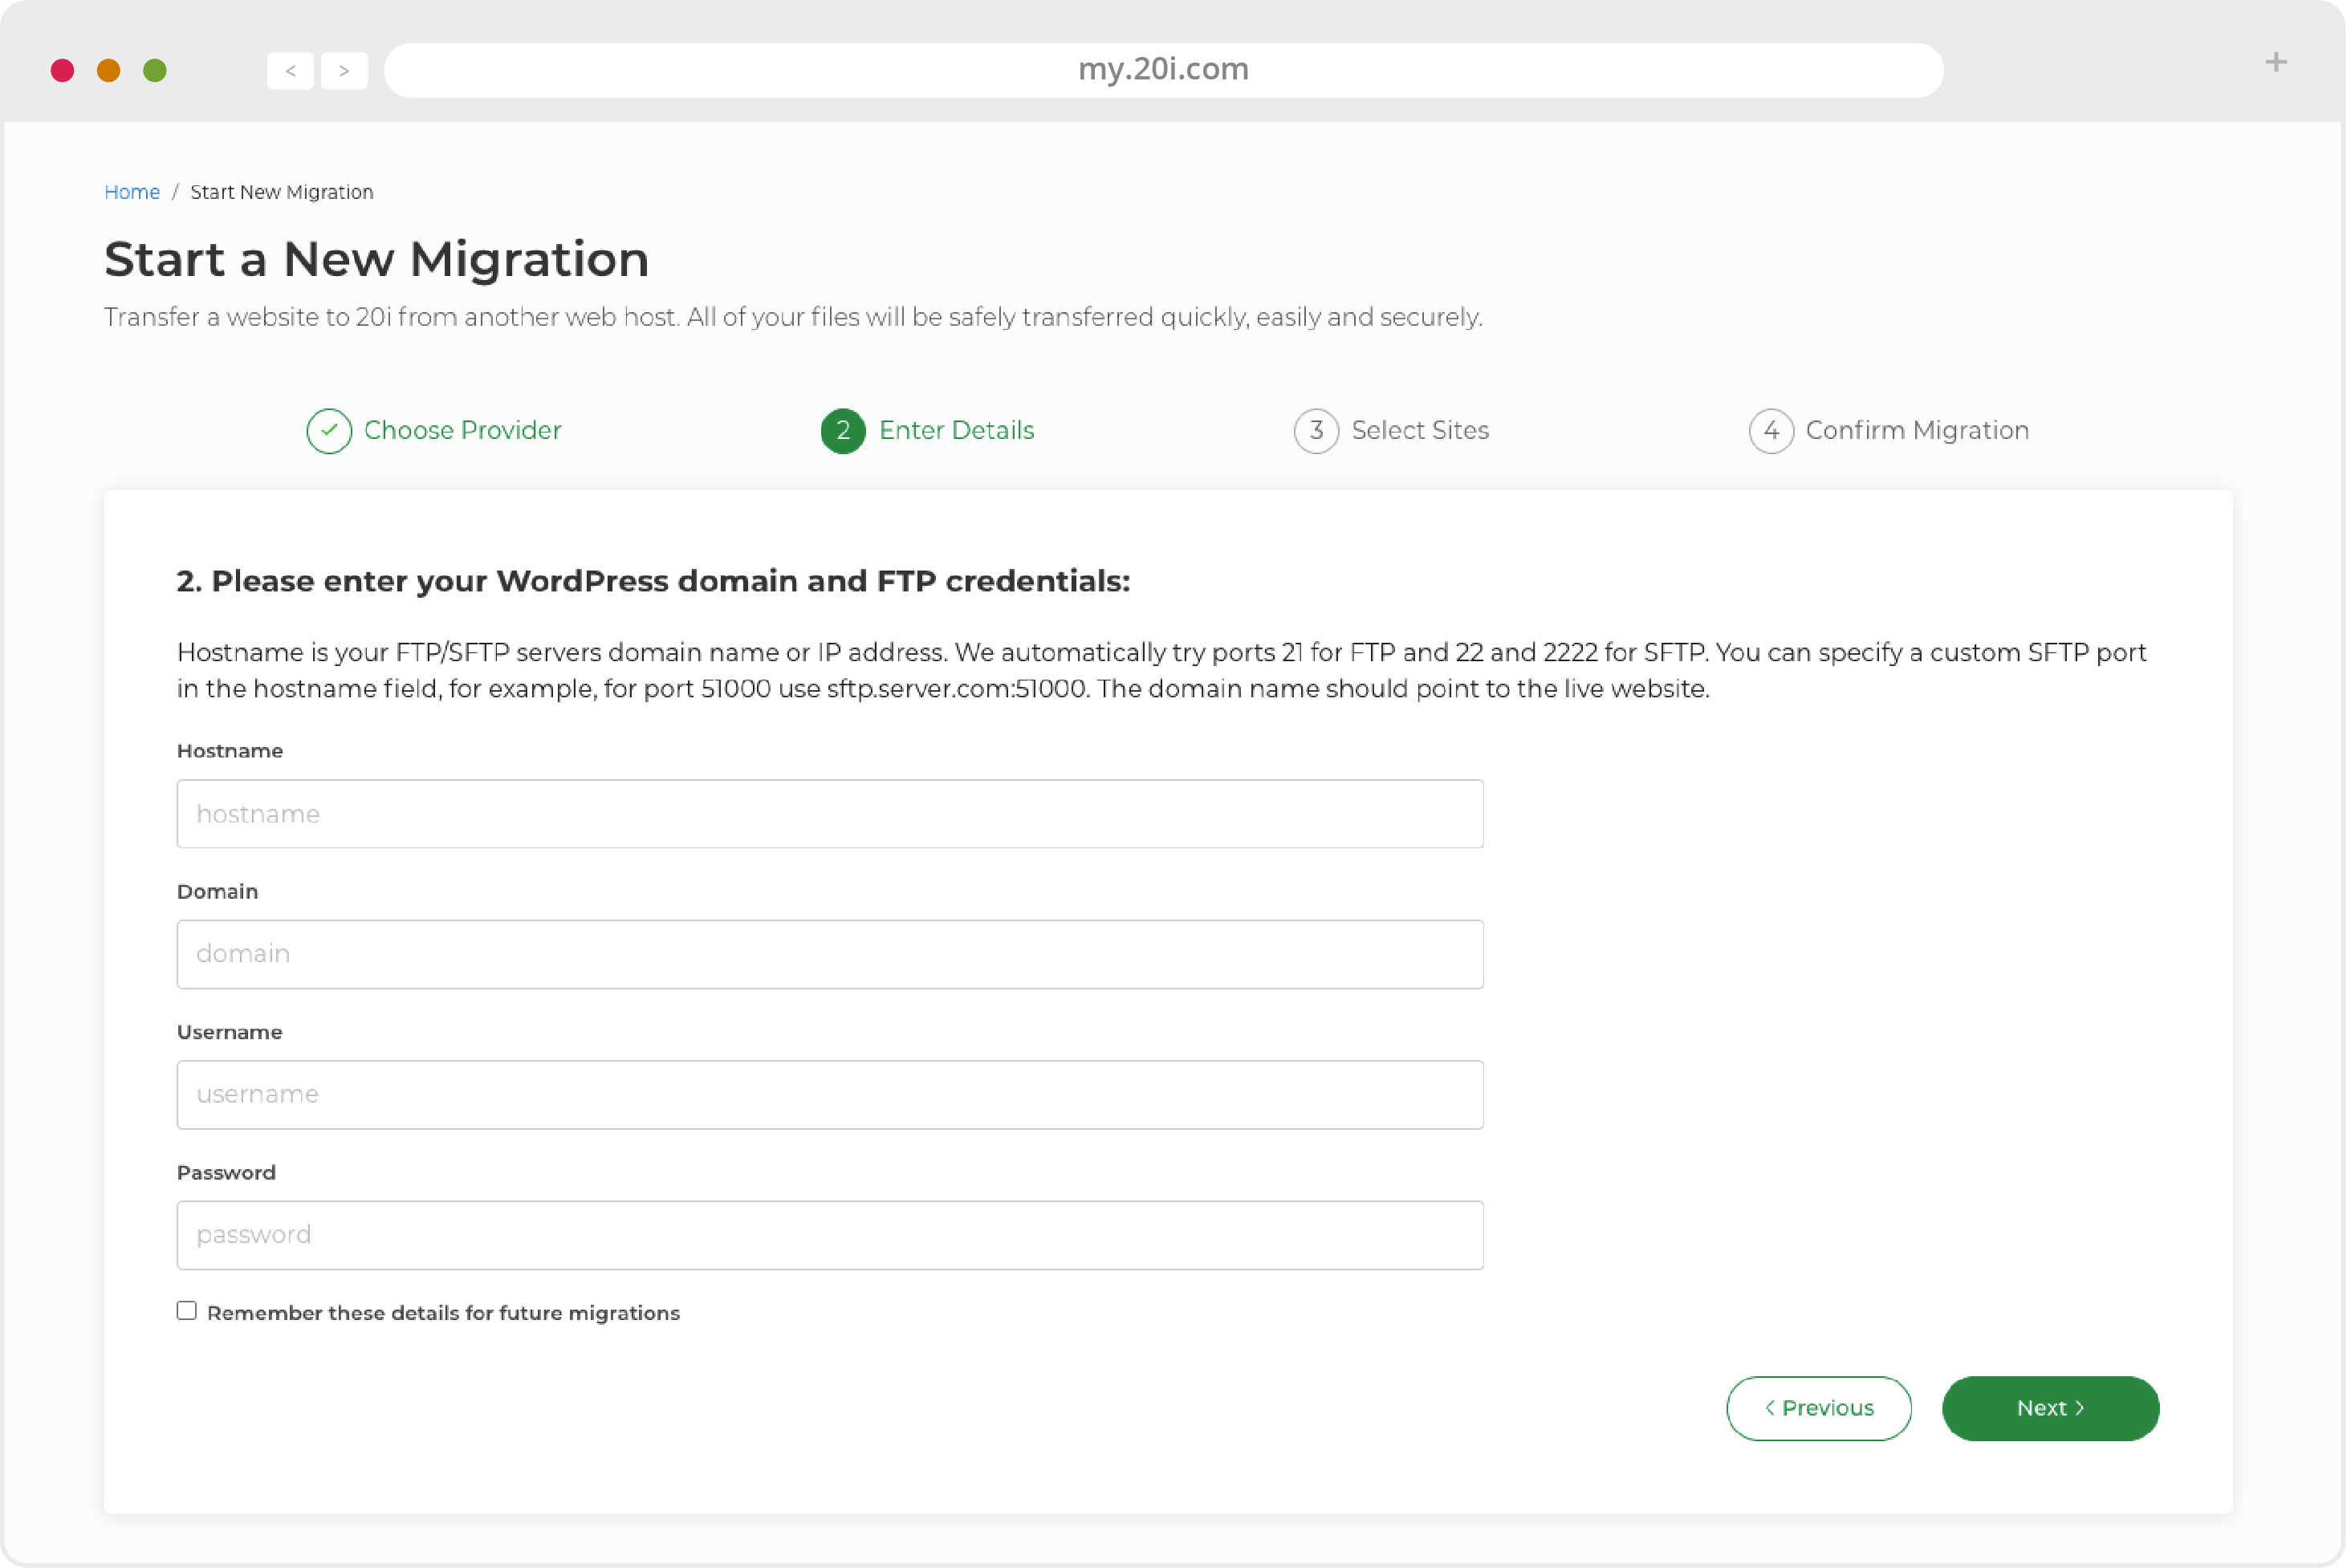
2. Enter the required credentials (usually username and password), and select ‘Next’.
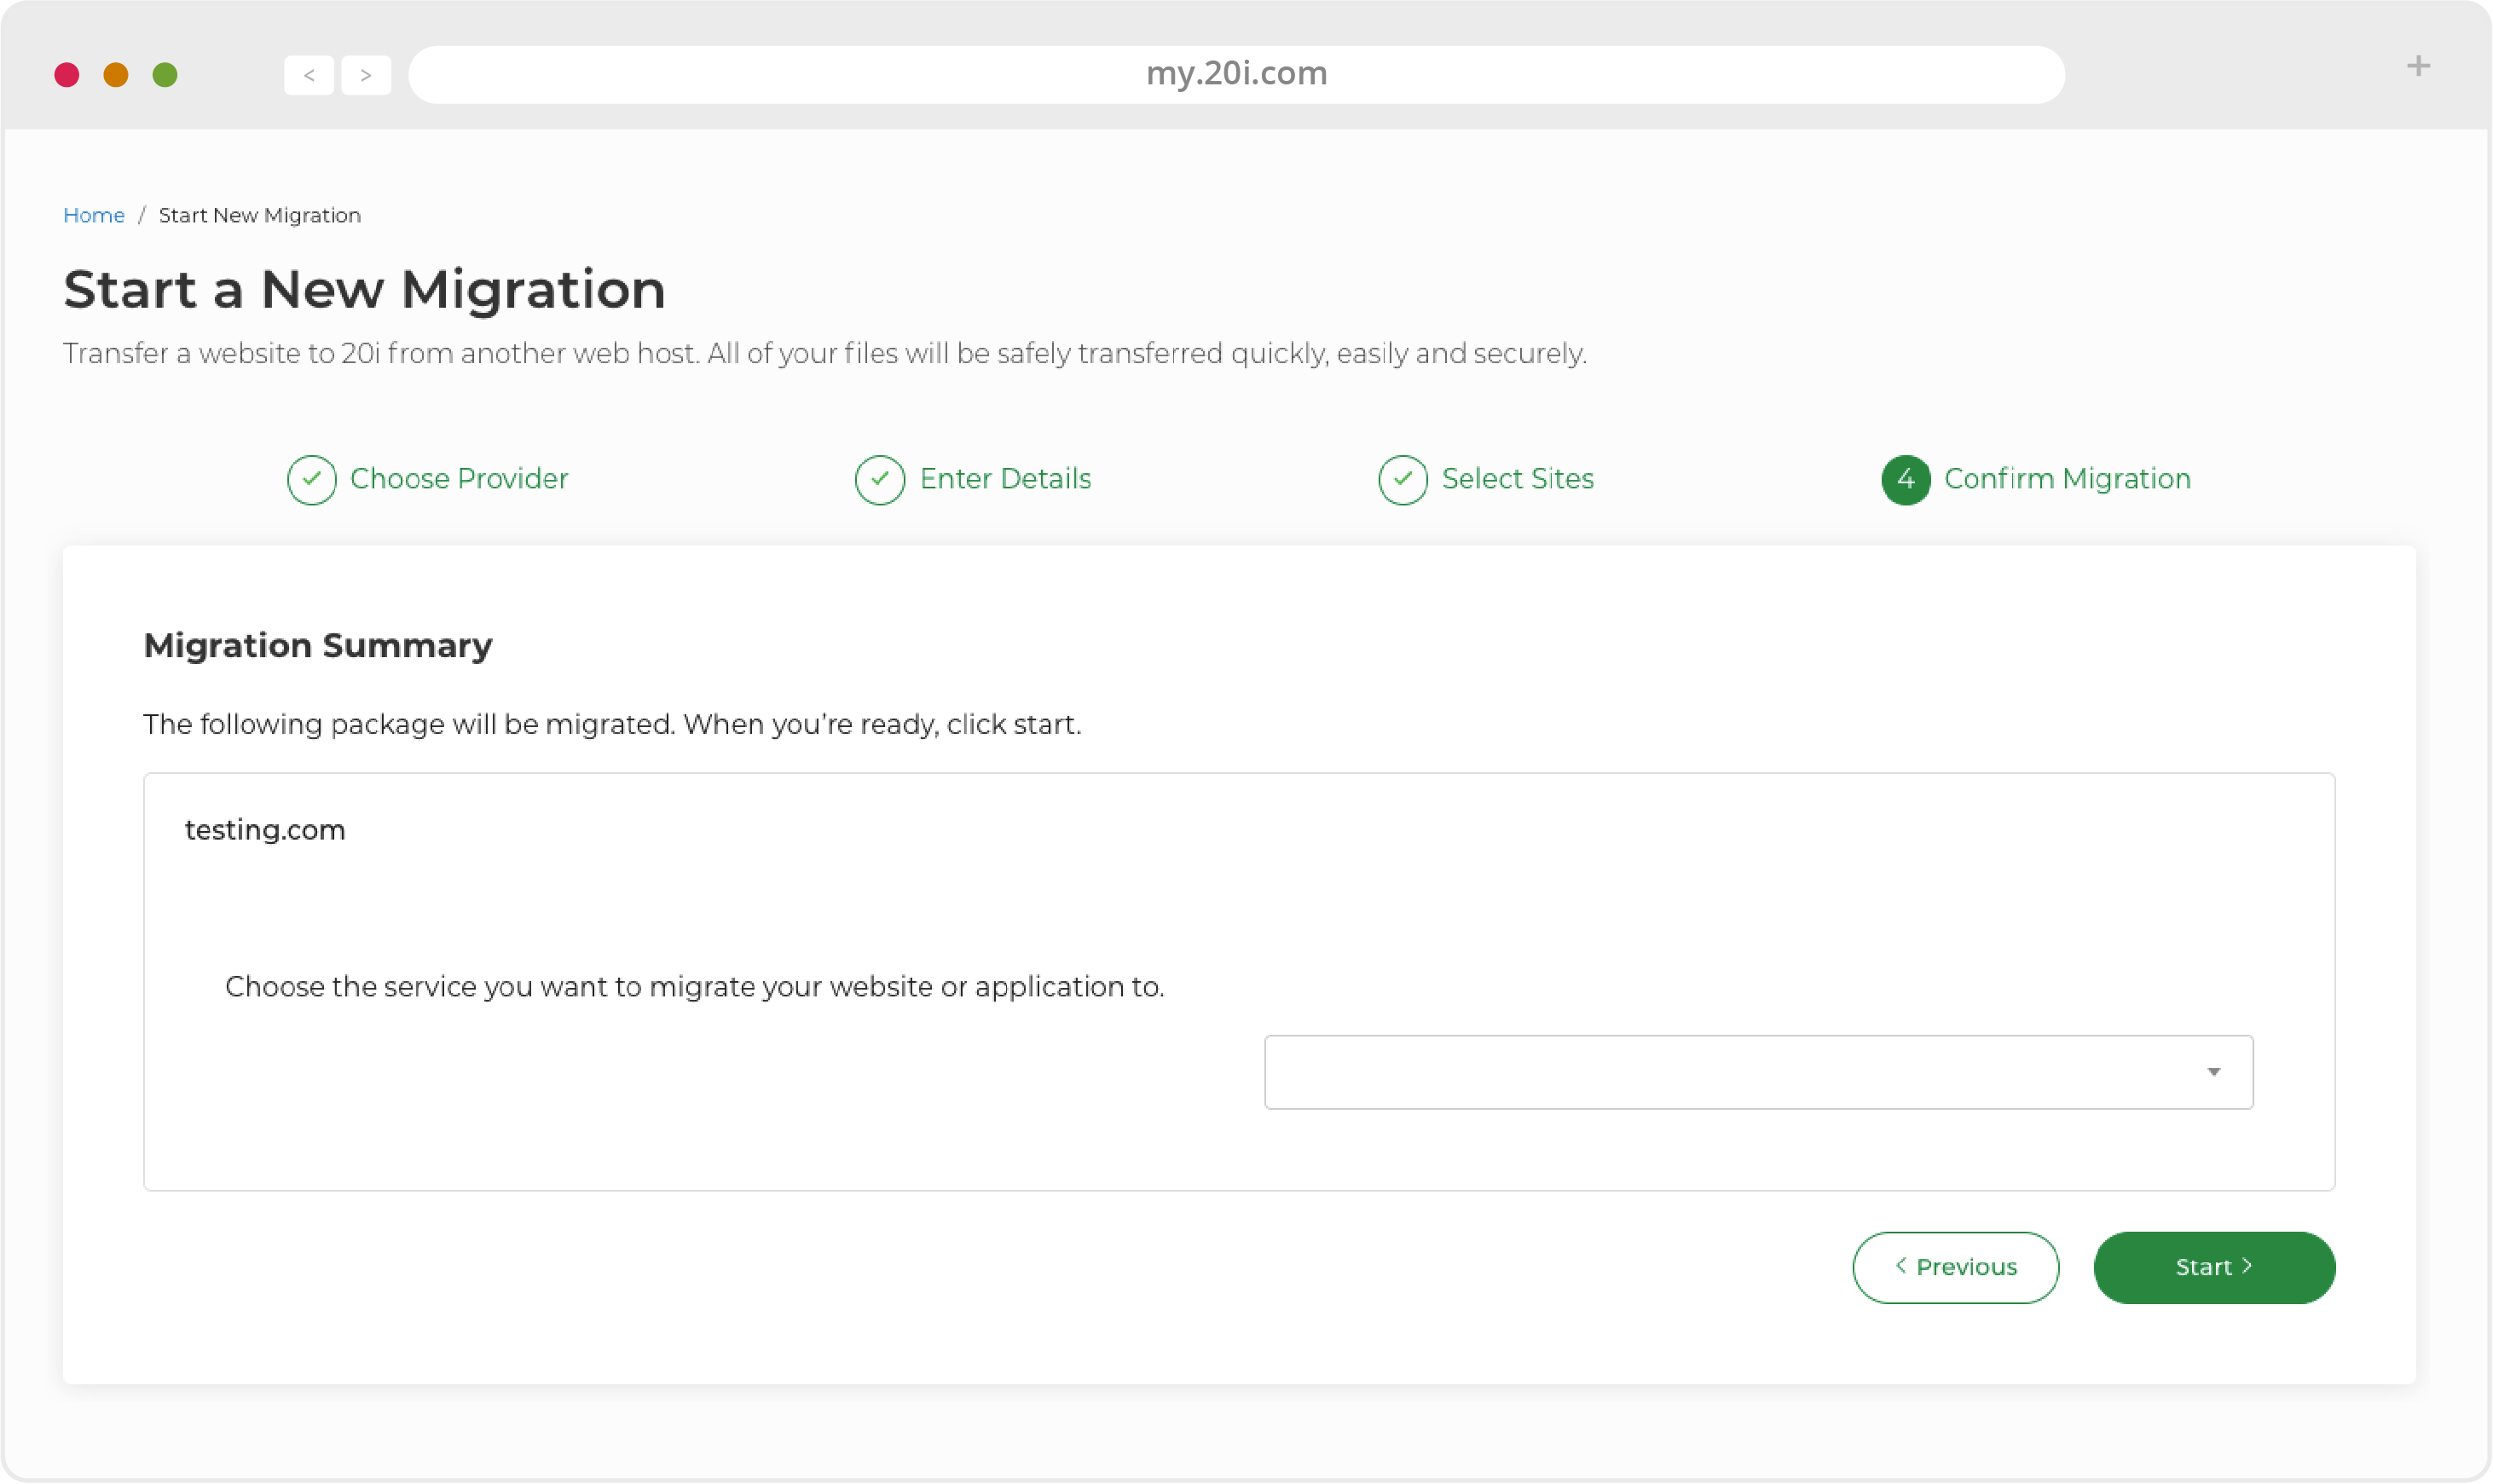
3. Enter the required API credentials (there are descriptions of where to find these for your particular host), choose the package you’d like to migrate and click the button to start your migration.
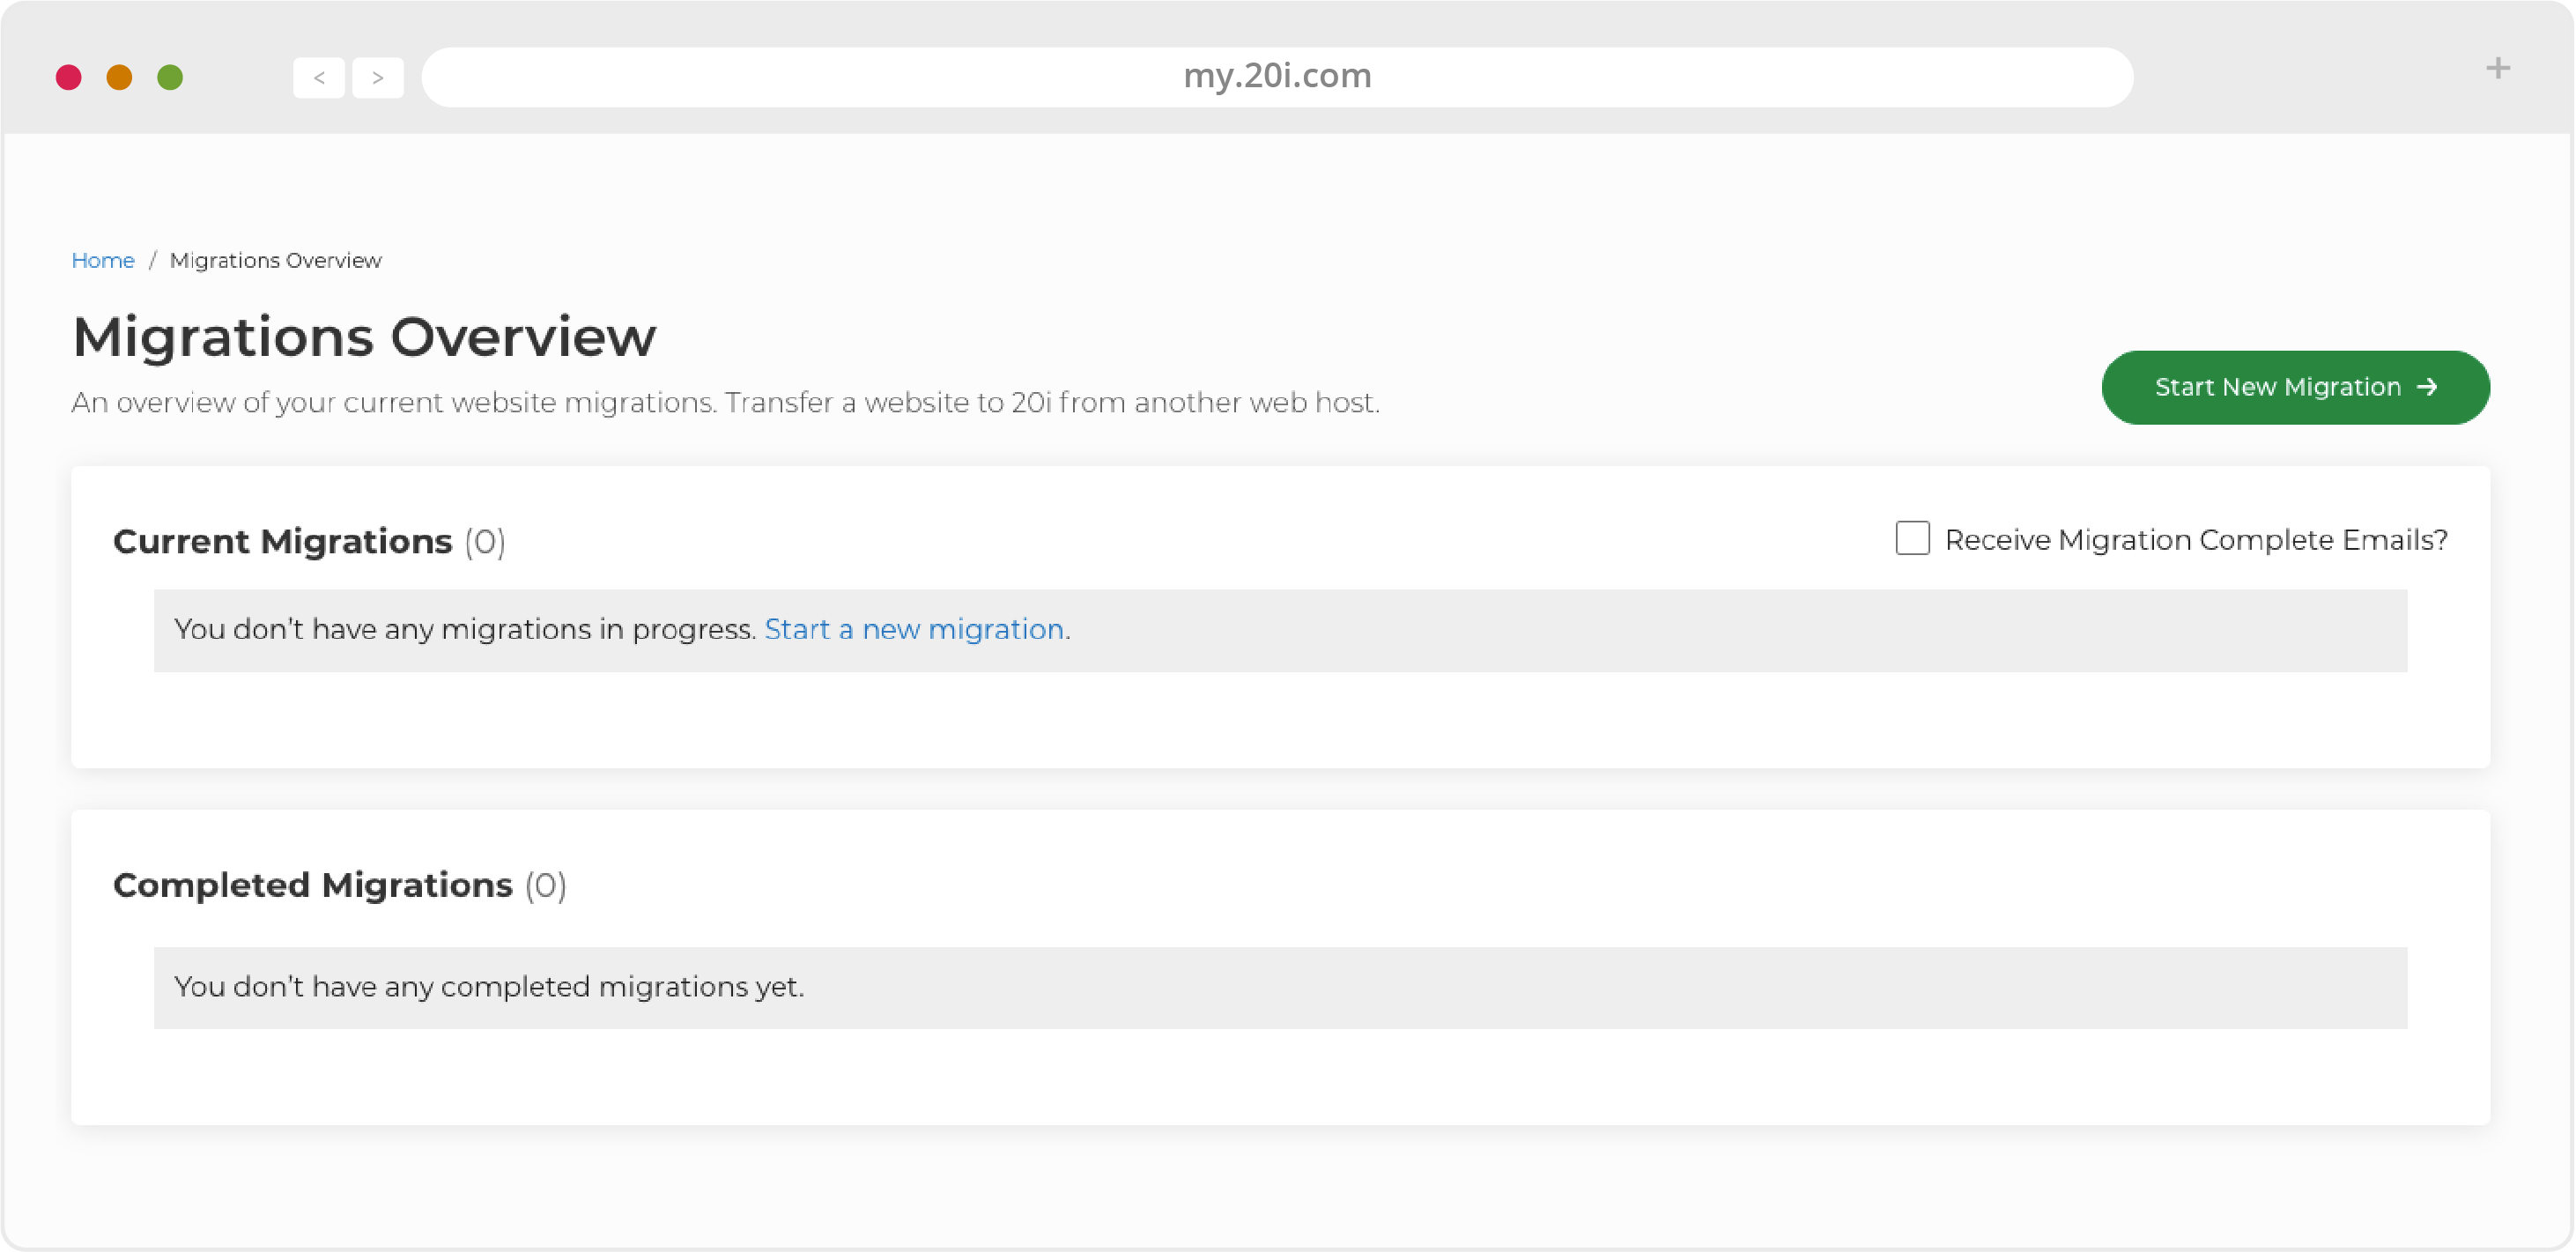
4. Go to Migrations Overview at any time to see the status of your migration. You’ll be notified when it’s successfully completed.
>> Next step: My20i Control Panel