Managed Cloud Hosting: Registering Domain Names
You can quickly and easily transfer in an existing domain name to 20i or register a new one.
Transferring Existing Domains to 20i
If you already have domain names with another provider, here’s how to transfer them to 20i and start saving money on renewals. We've got guides on how to transfer domains from specific domain registrars here.
- In My20i, select ‘Transfer a Domain’ from the top ’MIGRATIONS’ menu
- Enter the domain name(s) you wish to transfer and click ‘Search’
- You can then add them to your basket and follow the checkout process to initiate the transfer
Once you’ve started the process of transferring a domain name to 20i, you can monitor its status on the ‘Pending Domain Transfers’ page.
Your domain will display one of the following states:
- pending_owner - Awaiting your approval. You’ll receive an email to your domain name’s contact email address and will need to confirm that you wish to transfer your domain to 20i. If approval is not given within five days, the transfer is cancelled and will need to be reinitiated
- pending_admin - Your domain transfer is currently waiting to be approved by registry staff
- pending_registry - Your transfer request has been confirmed and is awaiting registry. approval. Unless declined, the transfer will be completed within a week
- completed - The transfer was completed successfully
- cancelled - The transfer has been stopped If you have any questions or concerns about the status of any of your domain names, please contact our support team and they’ll be happy to advise.
Once the domain transfer has been successfully completed, the domain name will disappear from the Pending Domain Transfers page and appear in your 20i account.
You can then view and manage it from ‘Manage Domains’.
Updating Nameservers
If you’d prefer to update your nameservers with your current domain registrar (meaning you have your non-20i domain pointing to your 20i hosting) instead of transferring your domain to 20i, you will need to log in to your domain registrar’s control panel and update the nameservers to the following:
- ns1.stackdns.com
- ns2.stackdns.com
- ns3.stackdns.com
- ns4.stackdns.com
If your registrar doesn’t support 4 nameservers, add as many as it will support. It can take up to 48 hours for nameserver changes to propagate across the web, but in the vast majority of cases, it will be completed much faster.
Registering a new domain name
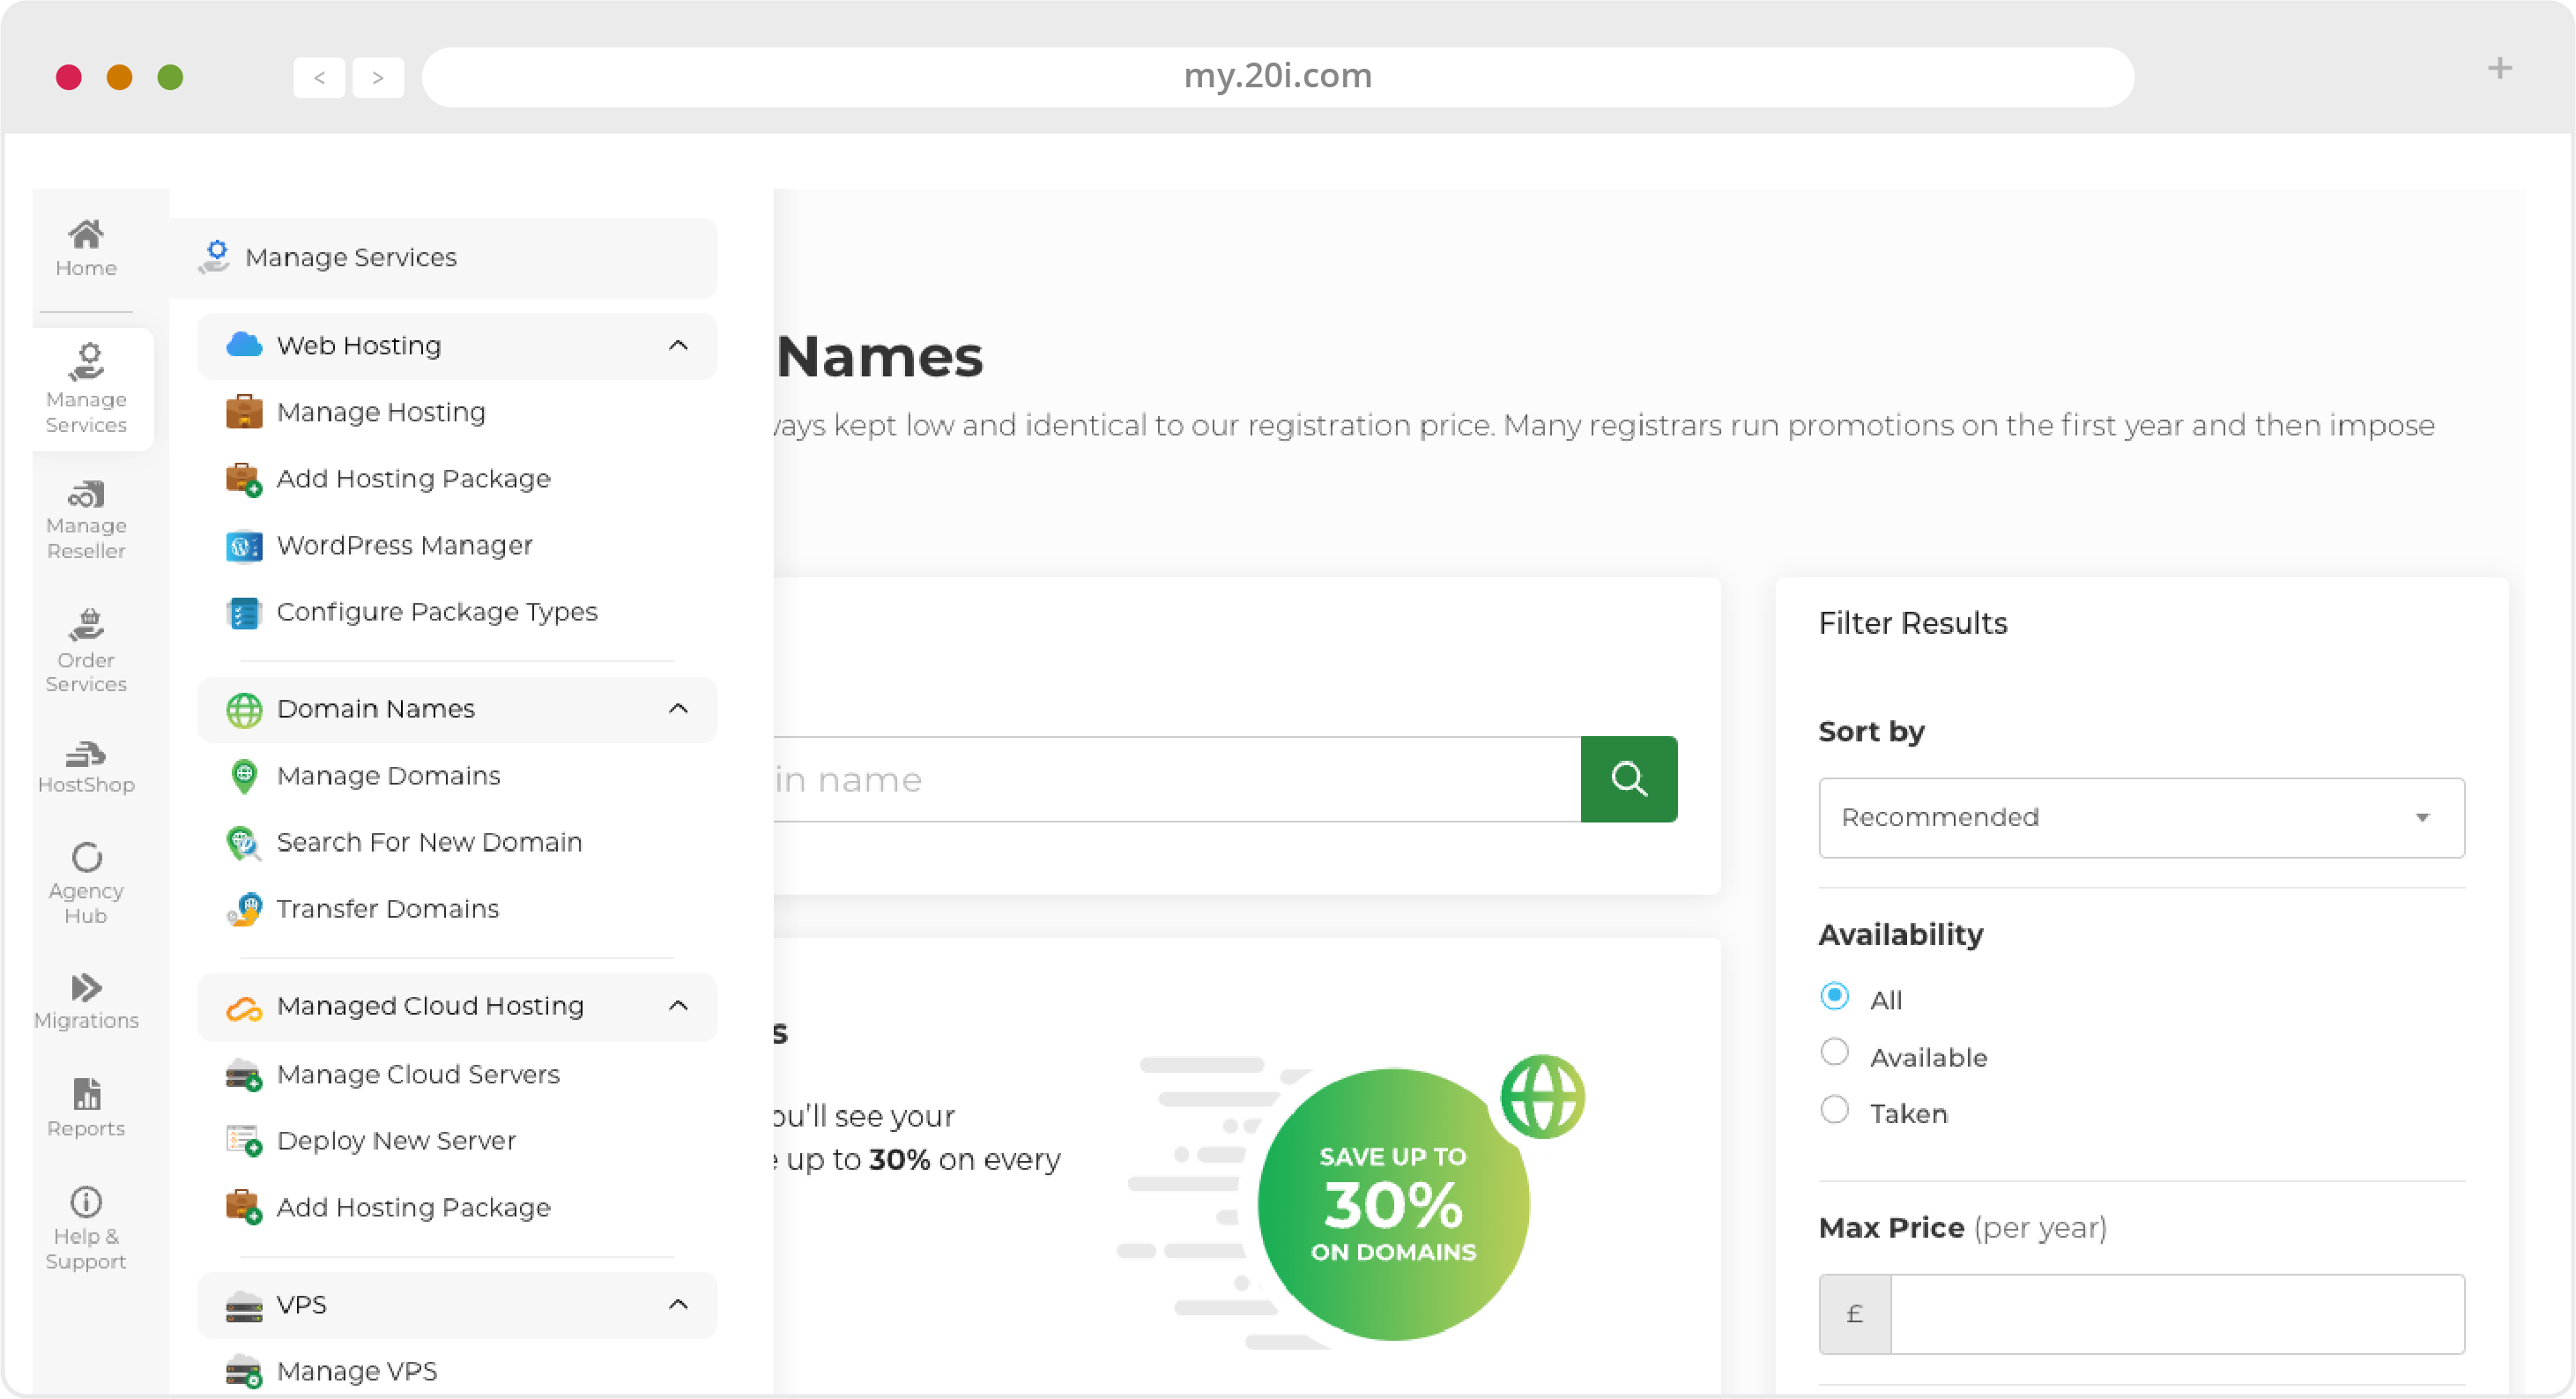
To do this, use the ‘Search For New Domains’ tab within ‘Hosting Management’, or ‘Manage Services’.
You can then search for domains to register and follow the selection and checkout process to buy your domain name(s). They will automatically be added to your 20i account.

>> Next step: Manage Your Cloud Server
