Complete guide to the 20i File Manager

In this guide we’ll go through the features of the 20i File Manager to show how you can use it to manage the files within your hosting.
What is the file manager?
The file manager is a GUI that lets you manage the files in your control panel without the inconvenience of using FTP. You can quick and easy upload, move, create or delete files just to name a few of the actions you can take.
How to access the file manager
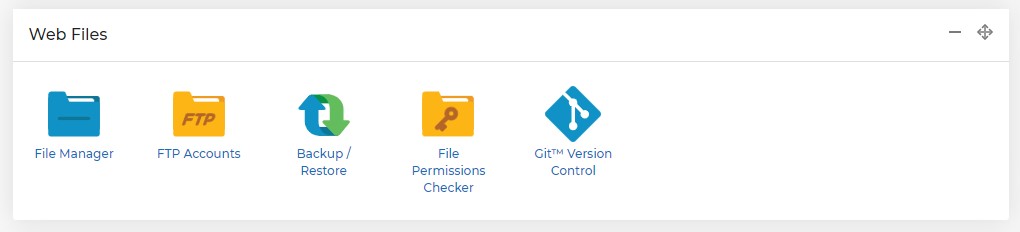
To access the File Manager, you’ll first need to Manage a hosting package and find the File Manager option, under Web Files.
Here you can see the files and directories within the root of the hosting package. To navigate into a folder, you need to double click: that will open the folder and show its content.
How to navigate the file manager
The Home button in the top left will take you back to the root of the hosting, making it easier to get back should you need to. The next icon to the right is Refresh which will refresh the current folder so you can make sure it is up to date with any changes you make. On the top right is a hamburger menu which hides a few more tools. When expanded it will look like this:
![]()
How to use the file manager:
All of these tools will help manage the files and these are explained below:
- Close – The X button will close the menu so these icons no longer show
- Cut – After selecting a file or folder you can click this to cut the file and allow you to paste it elsewhere while also removing it from its current location
- Copy – After selecting, this will allow you to copy a folder or file, then paste it elsewhere within the hosting package
- Paste – Allows you to add the cut/copied file or folder into the current folder you are in
- Clear Clipboard – Allows you to remove any cut/copied file or folder from the clipboard so it can’t be pasted, unless cut/copied again
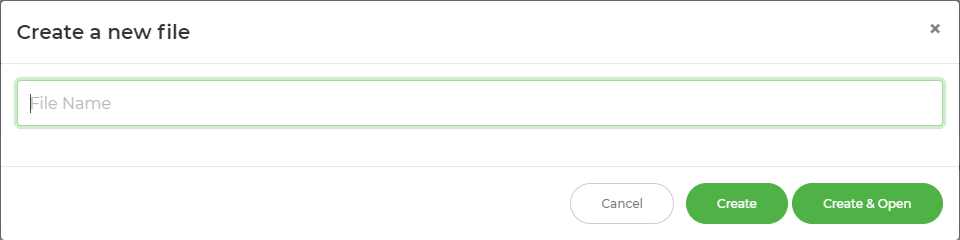
- New File – Allows you to create a new file. This brings up a field where you can name the file and once named, to either Create or Create & Open the file.
- New Folder – Creates a new Folder. This brings up a field where you can name the folder and once named, to either Create or Create & Open the file.
- Upload – Drag and drop files from your local computer or select files from your computer to be uploaded to the hosting.
Once you have added something to upload, a list will appear at the bottom of the page. You can add multiple files to this list. Start the upload by clicking the upload button in the top right.
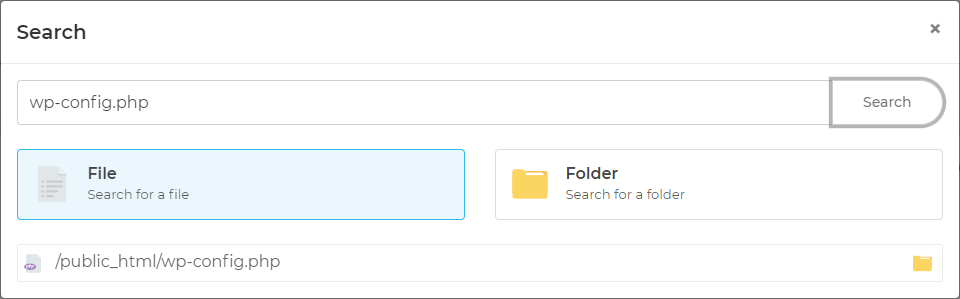
- Search – Search the hosting for either a file or folder by name. Once the search is complete you will have the option to go directly to where that file is located.
- Open in New Window – Opens the File Manager in a new window separate from your current browser.
- List view – Changes the view for File Manager to show the files and folders in a list going from top to bottom.
- Grid view - Changes the view for File Manager to show the files and folders in a grid format.
There are also other tools that show when right clicking (control + click on a Mac). The options differ depending if you select a file, folder or in empty space.
A few of the options are a repeat of the tools in the hamburger menu and serve as a context-based way to manage the content.
There are a few new features here that will be listed below:
- Code Editor/Rich Text Editor – When right clicking a file you have the option to edit within Code Editor or a Rich Text Editor. By default, you can also double click a file to edit it in the Code Editor.
- Delete – This will remove the file/folder you right clicked but will ask for confirmation to ensure this is correct before removing the data
- Download/Download as ZIP – Allows you to download a copy of a file/folder to your local device. If a folder is selected it will first create a zip of the folder and contents which will then download locally.
- Compress – Allows you to select a folder or multiple files to compress into a zip file. When selected this will open a field so you can name the zip file:
- Rename – Allows you to rename a file or folder. This will bring up a field where you can edit the name.
- Permissions – Allows you to check and edit the permissions that are set on the files or folder. This shows with the Read, Write and Execute permissions for you to select. These permissions are also shown in alphabetical and numerical notation.
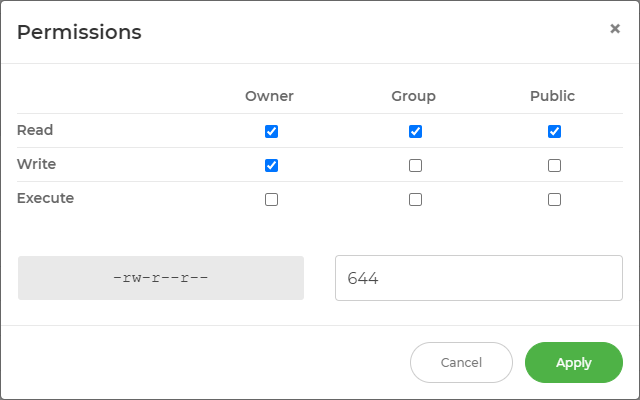
If you make changes to these permissions, we’d recommend using our File Permissions Checker to ensure that access isn’t compromised.
- File Info/Folder Info – Shows information about a file or folder such as the name, path, size, permissions and modified date
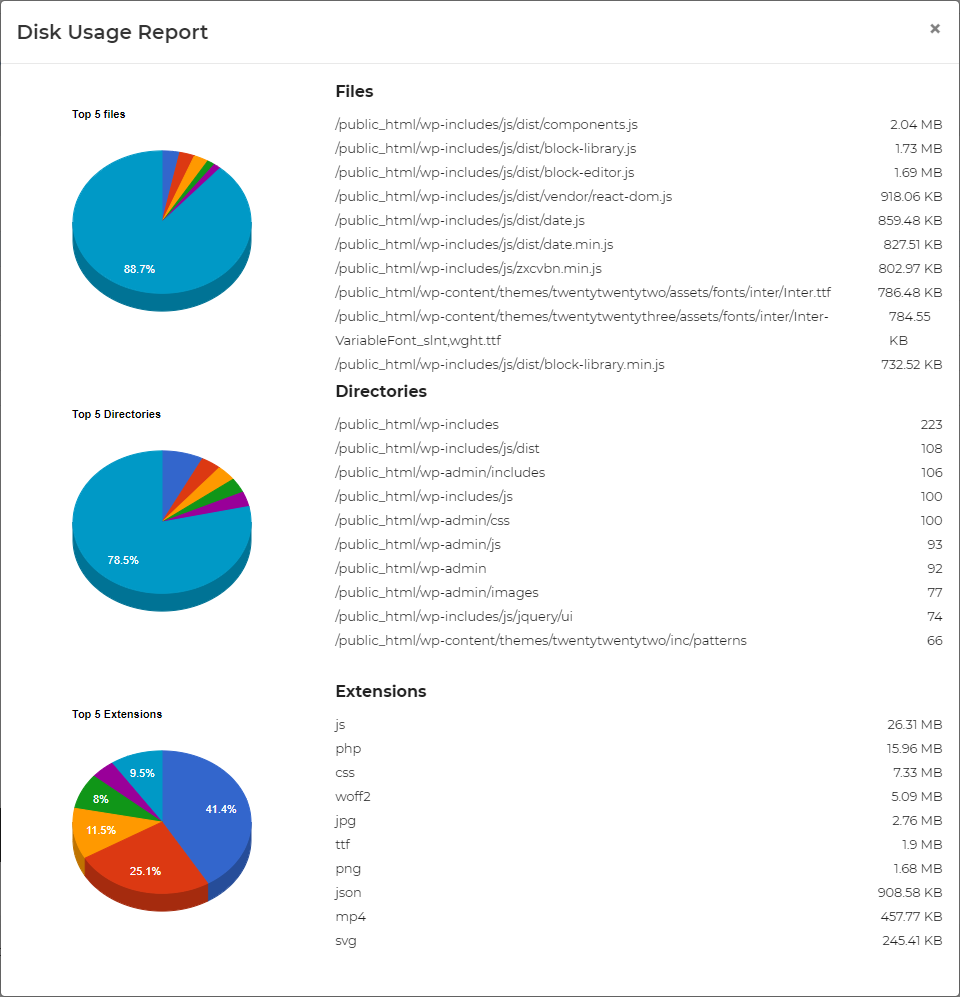
- Get Disk Usage –You can right click either on a folder or empty space to get this option. Once selected, a disk usage report will open under the File Manager. This will take a moment to populate. Once complete, you can select the folder icon to see a report:

The report includes information on the largest files and folders with charts to show where the most space is being used:
Once closed, disk usage reports can be brought up again, using the menu in the bottom left, but will not persist after leaving the File Manager page.
Last of all there is a Malware scanner option on the bottom right. This is linked to our Malware Scanner. If any scan shows the package being infected, it will also show here.
Once selected, it will show a list of infected files and you’ll have the option to go directly to the folder where the files are located. The files will also show with an icon beside the name to show that these have been flagged as infected.
The My20i File Manager is a powerful and convenient way to manage your website files. It helps you manage your website files, and offers a powerful way to as well as being able to see more information about the content of your website.