Getting started with a Laravel Managed Cloud Server

Laravel on 20iCloud, AWS or Google Cloud
With a 20i Managed Cloud Server you can deploy Laravel applications on an optimised cloud server stack complete with easy setup, production ready PHP and full environment control. Deploy unlimited Laravel apps across 20iCloud, AWS and GCP, and easily manage everything through the My20i control panel, no server admin required.
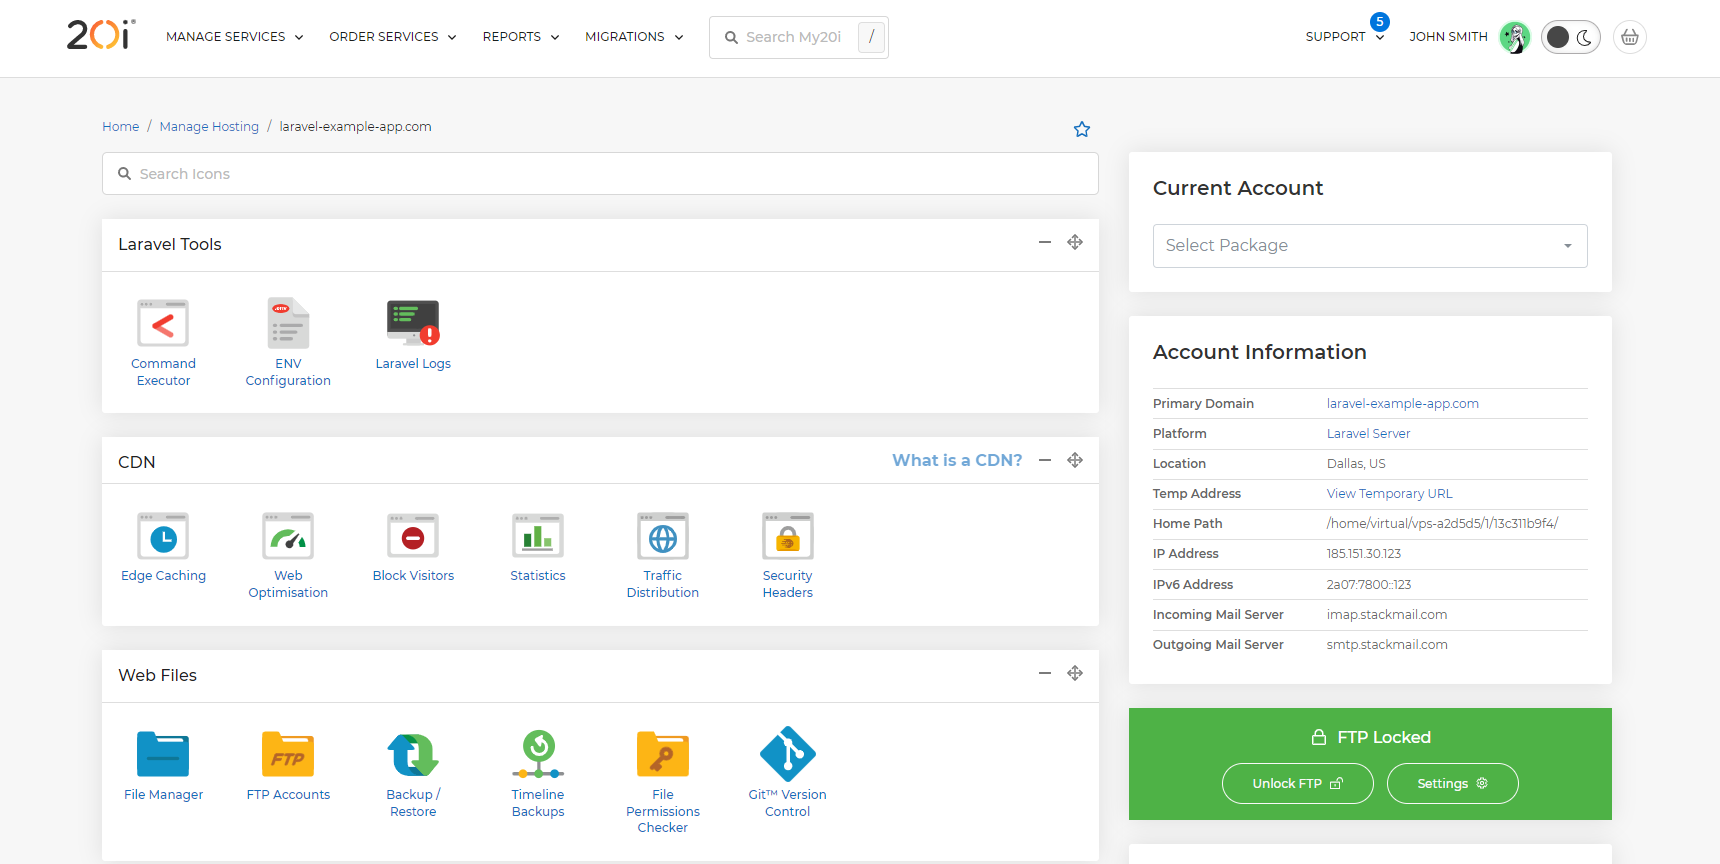
You get built in dev tools like Git Version Control, FTP/SFTP access, scheduled tasks, SSH and 20i's Laravel Command Executor, all on top of the industry's best hosting platform with expert customer support. Did we mention you get free backups and free SSL as standard?
To get started head to Managed Cloud Hosting and choose your server spec!
Here's a breakdown of some of the features you'll get with 20i:
| Built-in performance | Built-in dev tools | Built-in security |
|---|---|---|
| ✔️ Multi-platform Cloud Hosting | ✔️ Git Version Control | ✔️ Free SSL Certificates |
| ✔️ My20i Control Panel | ✔️ Unlimited FTP/SFTP Access | ✔️ Free Daily Backup & Restore |
| ✔️ Free CDN & Edge Caching | ✔️ SSH & SFTP Login Control | ✔️ PCI Compliant Hosting |
| ✔️ 100% Renewable Energy | ✔️ Redis Cache | ✔️ Two-Factor Authentication |
| ✔️ IPv6 and HTTP/2 Enabled | ✔️ ElasticSearch | ✔️ Advanced DDoS Protection |
| ✔️ 80+ One-Click Apps Inc. Laravel | ✔️ Cron Job Manager | ✔️ Error & Access logs |
Deploying Your Laravel Cloud Server
1. Head to 'Build your Cloud Server' and choose Laravel from the server optimisations.
2. Choose what cloud platform you want to use: 20iCloud, AWS or GCP and the size of server you need.
3. Select Deploy Cloud Server and your server will be built within just a few minutes.
Installing Laravel on your Cloud Server
1. Head to your cloud server list and select Options > Add Package.
2. Give your site/app a name and then select Options > Manage.
3. Laravel will install automatically and you'll be able to start work on your app straight away.