How to manage your 20i Cloud Server
If you have purchased a Cloud server at 20i, you’ll have access to manage the cloud server itself where you can check things like usage statistics as well as make changes to the services installed on the server.
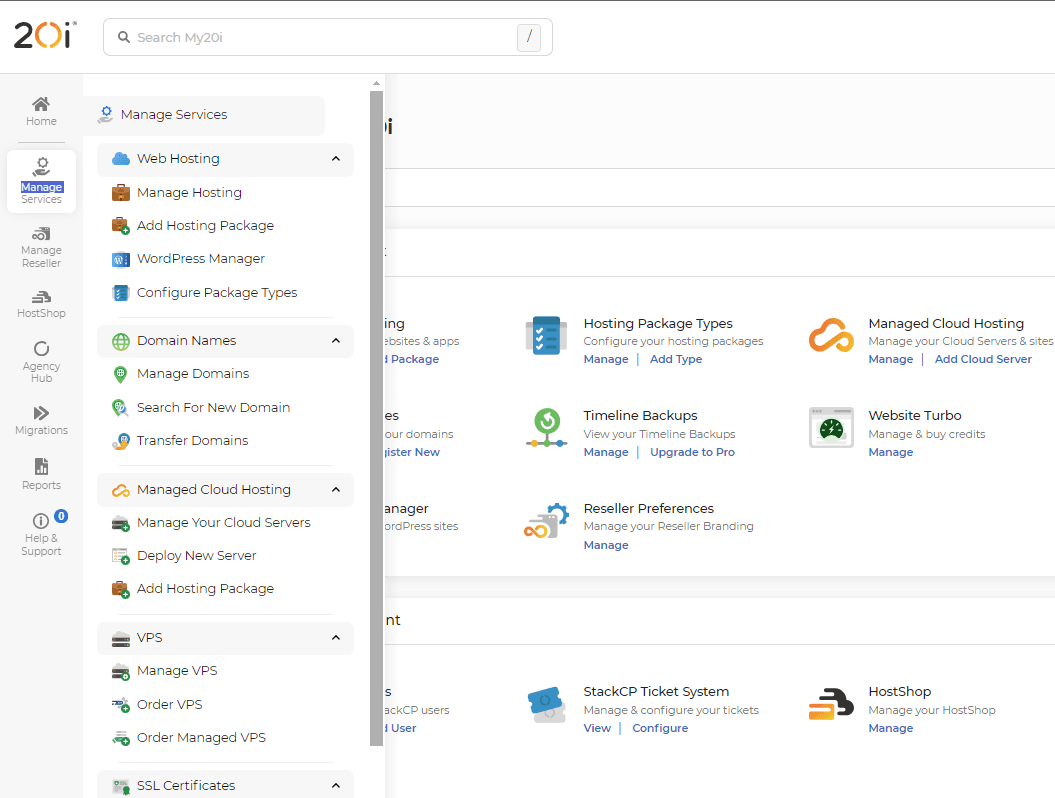
To manage the cloud server you can either click on the Manage link in the Managed Cloud Hosting section after logging into my20i or select the Managed Cloud Hosting option on the reseller management drop down in the header of the control panel:

After you have clicked on one of the manage links, this will show a page that will list all of the Managed Cloud Servers you own. From here you can manage the server or also select to show all the hosting packages that you have on all your Cloud Servers in the top left:
If you click on the options link next to a cloud server, that will give you a few options:
- Manage: This will lead to the server overview page.
- Add Package: This will allow you to add a hosting package to the Cloud Server
- Upgrade Server: This will allow you to upgrade the Cloud server to a higher specification.
- Start: This will start the server if it has been previously turned off.
- Restart: This will restart the server
- Stop: This will turn off the server.
- Transfer: This will allow you to transfer the Cloud server to another 20i customer which we have more information about here
- Delete: This will completely delete and cancel the Cloud server from your account
This guide is focused on the Manage option and explaining the server overview page. Once you have clicked on the Manage option you will be shown the Server Summary page with links to other pages showing on the left hand side.
This page will show the specification of the server along with usage stats so you can see how the server is currently performing. There is also a section that shows the current hosting packages on the server and a section to upgrade timeline backups to timeline backups pro for that cloud server.
On the Usage graphs page you will again be able to see the server specifications and usage stats however there are also more in depth usage graphs that will show information on the usage of the server.
There are graphs showing disk space usage, load averages and Disk I/O as well as CPU, Memory and Network usage. You’ll be able to change the graphs to show different timeframes such as Live, the last 24 hours, the last 30 days or the last year.
The upgrade page is where you can go to upgrade your cloud server to a higher specification
This page will show your current specification and allow you to choose a new one while showing you the new pricing. Once you have selected the new specification and click upgrade server the upgrade will begin.
You will also have access to the Manage Service page.
This is where you can see what services are running on the server and where you will have options to Start, stop, restart or reload these services as well as being able to enable or disable them.
The settings page is only available for PHP optimised cloud servers and shows like this:
This page allows you to install additional server software to the cloud server such as NodeJS, Redis and others. All you would need to do is select the switch next to the software you wish to install and that will begin to install on the Cloud server.
