Reseller Hosting: Branding Your Business
We offer a ‘white-label’ service, meaning that you may brand our services with your company name, colours, logo, messaging and preferences. Here’s an overview of some of the ways you can brand your business.
Branding the Control Panel and Subdomain URLs
You can create a branded control panel login for your services as an alternative to using the default control panel login, www.stackcp.co.uk. To set a custom control panel URL:
- Go to Reseller Customisation in the Reseller Preferences section
- Locate the Control Panel URLs section
- You can then select your business / brand domain name that you want to use
- You’ll be shown a list of fields where you can set subdomains for the control panel, SSH, the File Manager, phpMyAdmin and our web builder

Virtual Nameservers
As standard we provide free white-labelled nameservers, these are:
- ns1.stackdns.com
- ns2.stackdns.com
- ns3.stackdns.com
- ns4.stackdns.com
If you want to take branding a step further you can look into having your own Virtual Nameservers. This means that if any of your clients were to do a nameserver lookup on their domain name, it would return the nameservers in the format:
- ns1.your-domain.com
- ns2.your-domain.com
- ns3.your-domain.com
- ns4.your-domain.com
To buy these, head to Reseller Preferences under ‘Hosting Management’, click ‘Manage’, and then click ‘Virtual Name Servers’.
Temporary URL
From your My.20i.com dashboard, navigate to the Hosting Management section and click ‘Manage’ under the Hosting Package Types icon. From the assigned hosting package you want to add a Custom Temporary URL to click ‘Options’ and then ‘Edit’.
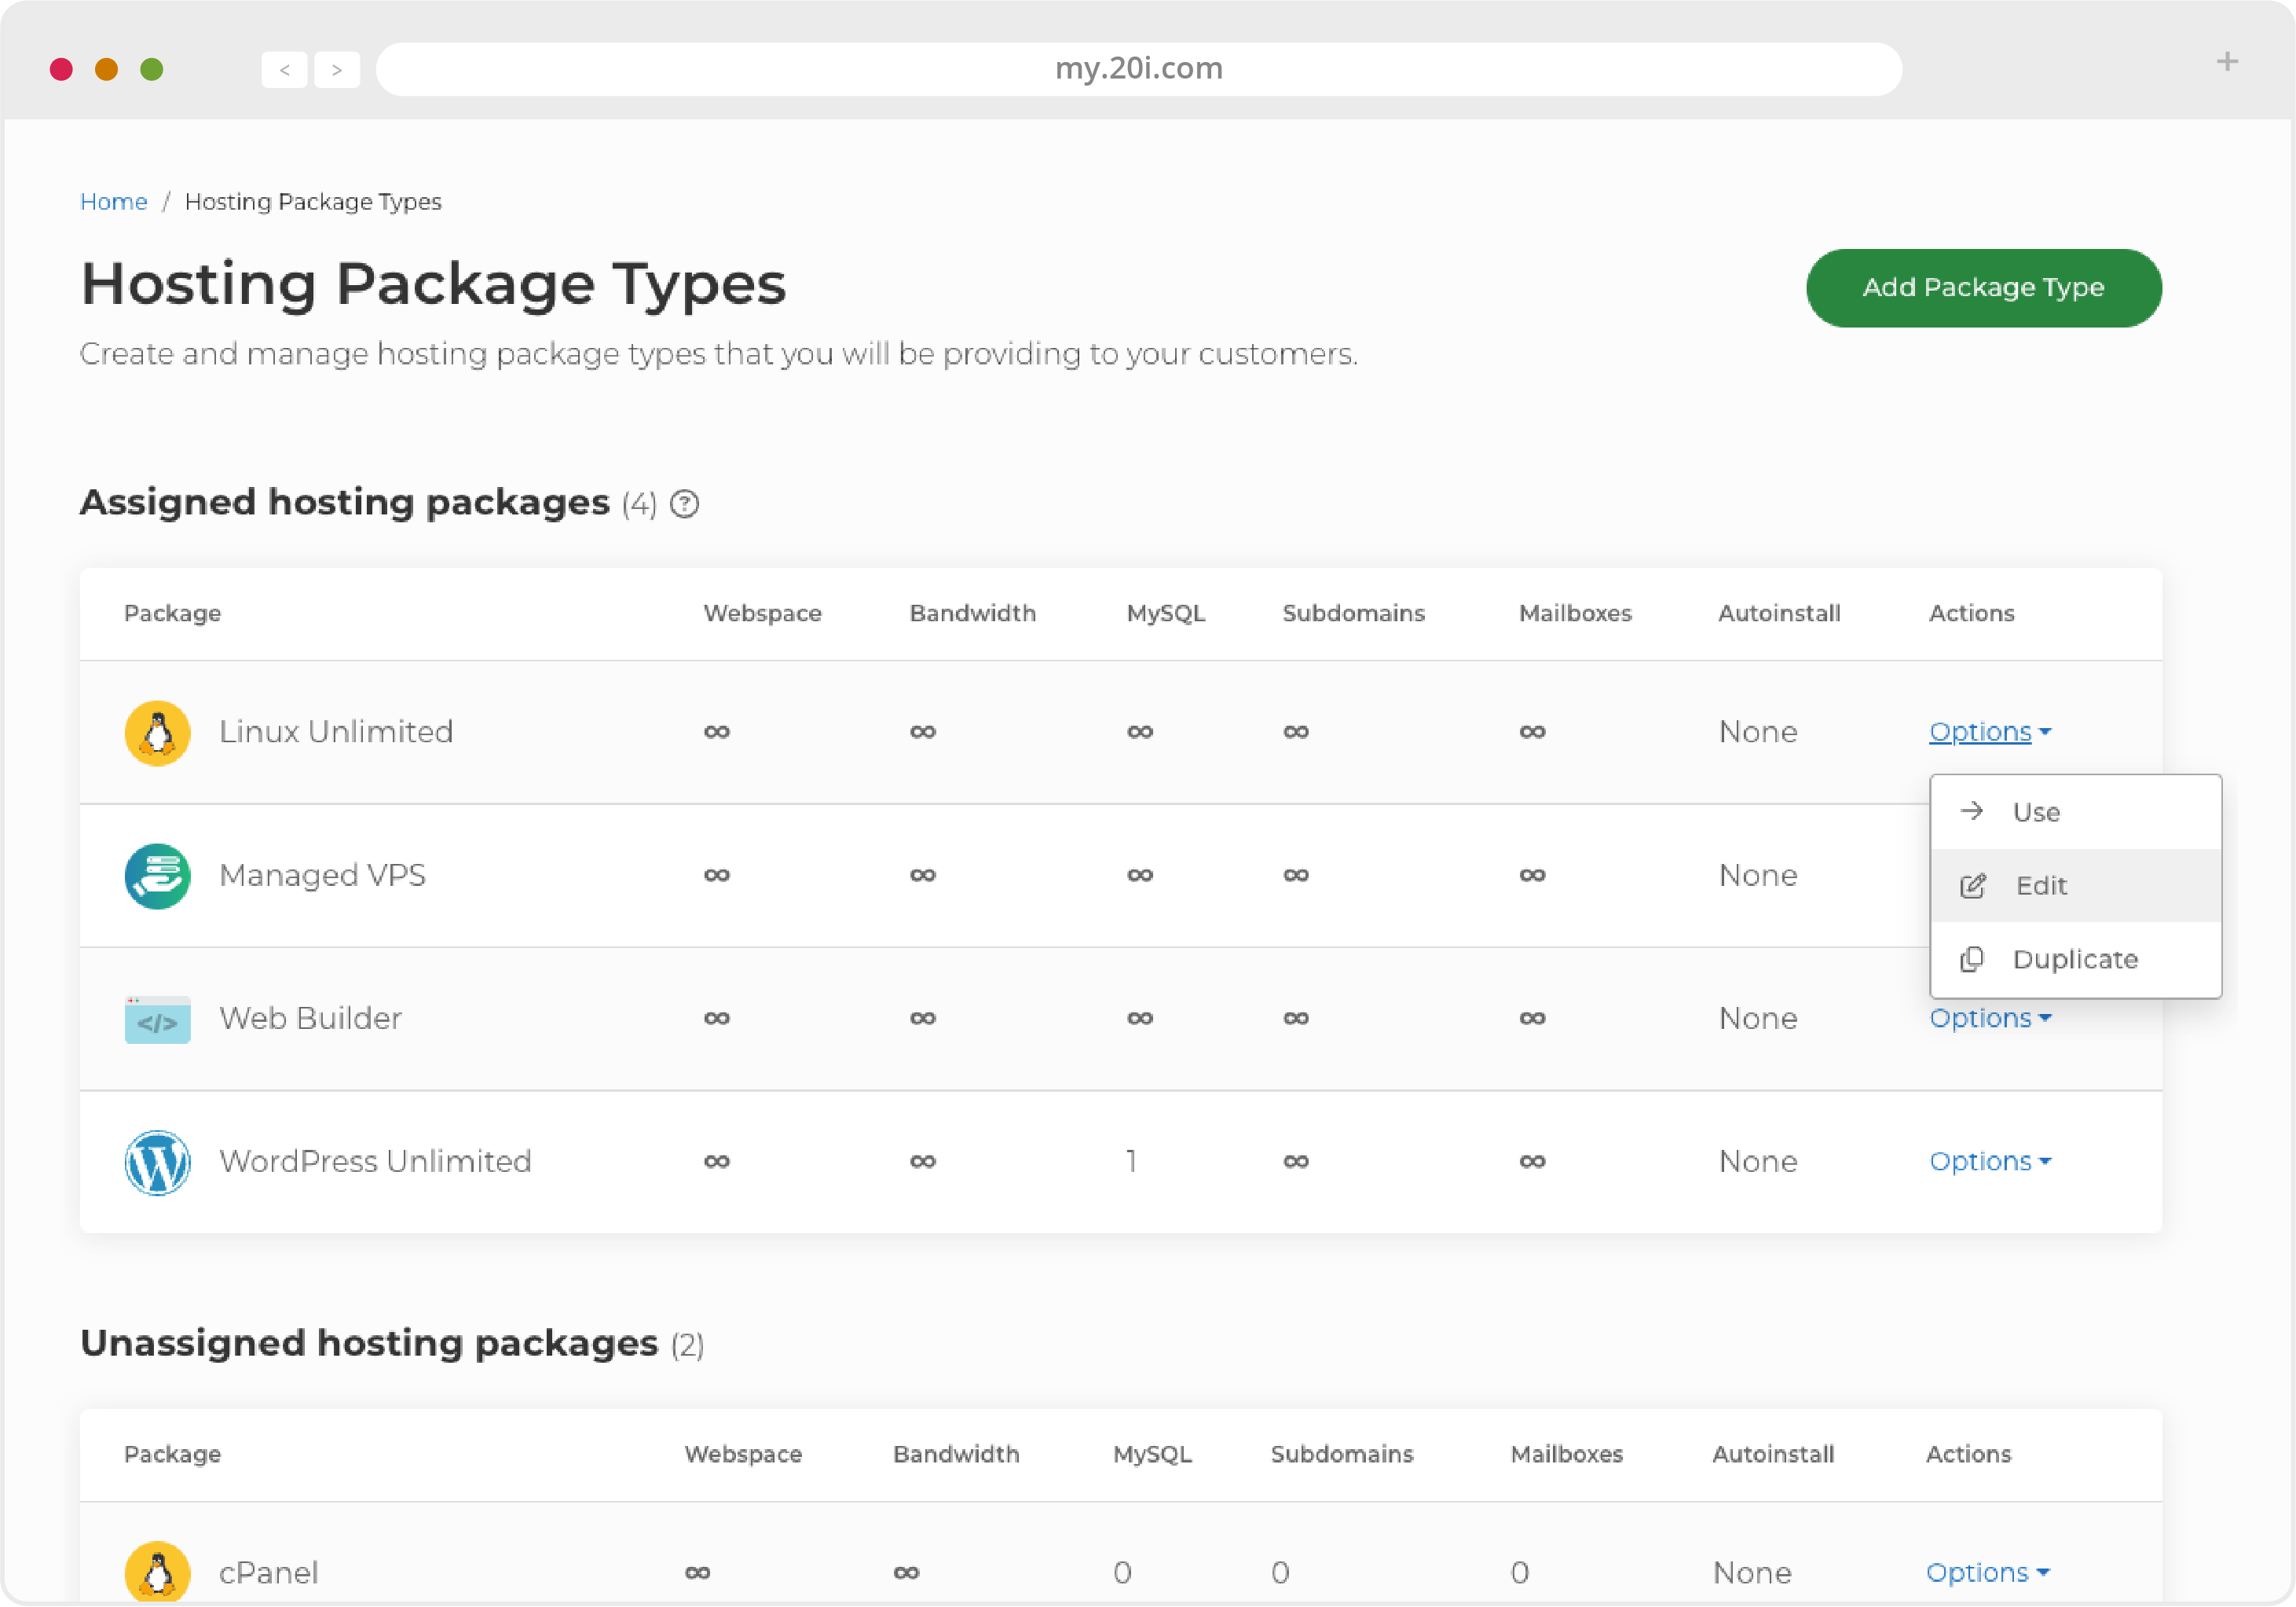
Scroll down and locate ‘Temporary URL Domain’ towards the bottom of the page, and set the domain you’d like to use from the dropdown menu. All Hosting Packages using this Hosting Package Type will then use your set Custom Temporary URL.

Default Site Pages
Edit the default site page templates displayed at offline, deactivated and unavailable sites. You can leave the defaults as they are or customise them to suit your brand on a per package basis. To do this:
- Head to Reseller Preferences, then select Default Site Pages
- You can then edit what is displayed when a site is in different states: the Index Page, when a site has been deactivated and when the service is unavailable

Default Domain Holding Page
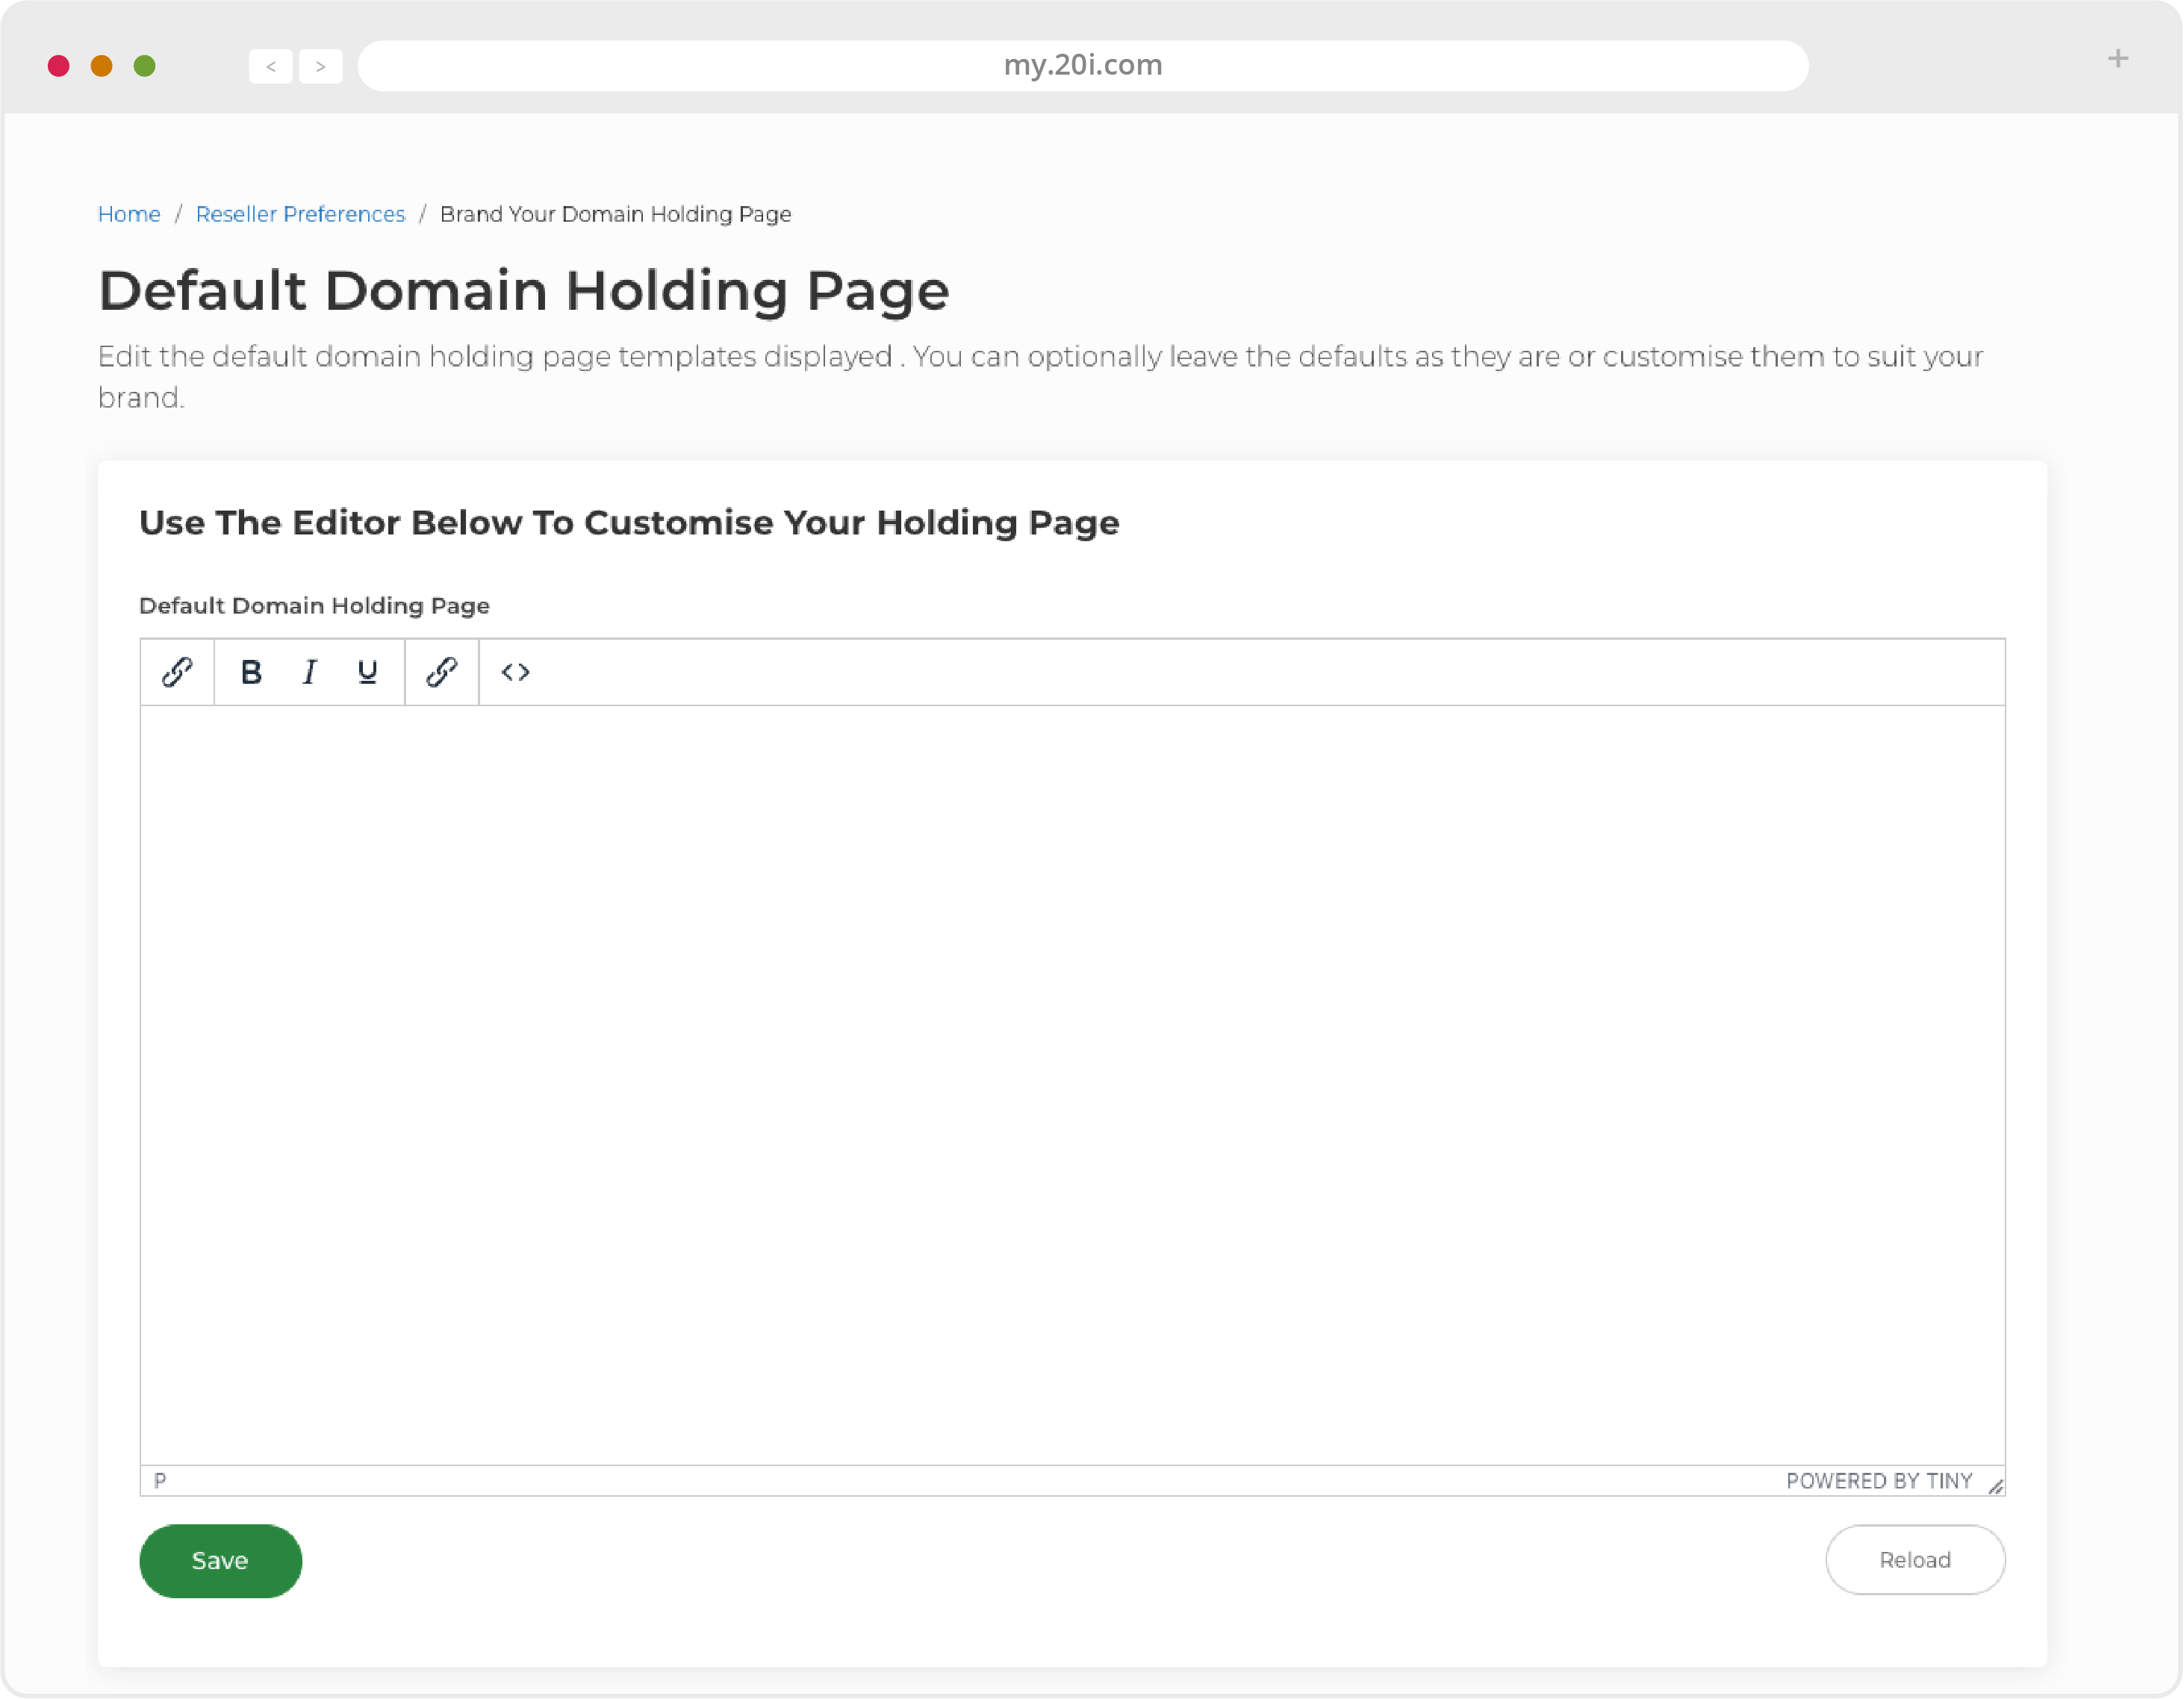
The Default Domain Holding Page will appear when you have bought a domain but it has not yet been attached to a hosting package, You can choose from a selection of 32 themes - or write your own code.
- Select Domain Holding Page from within Reseller Preferences
- Choose a template, customise it as you wish and select Save
Branding the Webmail URL
Instead of directing your clients to log in to their webmail account via our white-labelled www.stackmail.com, you can create a custom webmail brand. To set this up:
- Head to Reseller Customisation
- Locate the Webmail Domain section
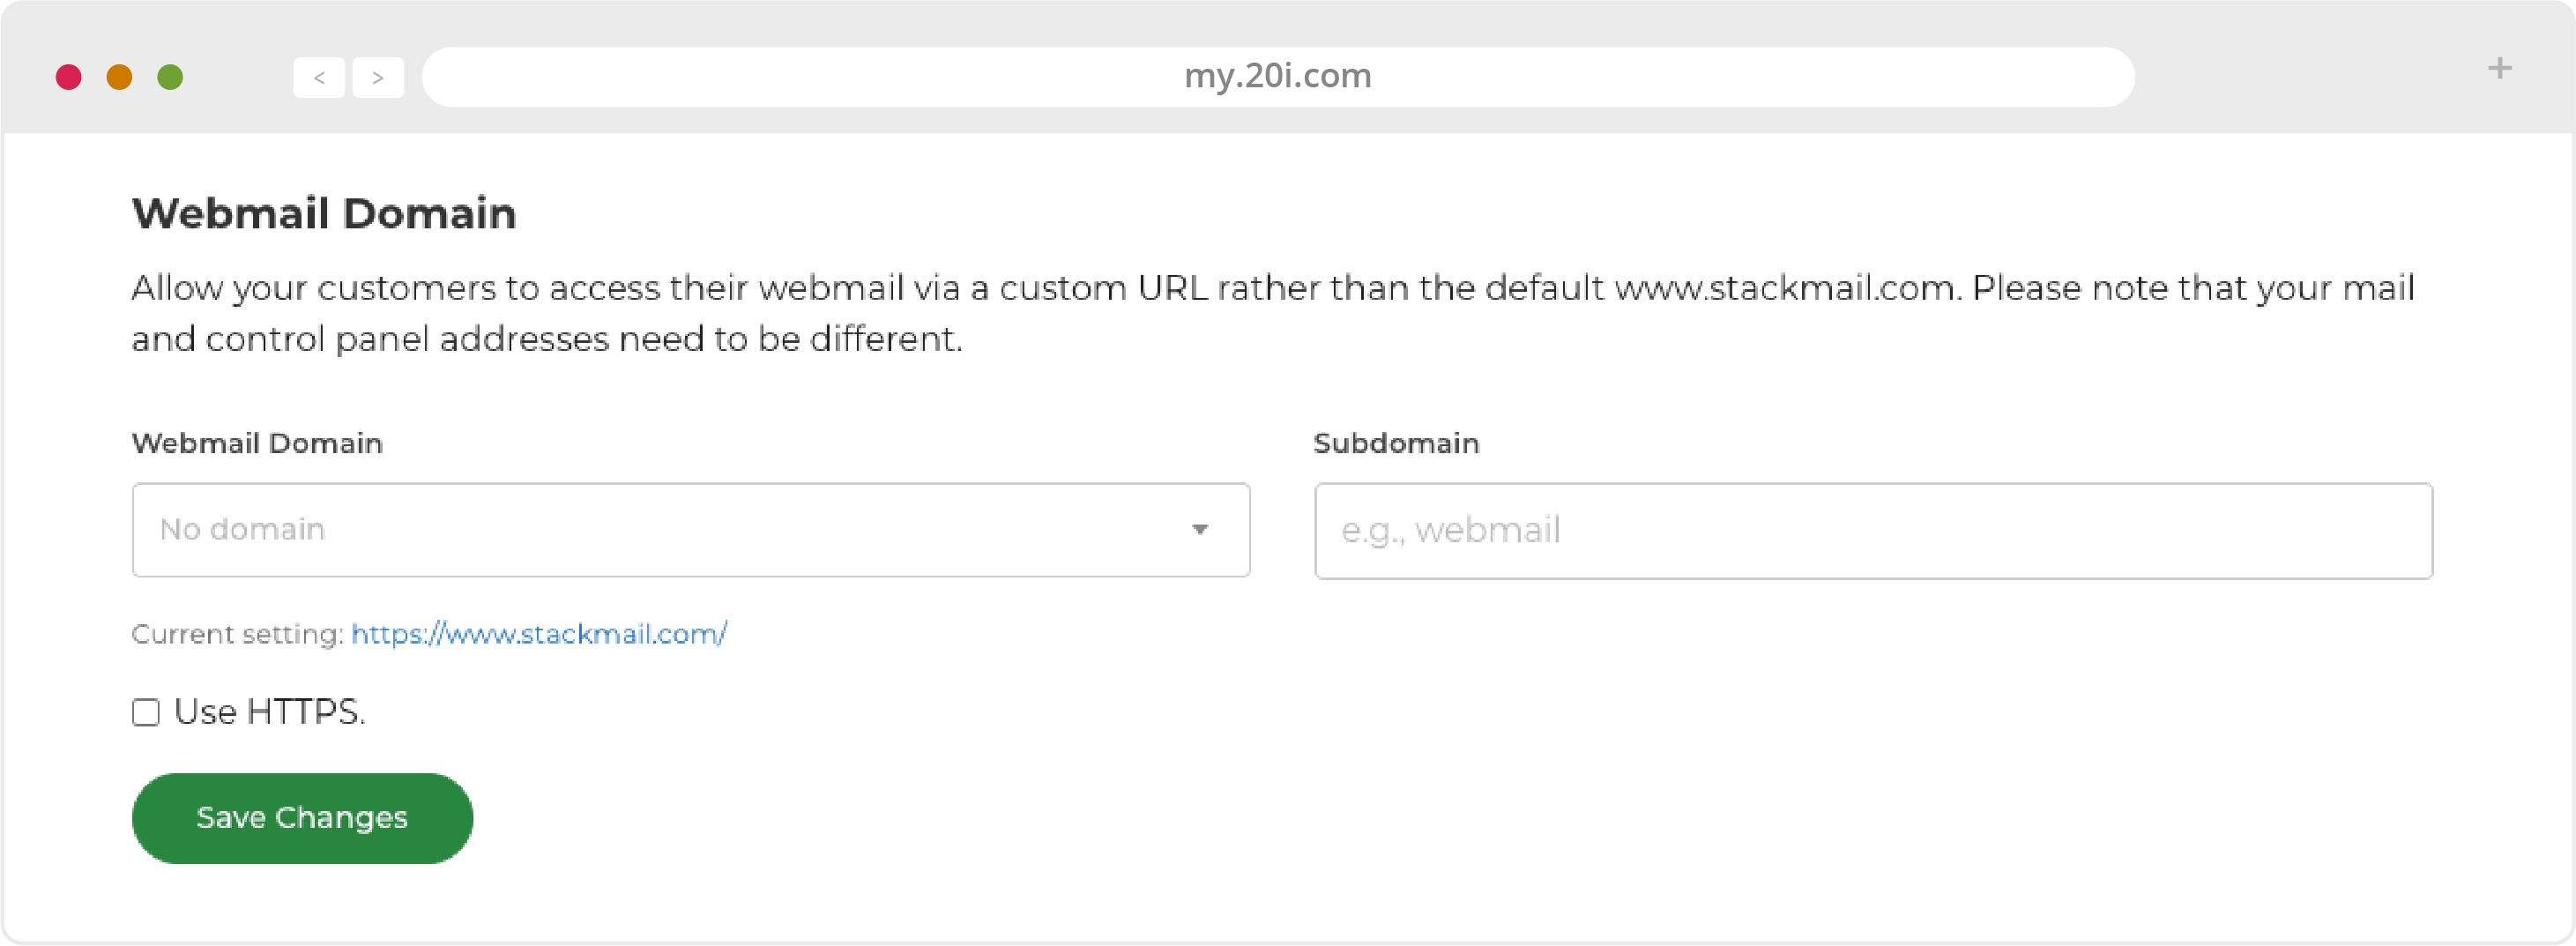
- Select the brand domain you want
- Then select the subdomain you want webmail to be accessible from, for example if the domain name you’ve selected is mytesthosting.co.uk, you could allow your customer to login to their webmail via webmail.mytesthosting.co.uk
You can style the webmail login page from Reseller Preferences > StackCP Theme.
StackCP Customisation
StackCP can be branded as much - or as little - as you like. Once you’ve entered your company name it will show up in StackCP straight away.
StackCP Visual Preferences
There are a number of different StackCP themes available, which radically change the appearance of StackCP. Three of them are based on Bootstrap 4 and can be changed under Reseller Preferences > StackCP Visual Preferences.
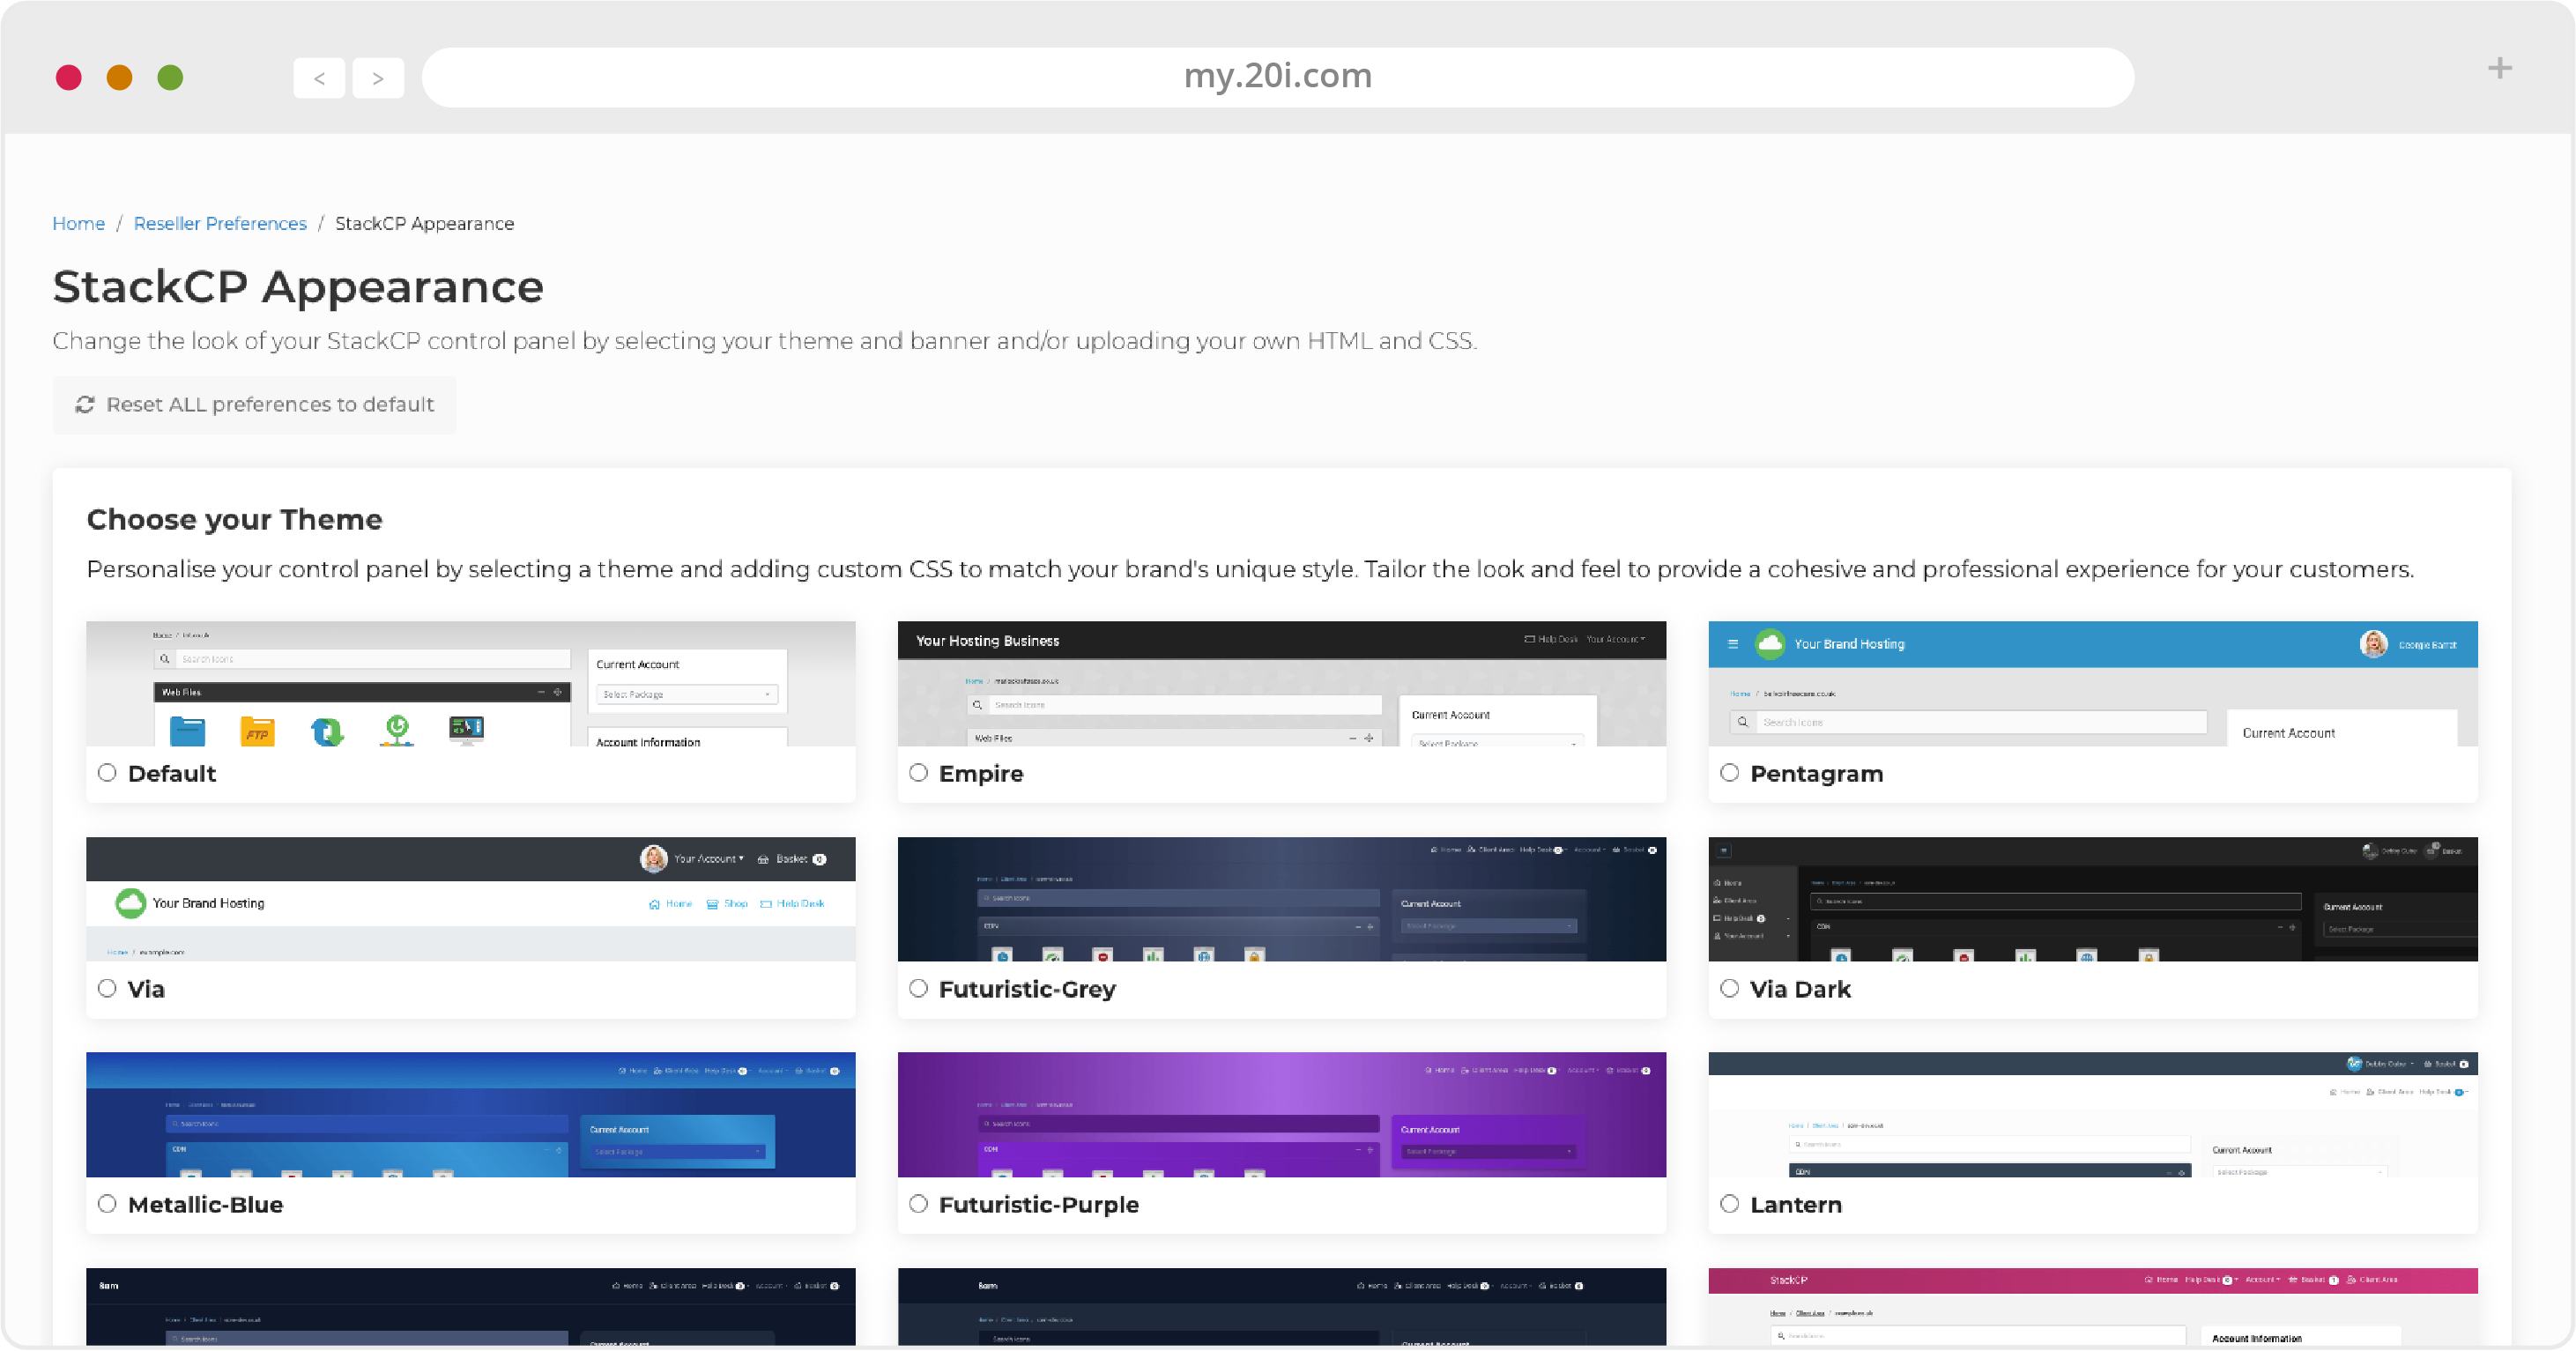
On this page, you can also choose from a number of header banners (or upload you own) and apply custom CSS to the StackCP pages. You can also add a custom favicon here.
StackCP Log In Page
If you’re looking to customise your StackCP log in page you can do this by editing the Custom CSS. A guide can be found in this support article: https://20i.co/2KzzLxW.
The following changes can also be made in Reseller Customisation:
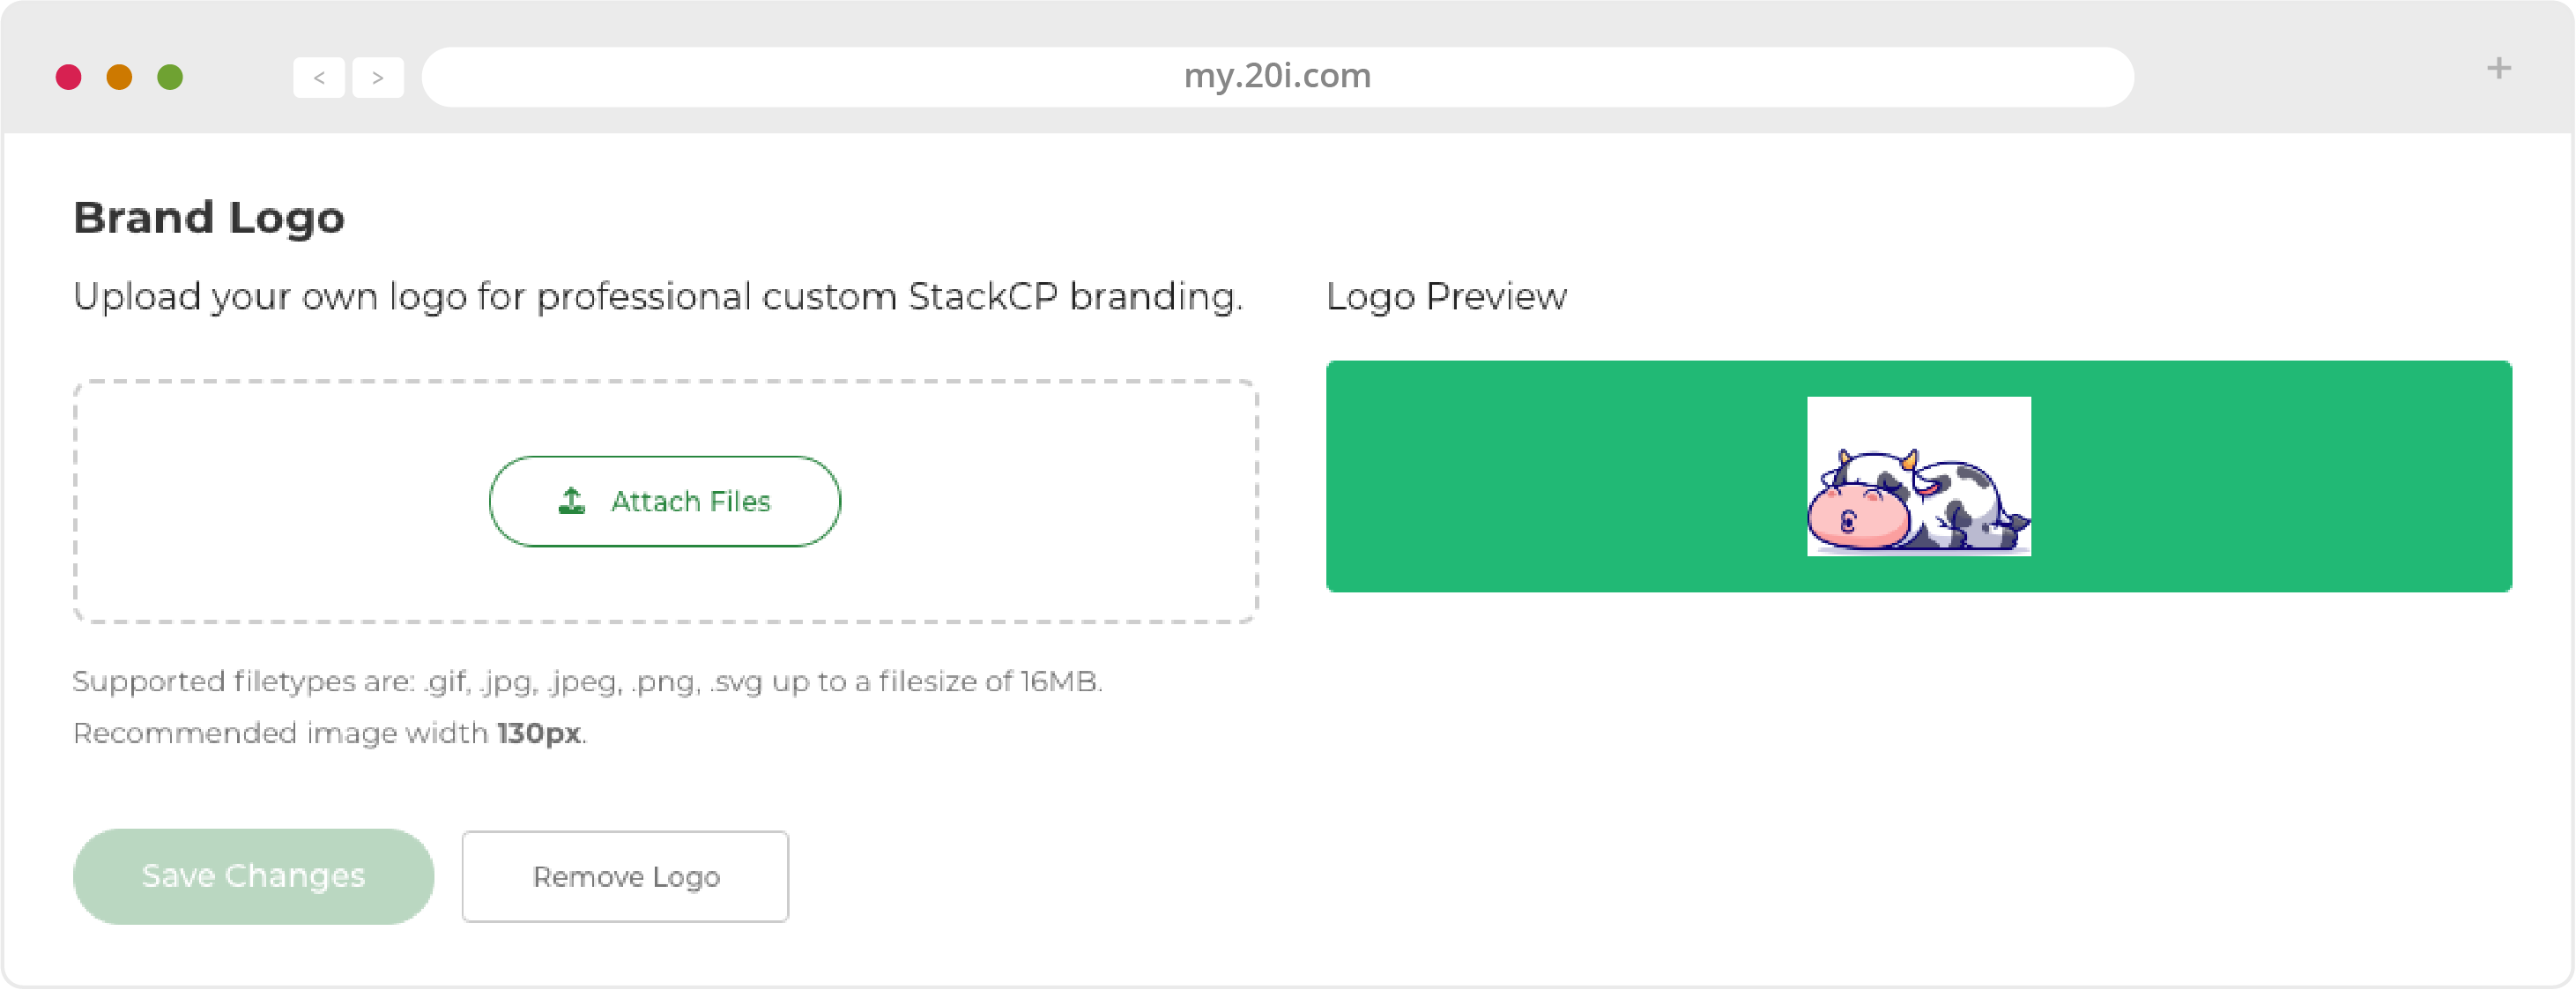
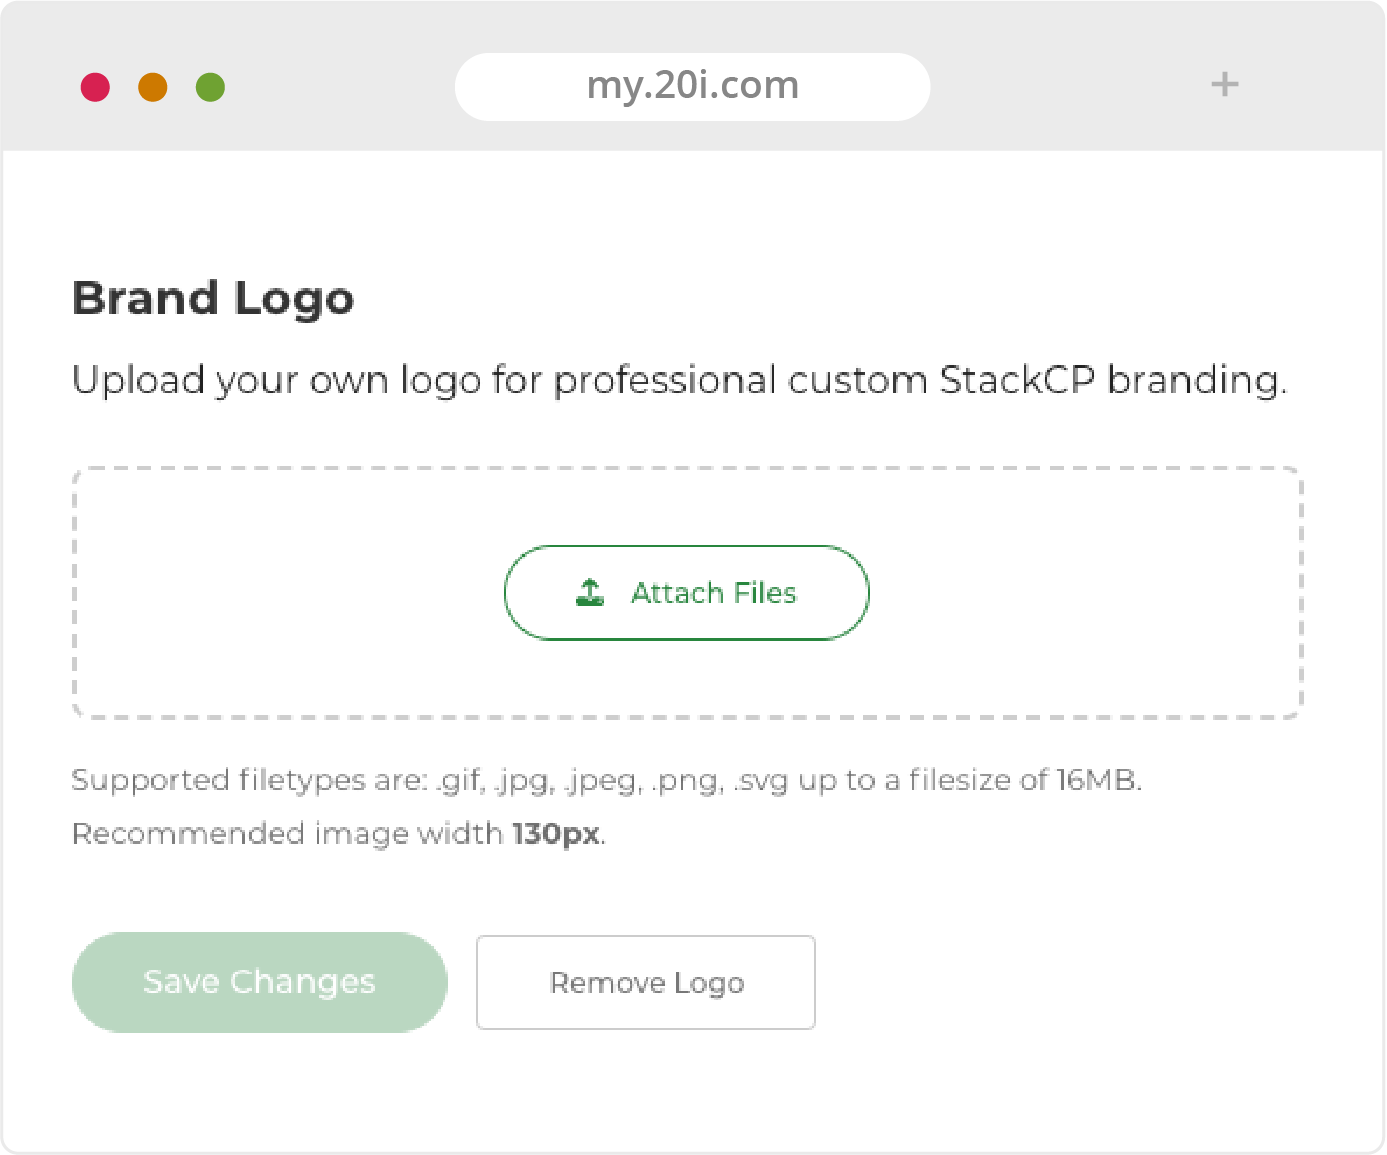
StackCP Logo
Upload your company logo. This is applied to the StackCP header.
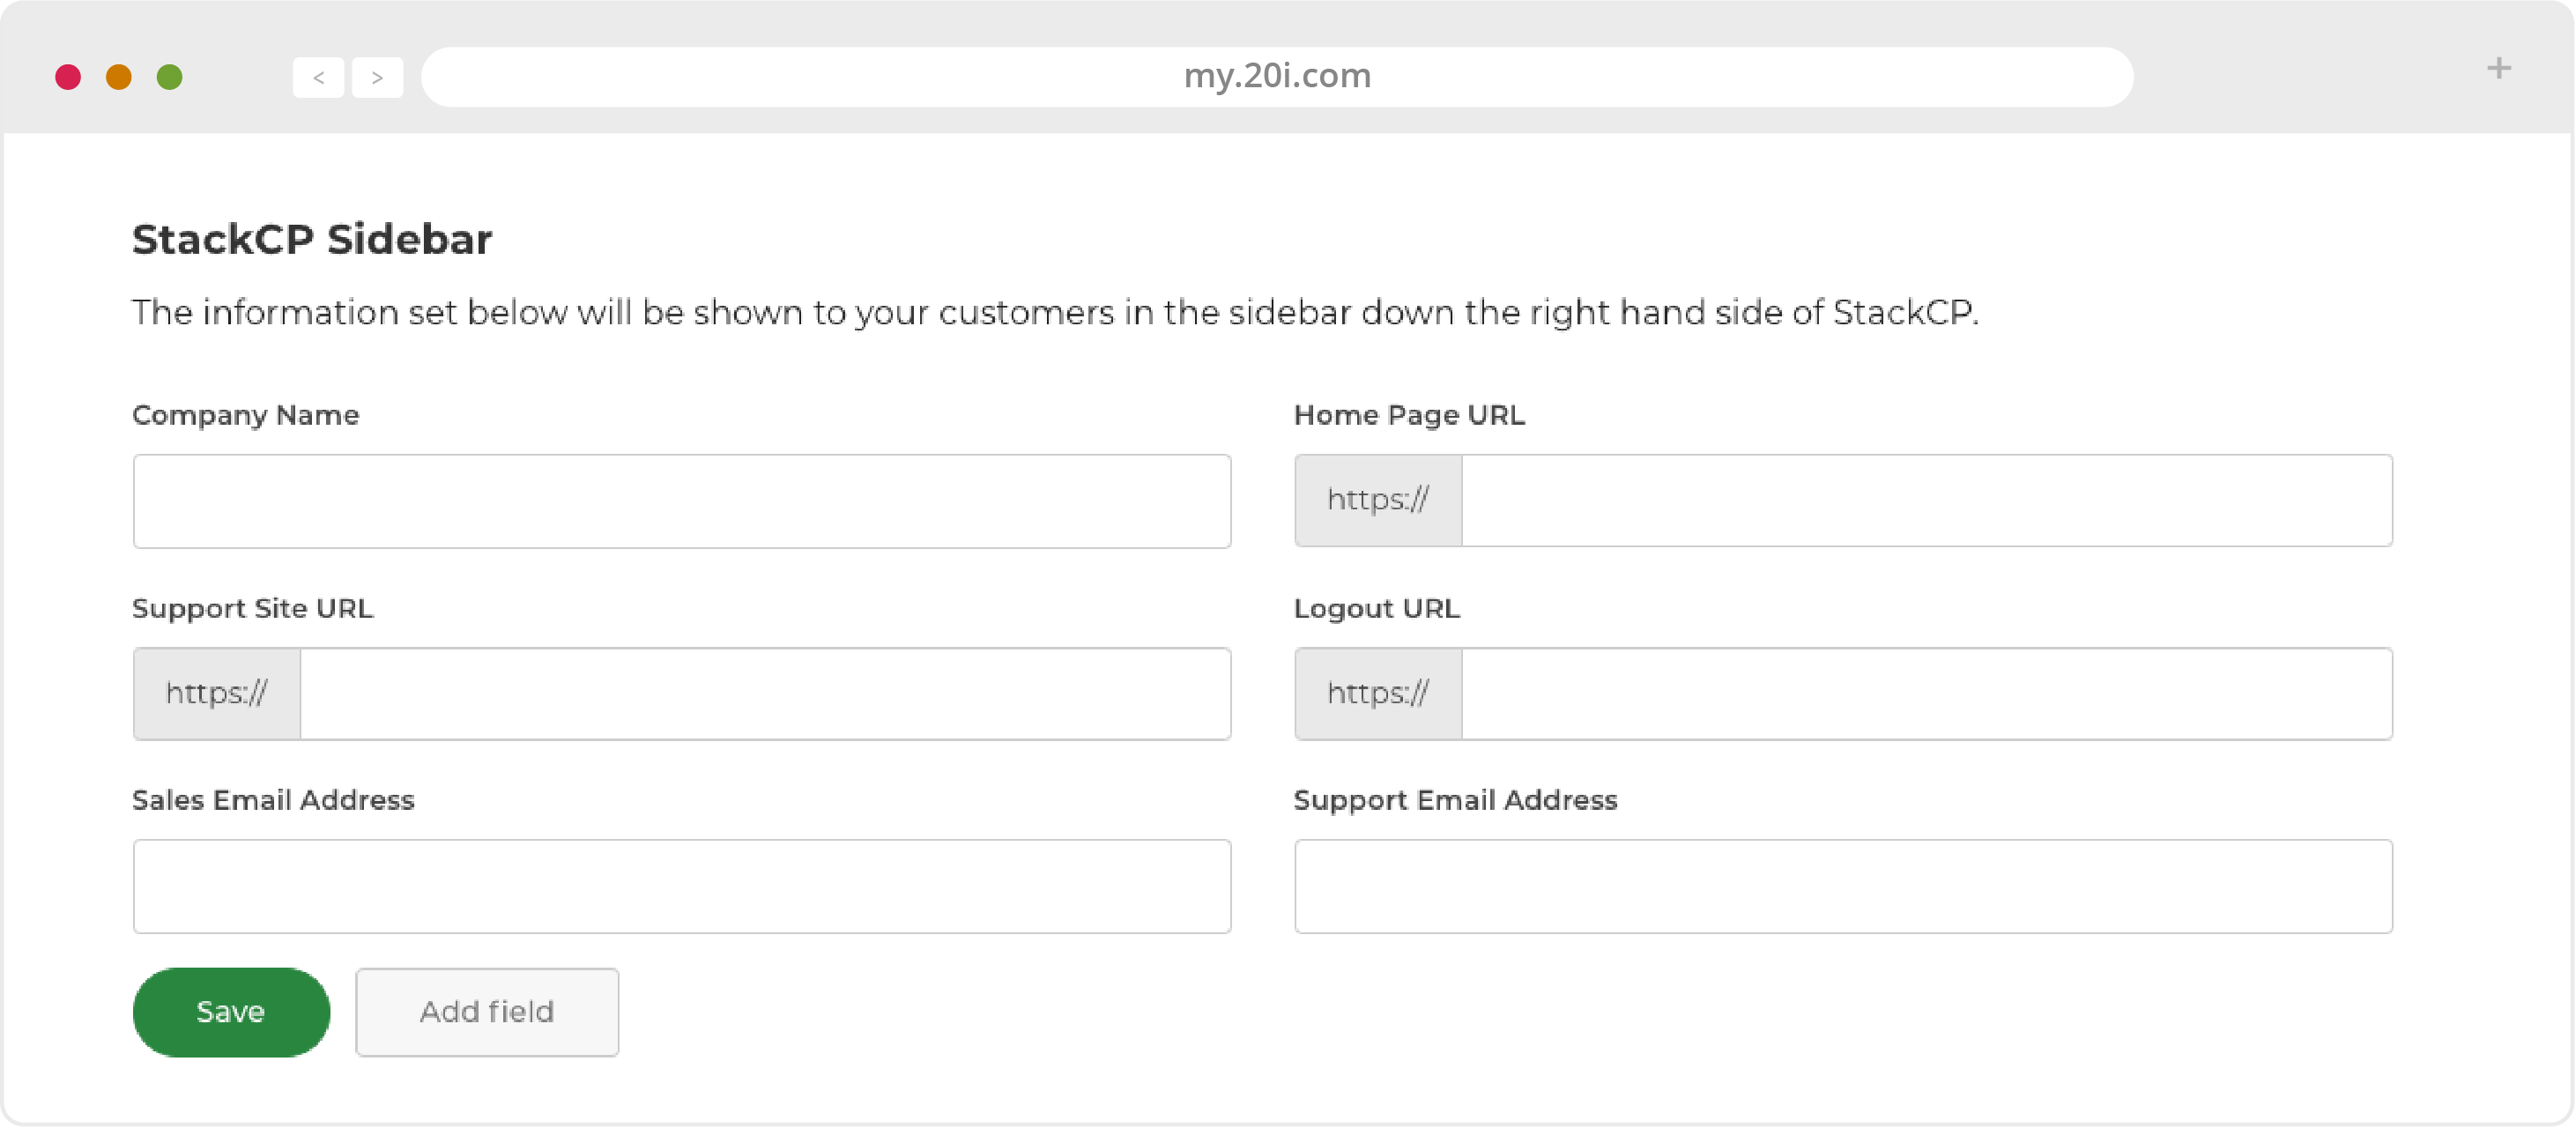
StackCP Sidebar
You can set your company contact details to be displayed in StackCP
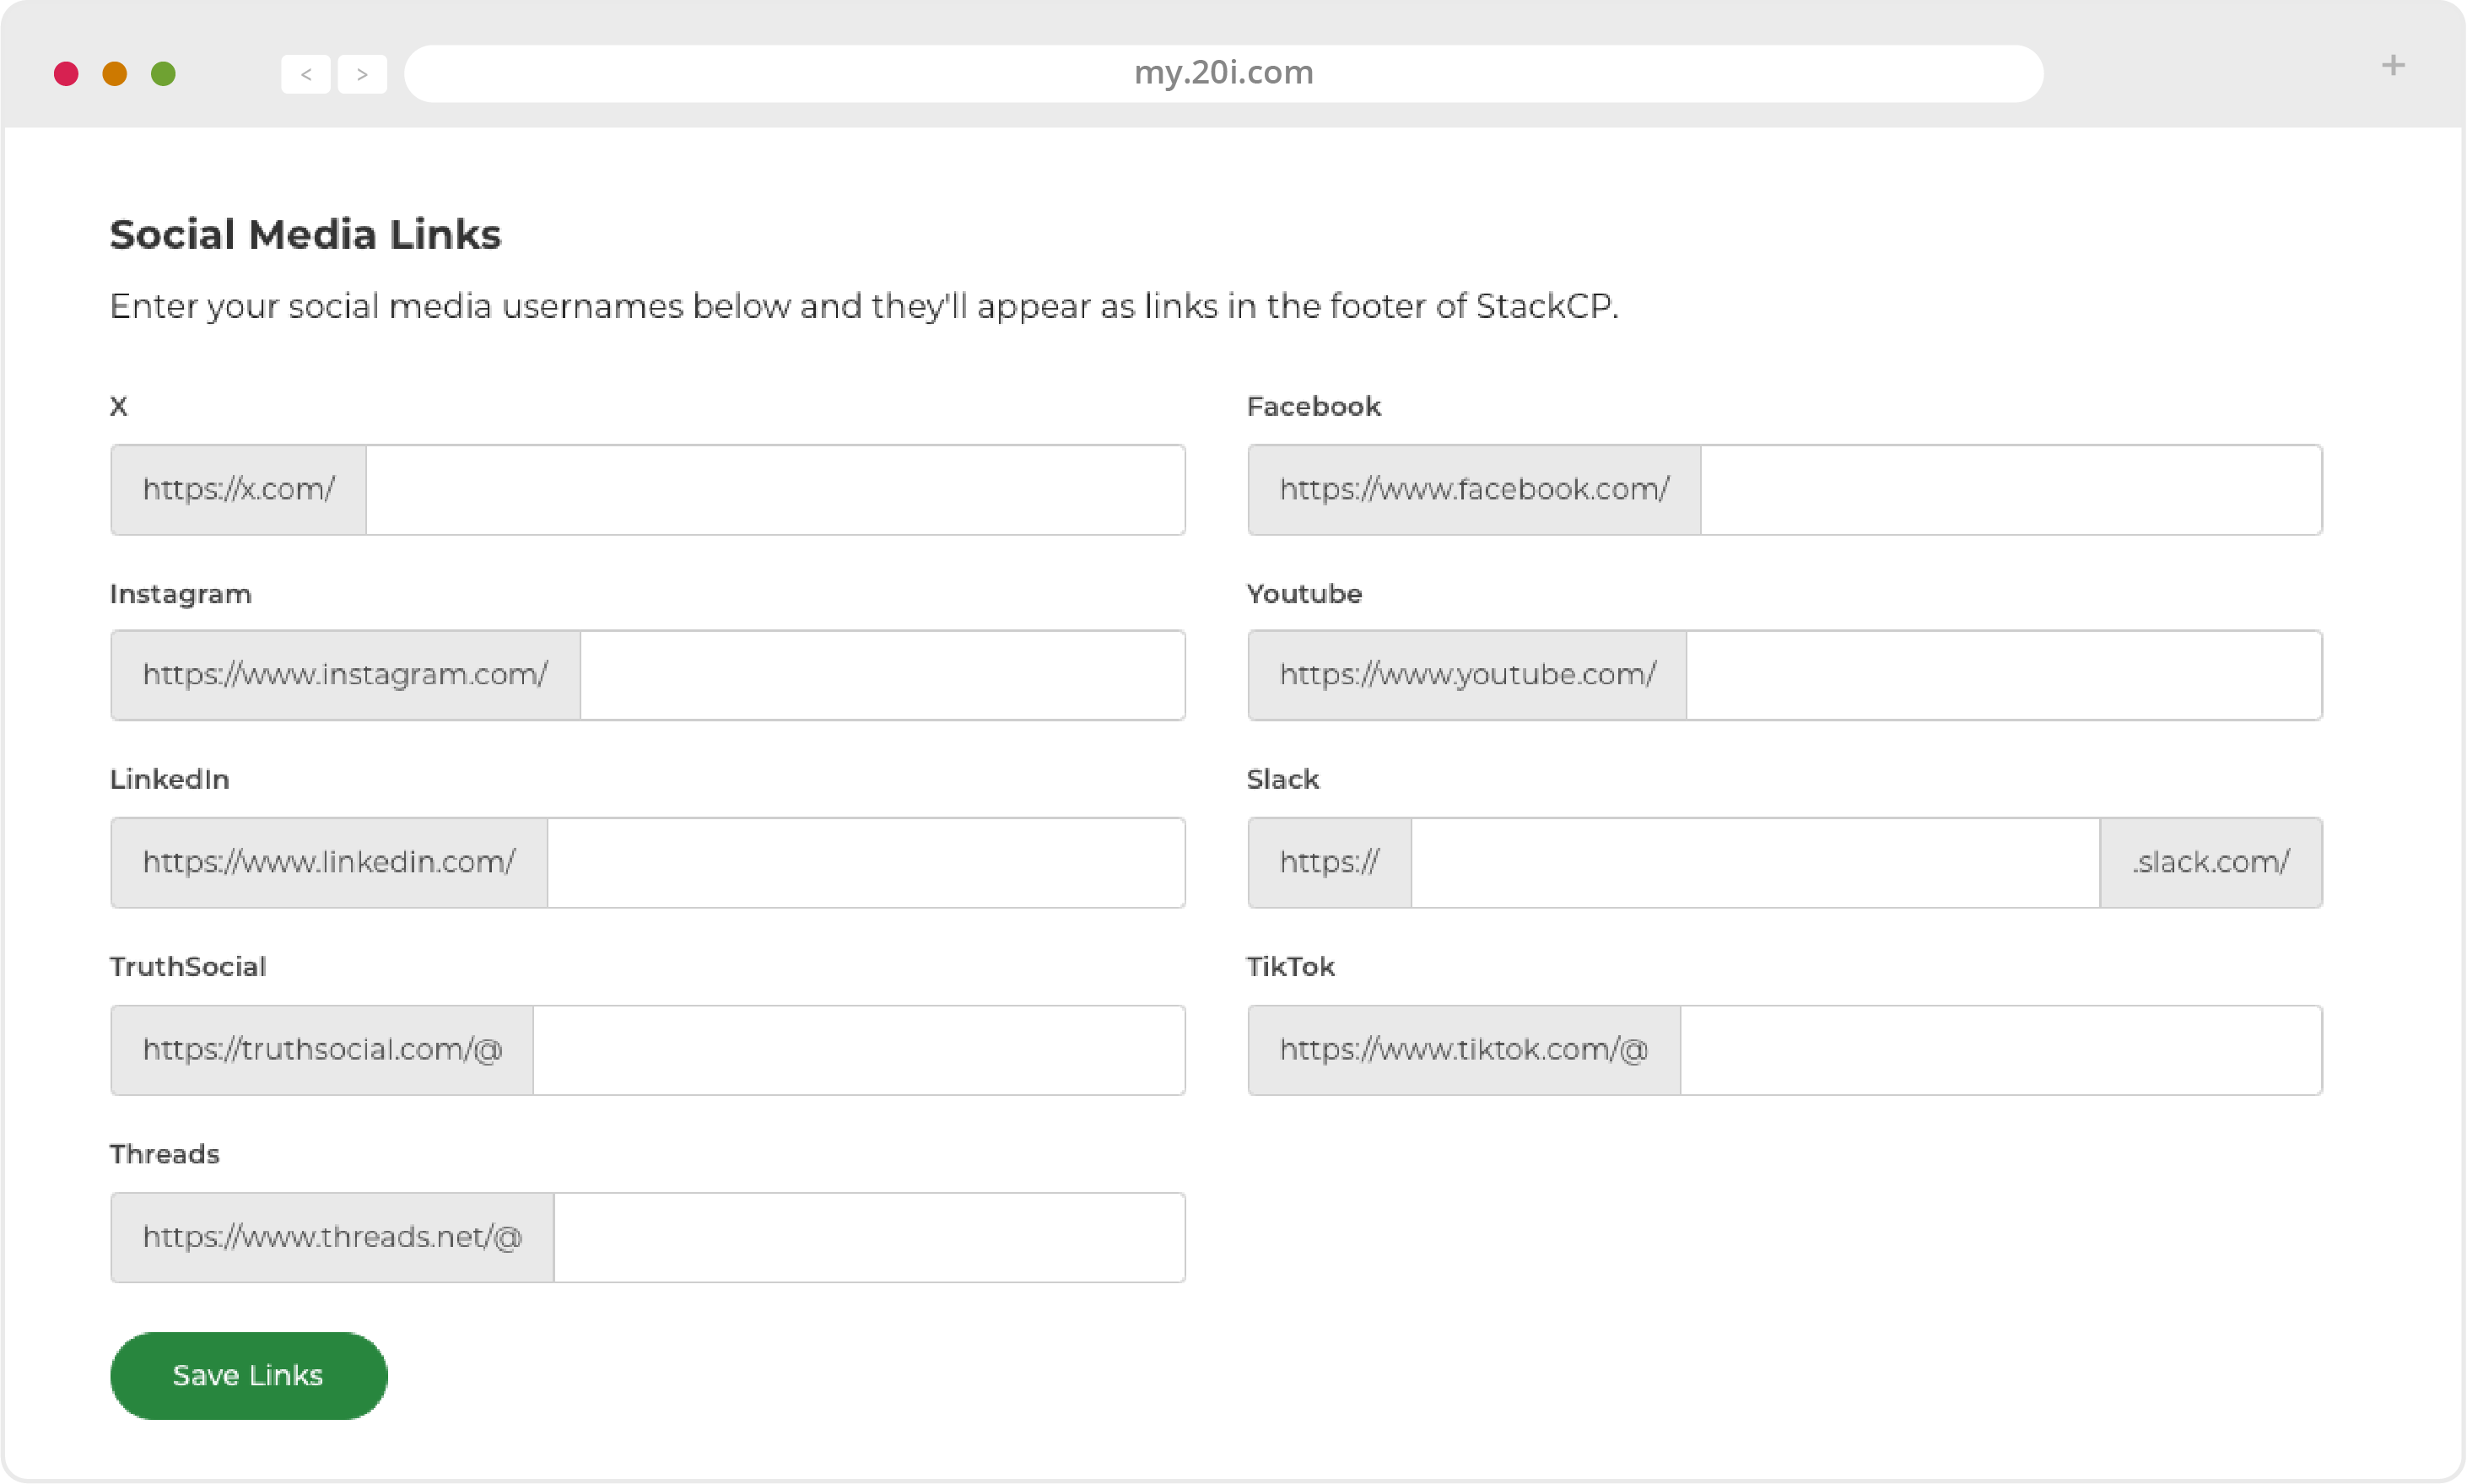
StackCP Social Media Icons
You can add links to your social profiles. These will then appear on the footer of StackCP.
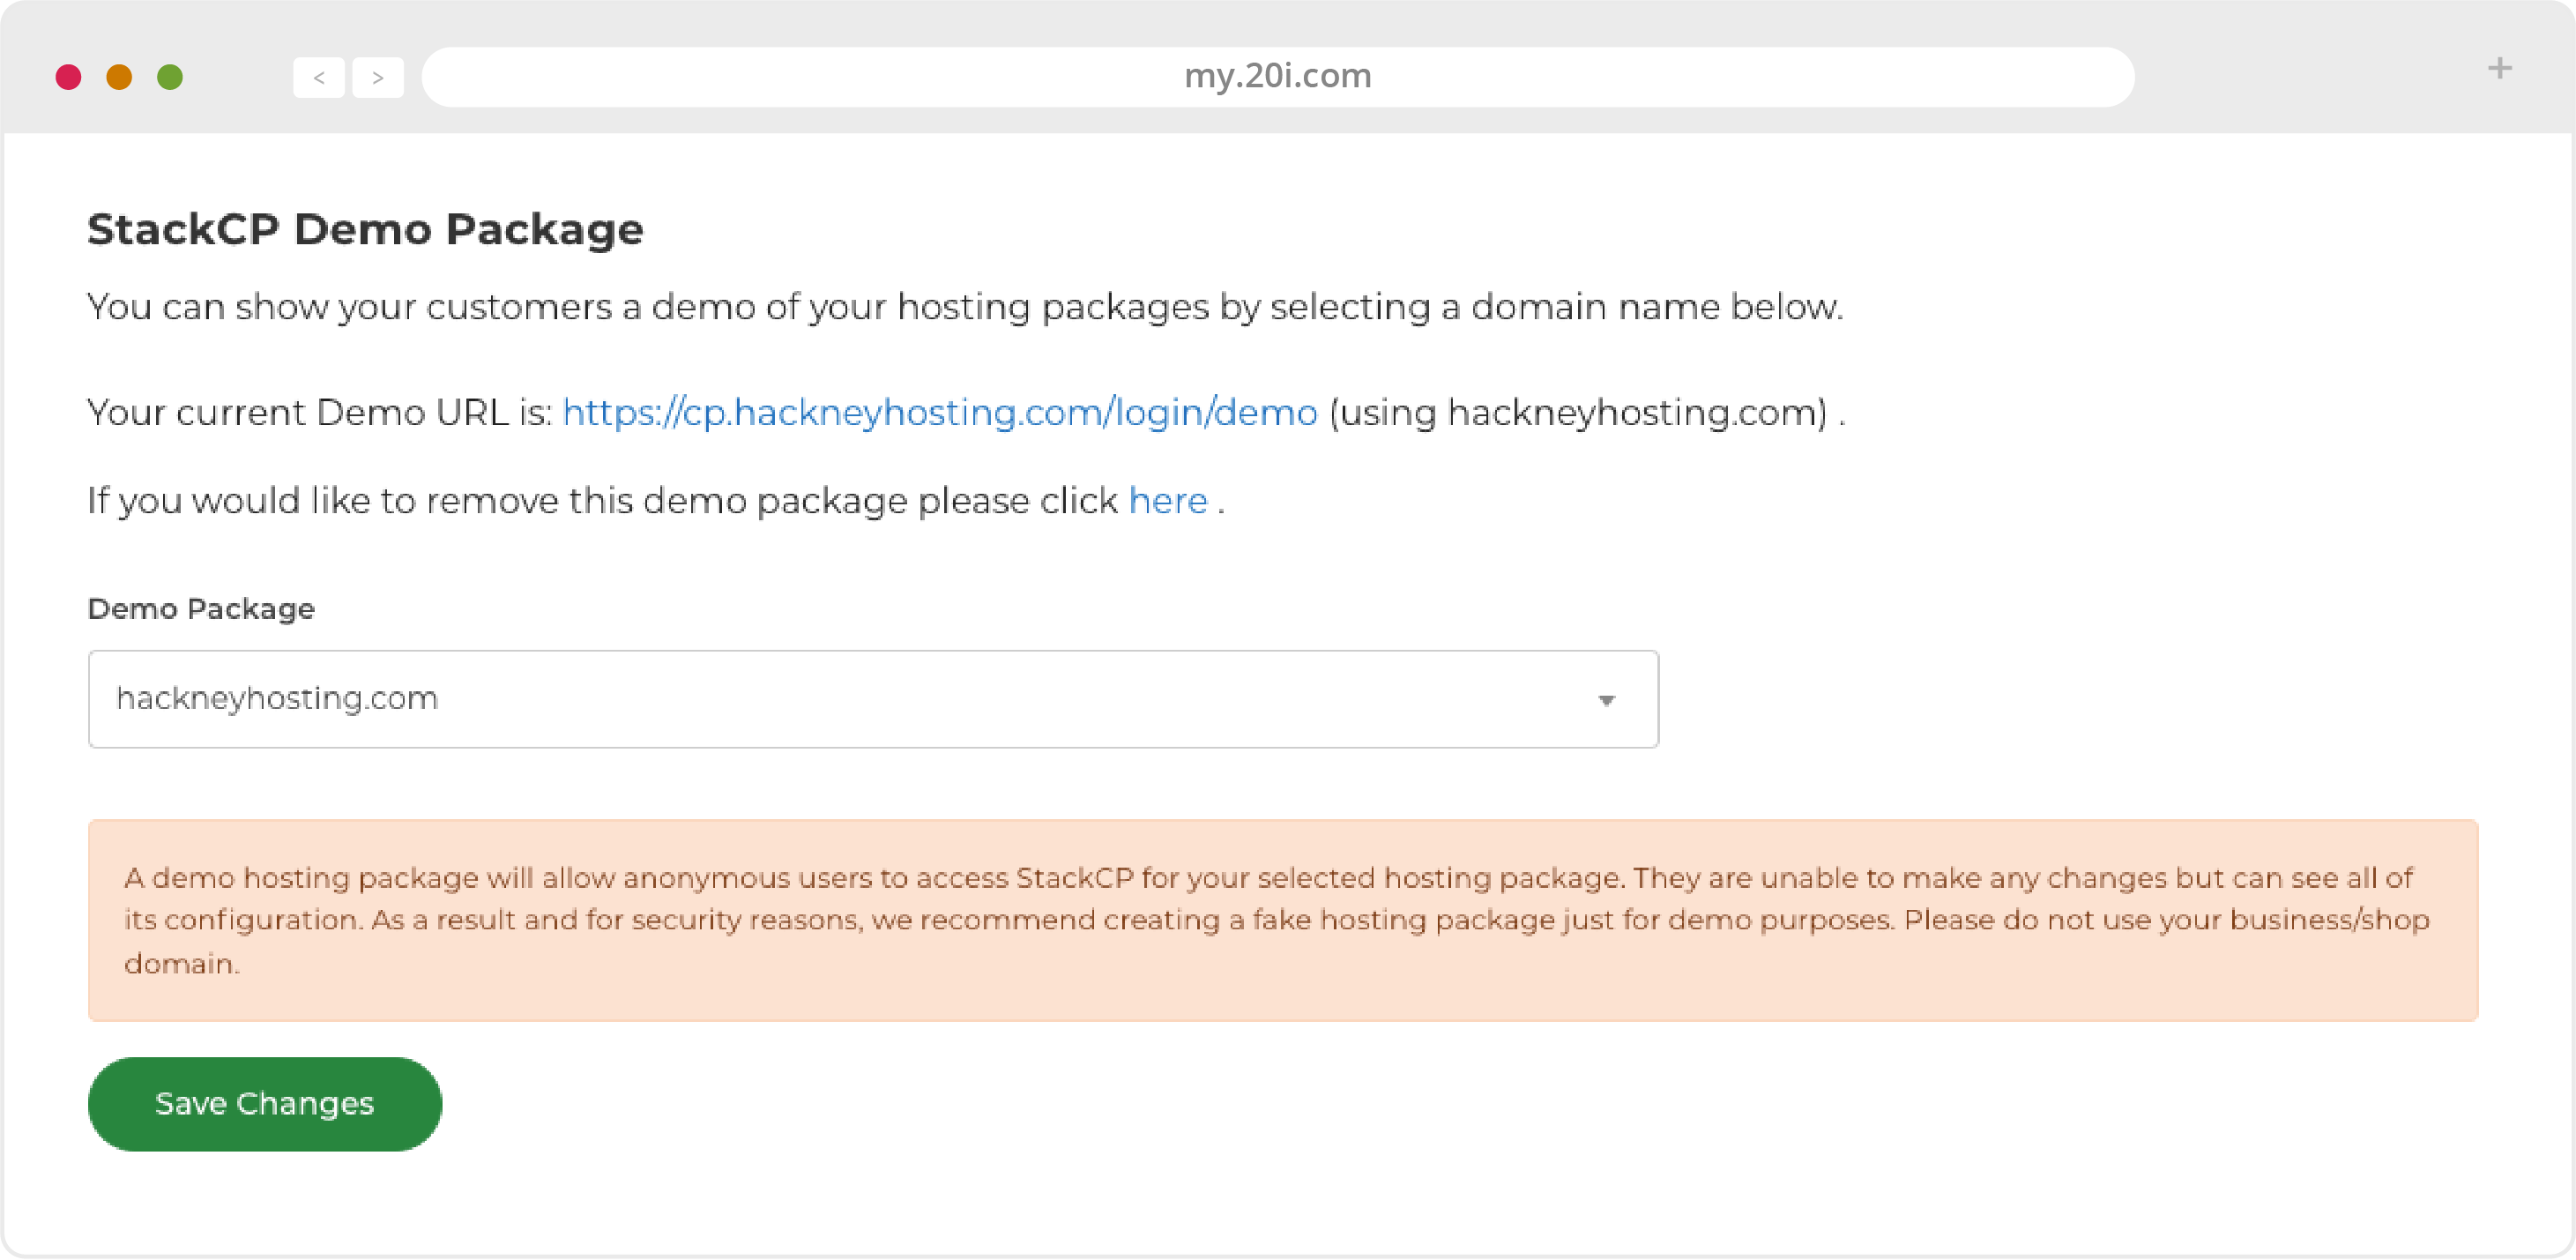
StackCP Demo
You can also change the URL of the StackCP demo so it appears as part of your company website.
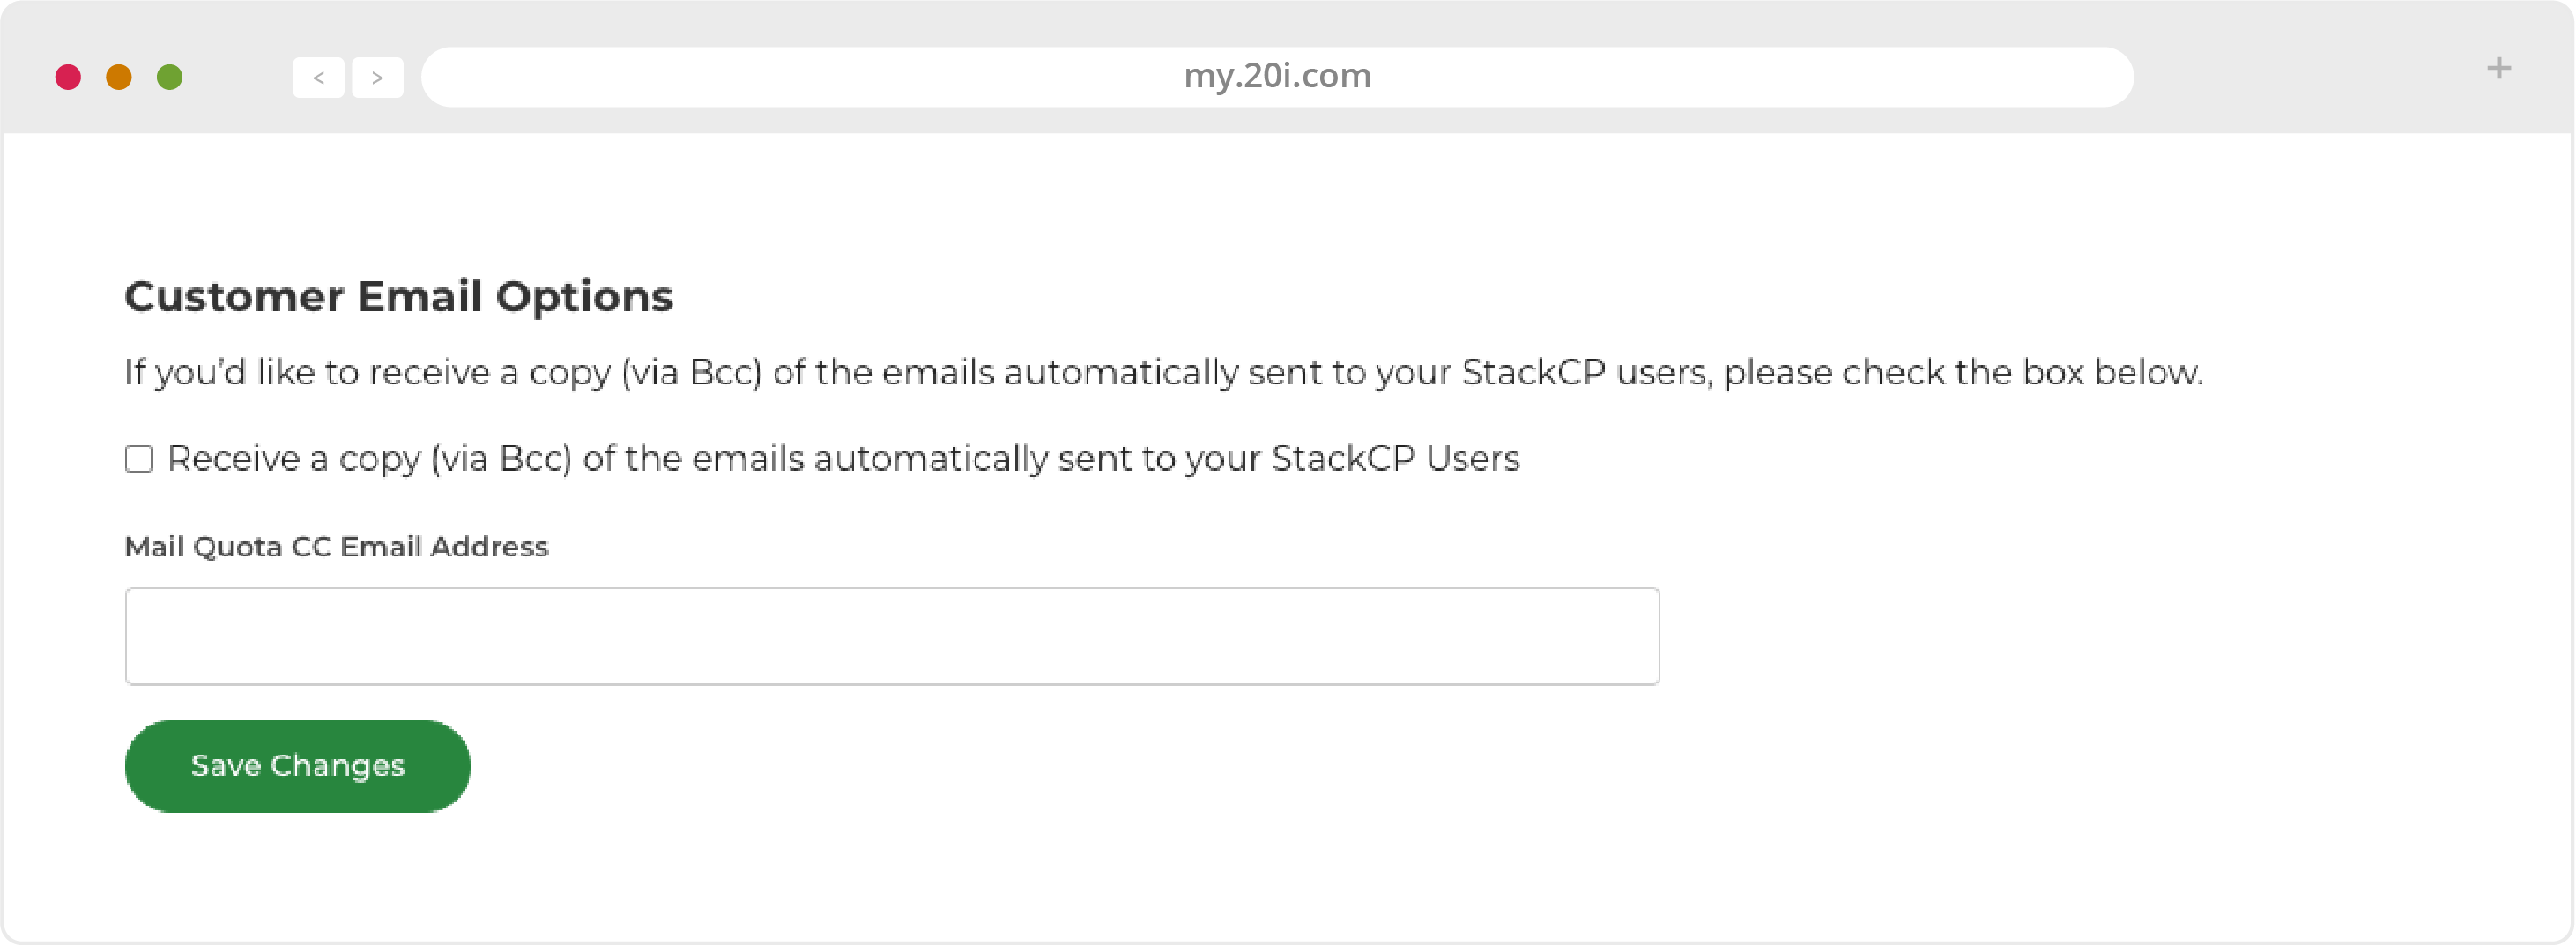
Customer Email Options
If you’d like to receive of copy (via BCC) of the emails automatically sent to your StackCP users, you can also set your preference for this.
>> Next step: Reports
