Reseller Hosting: Connecting With Your Customers

As well as StackCP Help Desk (see previous chapter) My20i offers other ways communicate directly with your customers: the StackCP Message Centre, StackCP System Email and automated Email Campaigns.
Dynamic Content Tags
There are numerous tags which automatically insert dynamic content in to your messages. They can be used for both direct messages to the control panel and in emails. They allow you to personalise your message to the recipient and insert the information that is unique to your brand. Here’s a list of tags available:
StackCP User Tags
- Full Name {{contact.person_name}} - The first and second name of the StackCP User that the email template will be sent-to
- Company Name {{contact.company_name}} - If the StackCP User has a contact type that requires a company name, this tag will output the company name for the StackCP User
- Address {{contact.address}} - The first line of the postal address of the StackCP User that the email template will be sent-to
- Country/State/Province {{contact.sp}} - The country/state/province line of the postal address set for the StackCP User
- City {{contact.city}} – The city set for the StackCP User that the email template will be sent-to
- Postcode {{contact.pc}} – The postcode that is set for the StackCP user that the email template will be sent to
- Country Code {{contact.cc}} – The country code of the country that has been set for the StackCP User
- Phone Number {{contact.voice}} – The phone number set for the StackCP User
- Email Address {{contact.email}} – The email address set for the StackCP User. This is also used as the StackCP User username.
StackCP Welcome Email Tags
- First Name {{firstName}} – The first name set for the StackCP User
- Username {{username}} – The username your customer will use to login; it’s also their StackCP User email address. They will also need their password to login
- Password {{password}} – This is the password your customer will use to login to manage their services. They’ll need this along with their username to login to their control panel. We don’t recommend sending this by email, but if you do, ensure they have two-factor authentication set up
StackCP Ticket Tags (see StackCP Ticket section)
- Ticket Link {{ticket.url}} – The URL to your My20i account where you can reply to the ticket raised by your customer
- Ticket ID {{ticket.id}} – The unique ID given to the ticket. It can be used to identify or search for a specific ticket
- Ticket Subject {{ticket.subject}} – The subject your customer gives to the ticket to identify what the ticket is about
- Ticket Status {{ticket.status}} –The current status that the ticket is in - such as ‘Open’ or ‘Closed’. It can be set via StackCP Help Desk Configuration
Mailbox Usage Tags
- Email Address {{mailboxUsage.emailAddress}} – The mailbox that’s the subject of the email
- Current Usage {{Percent mailboxUsage.usagePercent}} – This shows how full the mailbox currently is as a percentage. It doesn’t include the ‘%’ symbol, so you’ll need to add this after the tag
- Current Usage in MB {{mailboxUsage.usageMb}} – This shows how full the mailbox currently is in Mb. Again, you’ll have to add ‘Mb’ after the tag if you wish
Password Reset Email
- Brand name {{brandname}} - The Brand Name you’ve given your account from Reseller Customisation
- Business Name {{businessname}} - The Company Name you’ve set within Reseller Customisation under the StackCP Sidebar section
- Control Panel Address {{cpurl}} - The custom control panel URL you’ve set within Reseller Customisation under the Control
Panel URLs section
- Help Address {{helpurl}} - The Support Site URL you’ve set within Reseller Customisation under the StackCP Sidebar section.Homepage Address {{homeURL}} - The Home Page URl you’ve set within Reseller Customisation under the StackCP
Sidebar section
- Sales Email Address {{salesemail}} - The Sales Email Address you’ve set within Reseller Customisation under the StackCP Sidebar section
- Support Email Address {{supportemail}} - The Support Email Address you’ve set within Reseller Customisation under the StackCP Sidebar section
- Reset Password Address {{resetURL}} - This is the URL that your customers will be taken to in order to reset their password, it will utilise the custom control panel URL you’ve set to ensure it’s white-labelled
- Webmail Address {{webmailurl}} - The URL that your customers can go to log in to their webmail as set within Reseller Customisations under the Webmail Domain section
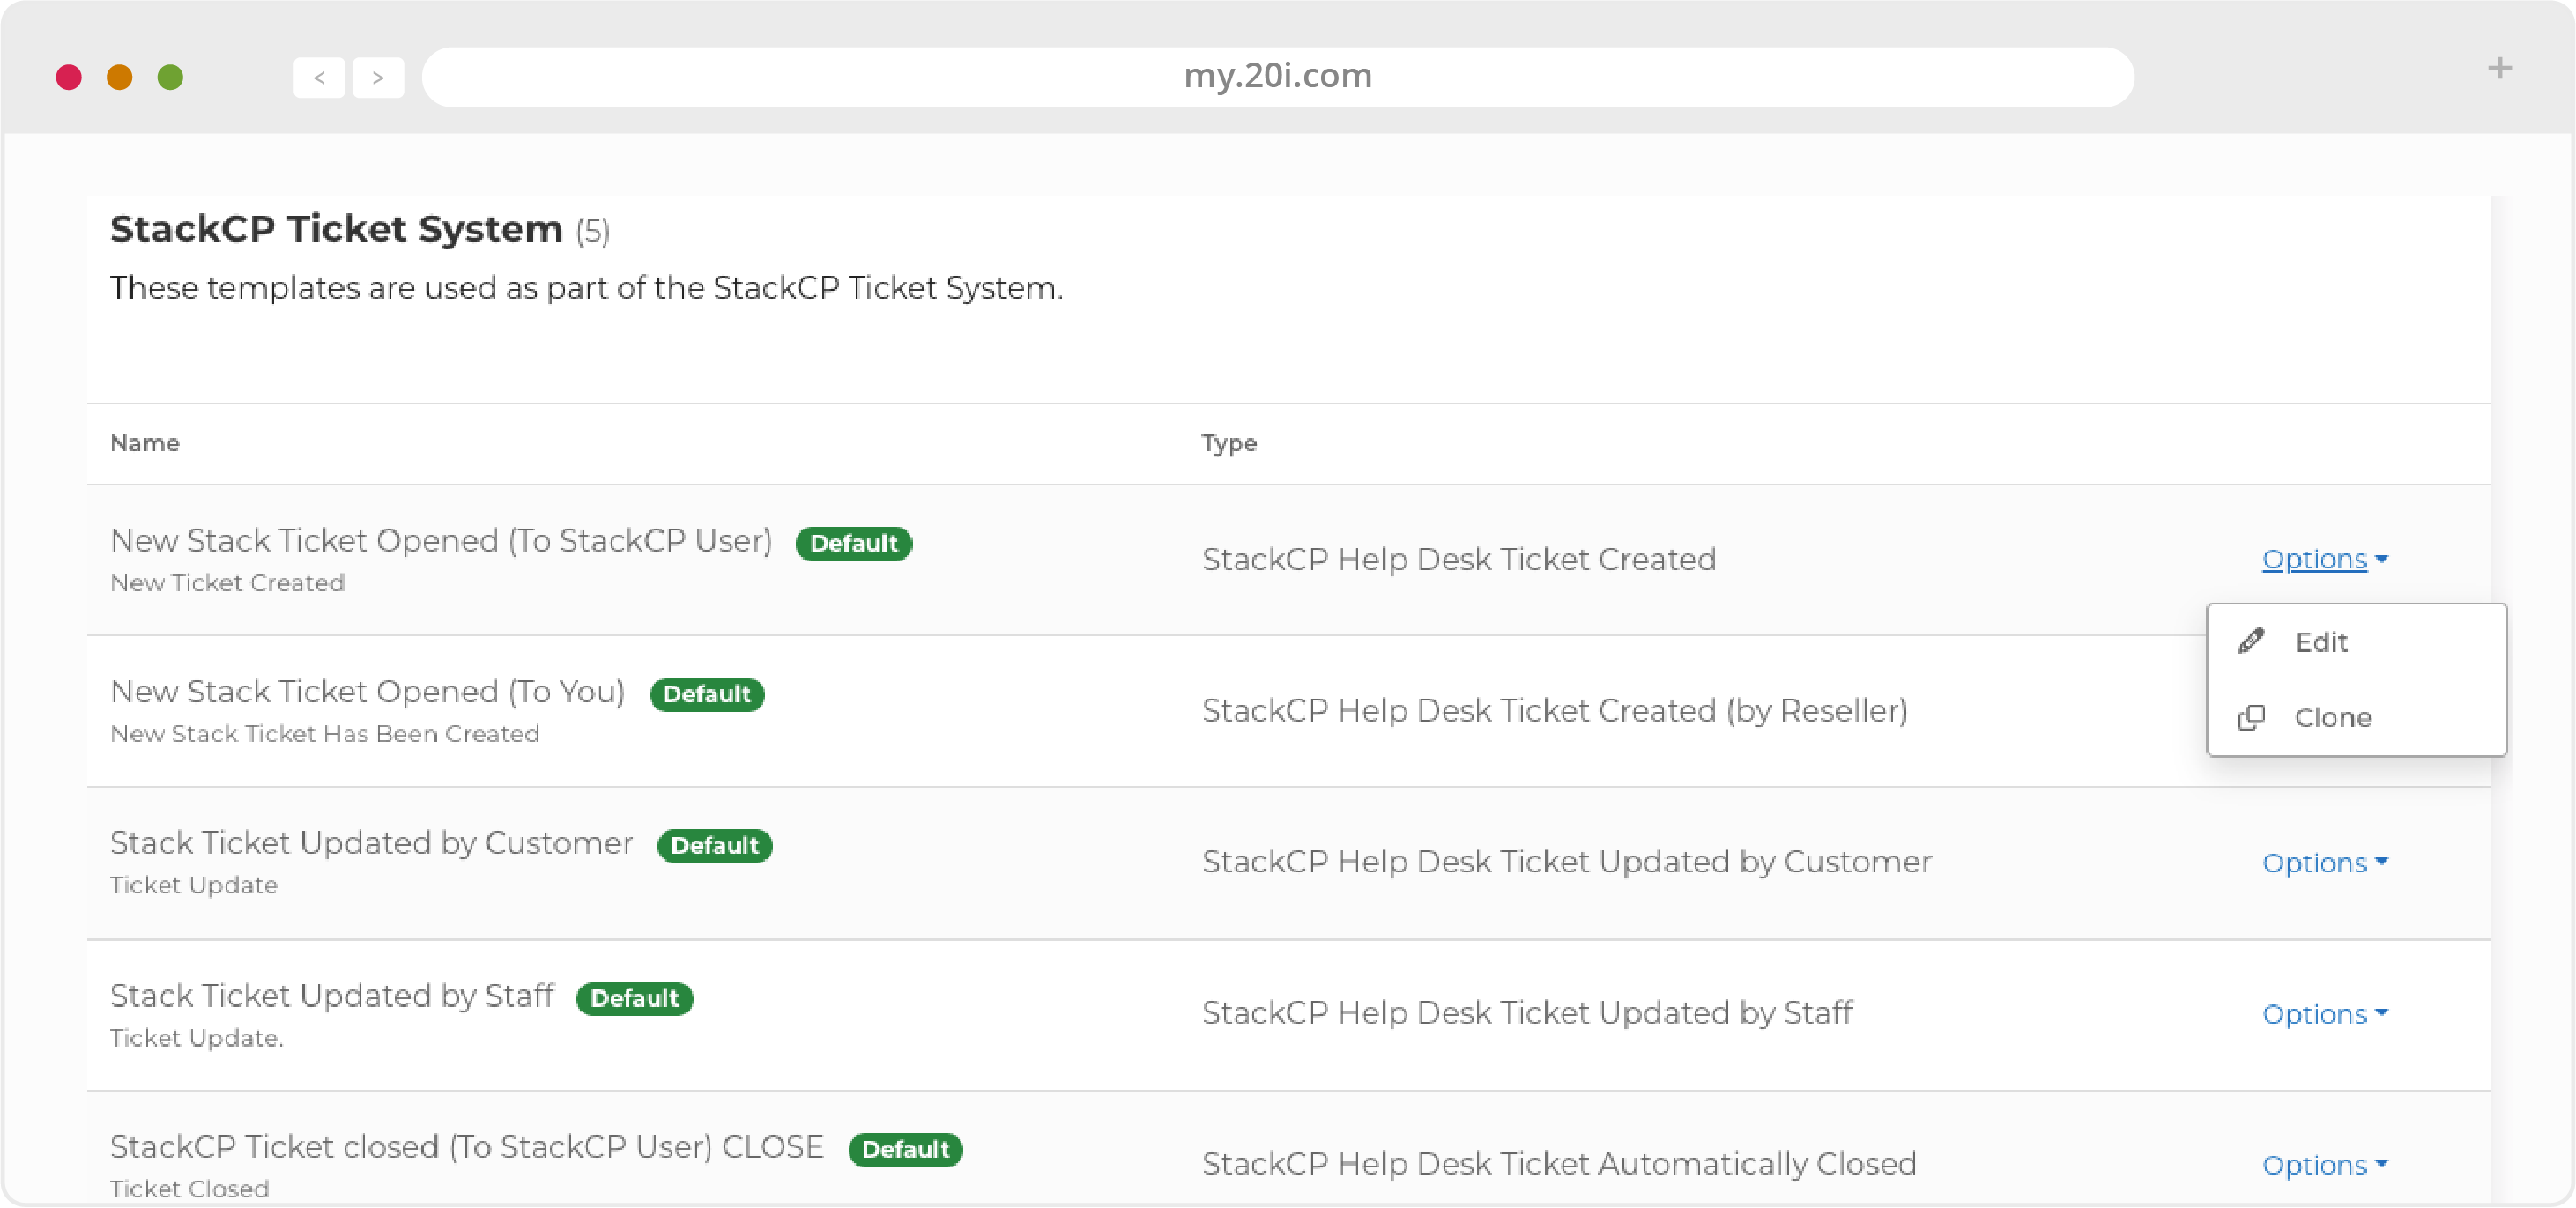
Email Templates
All emails that you send via My20i to your customers are based on Email Templates. All templates can be edited under Reseller Preferences > Email Templates.
Here, you can view and edit:
- Welcome Emails, for when a hosting package is created and when a new StackCP User is created
- StackCP Help Desk (see Supporting your customers)
- Email Campaigns, for newsletters or any other bulk mailings to your customers (see below)
- StackCP Usage Notifications, to warn customers about exceeding their mailbox size
- StackCP System Notifications, for billing notifications and password resets
Our standard email templates already contain default content. This can be edited to include whatever text content you’d like, and include dynamic content tags too.
To make changes to these emails, select Options > Edit and you’ll be taken to a page where you can make changes to the defaults and see previews of how the email will appear.
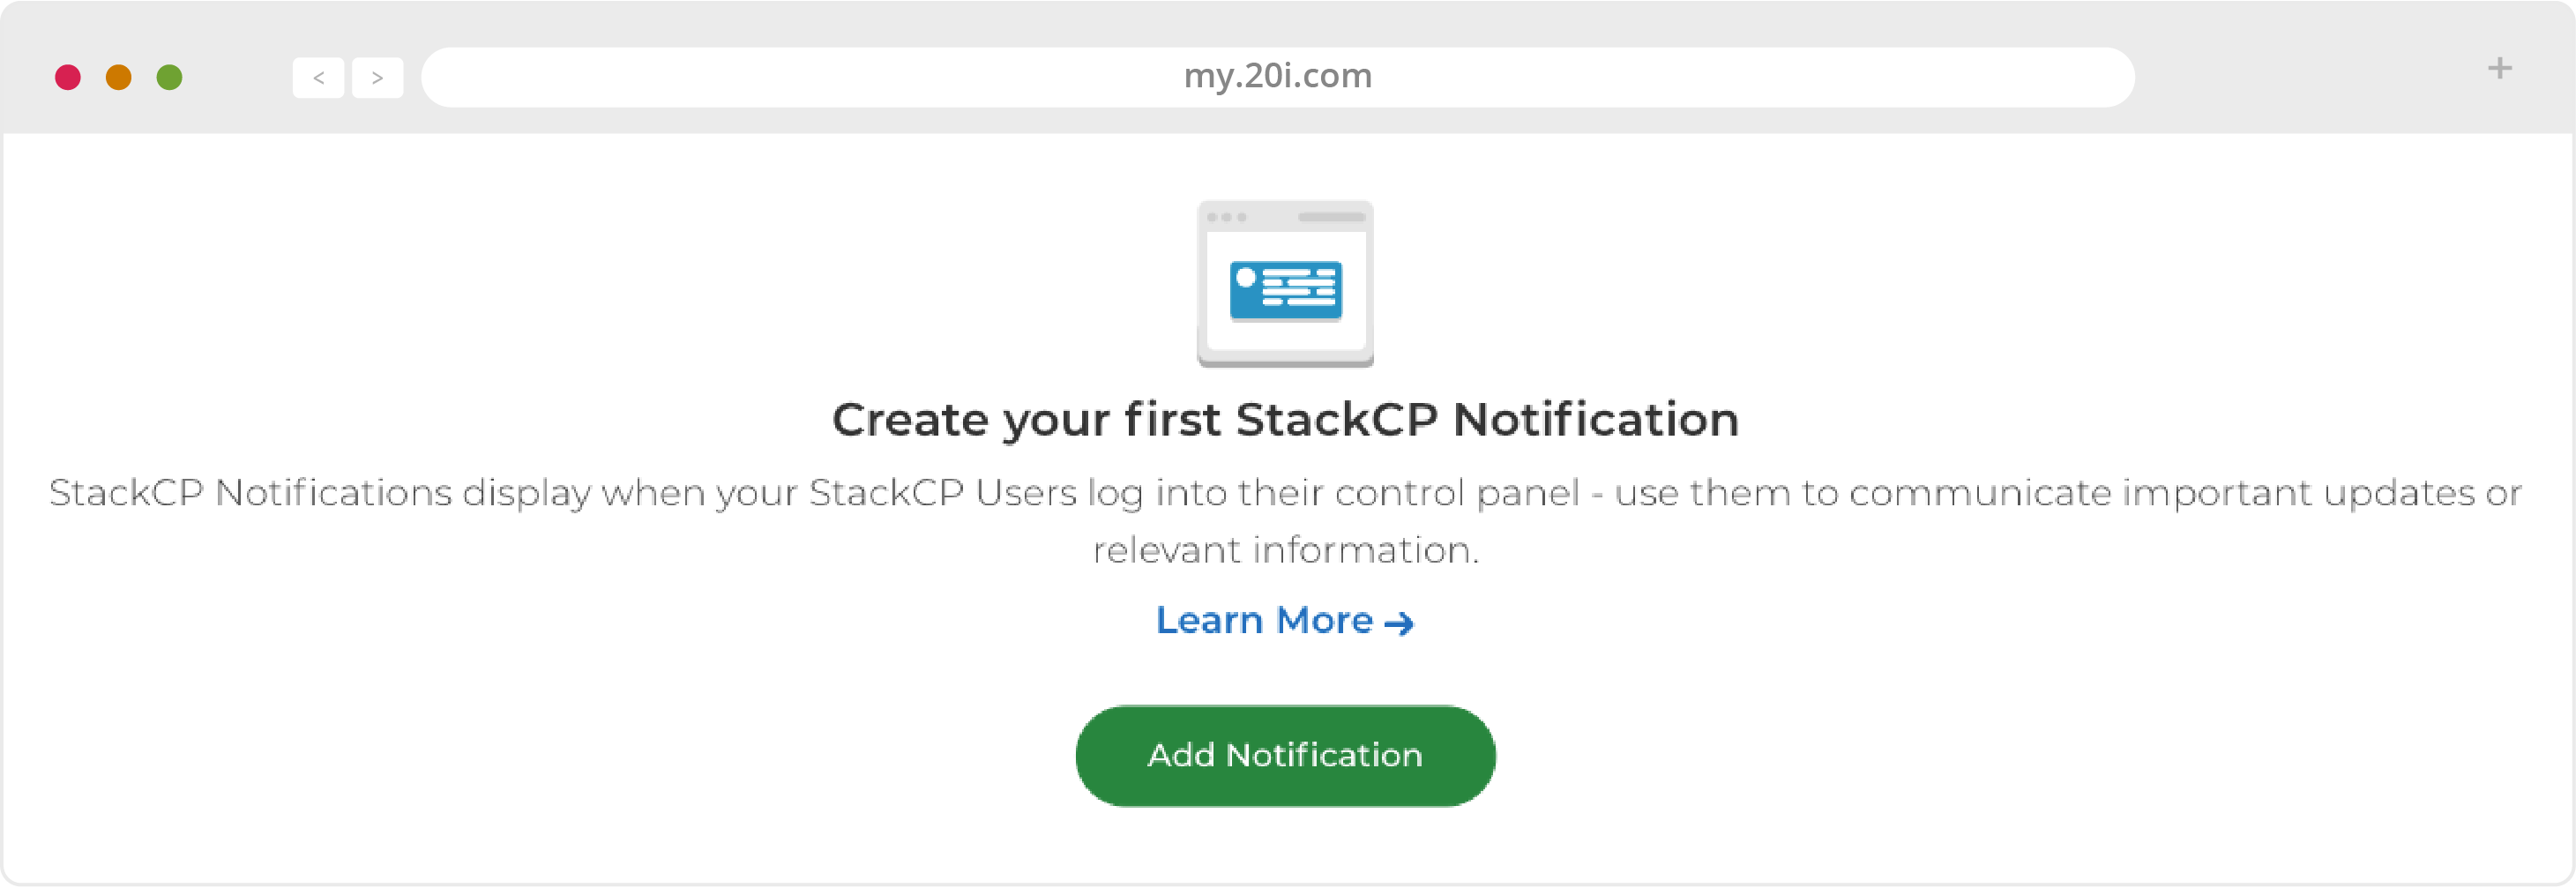
StackCP Message Centre
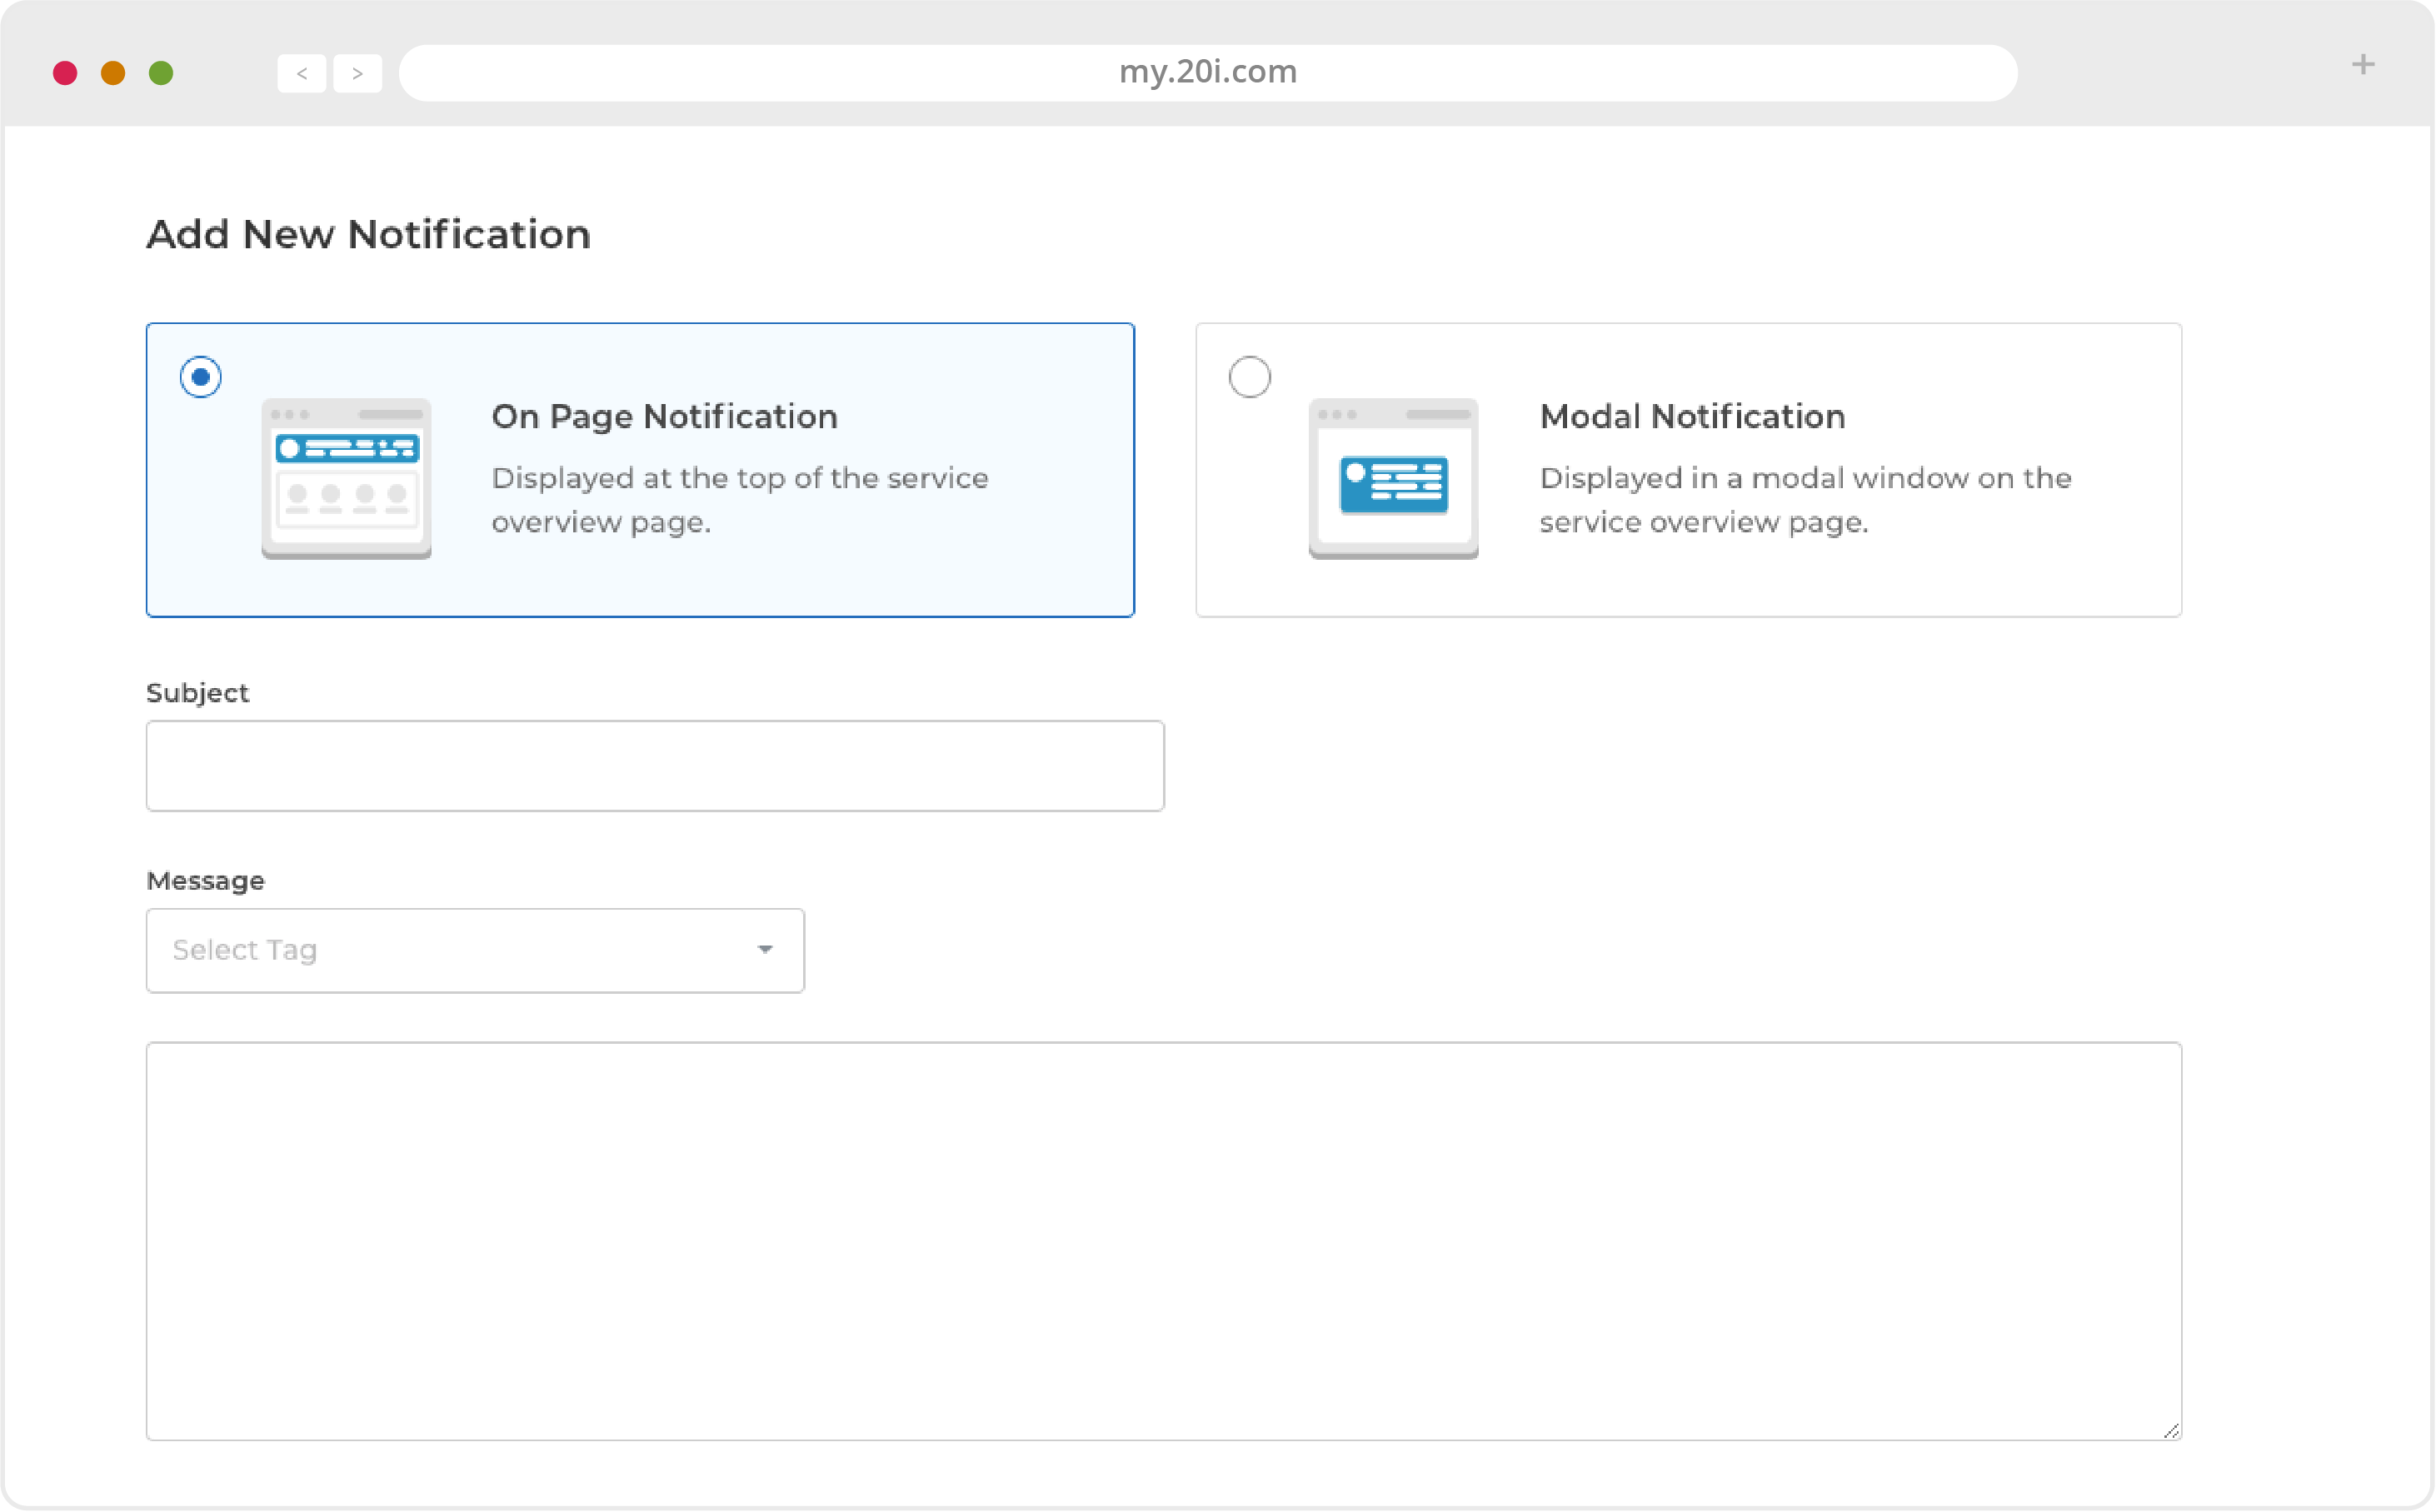
The Message Centre is a way to send a message to a customer which will appear when they log in to StackCP. The same message can be sent to all users, to those on a particular package or to selected individuals. They message can be in two formats:
- An On Page Notification displayed at the top of the service overview page of StackCP
- A Modal Notification - a pop up - in a window on the service overview page of StackCP
To create a message:
- Go to HostShop > Customer Management > Message Centre
- Select Add Notification and choose whether you want the notification to be On Page or Modal
- Enter the message subject and its content
- To personalise messages you can add in StackCP User Tags (see above)
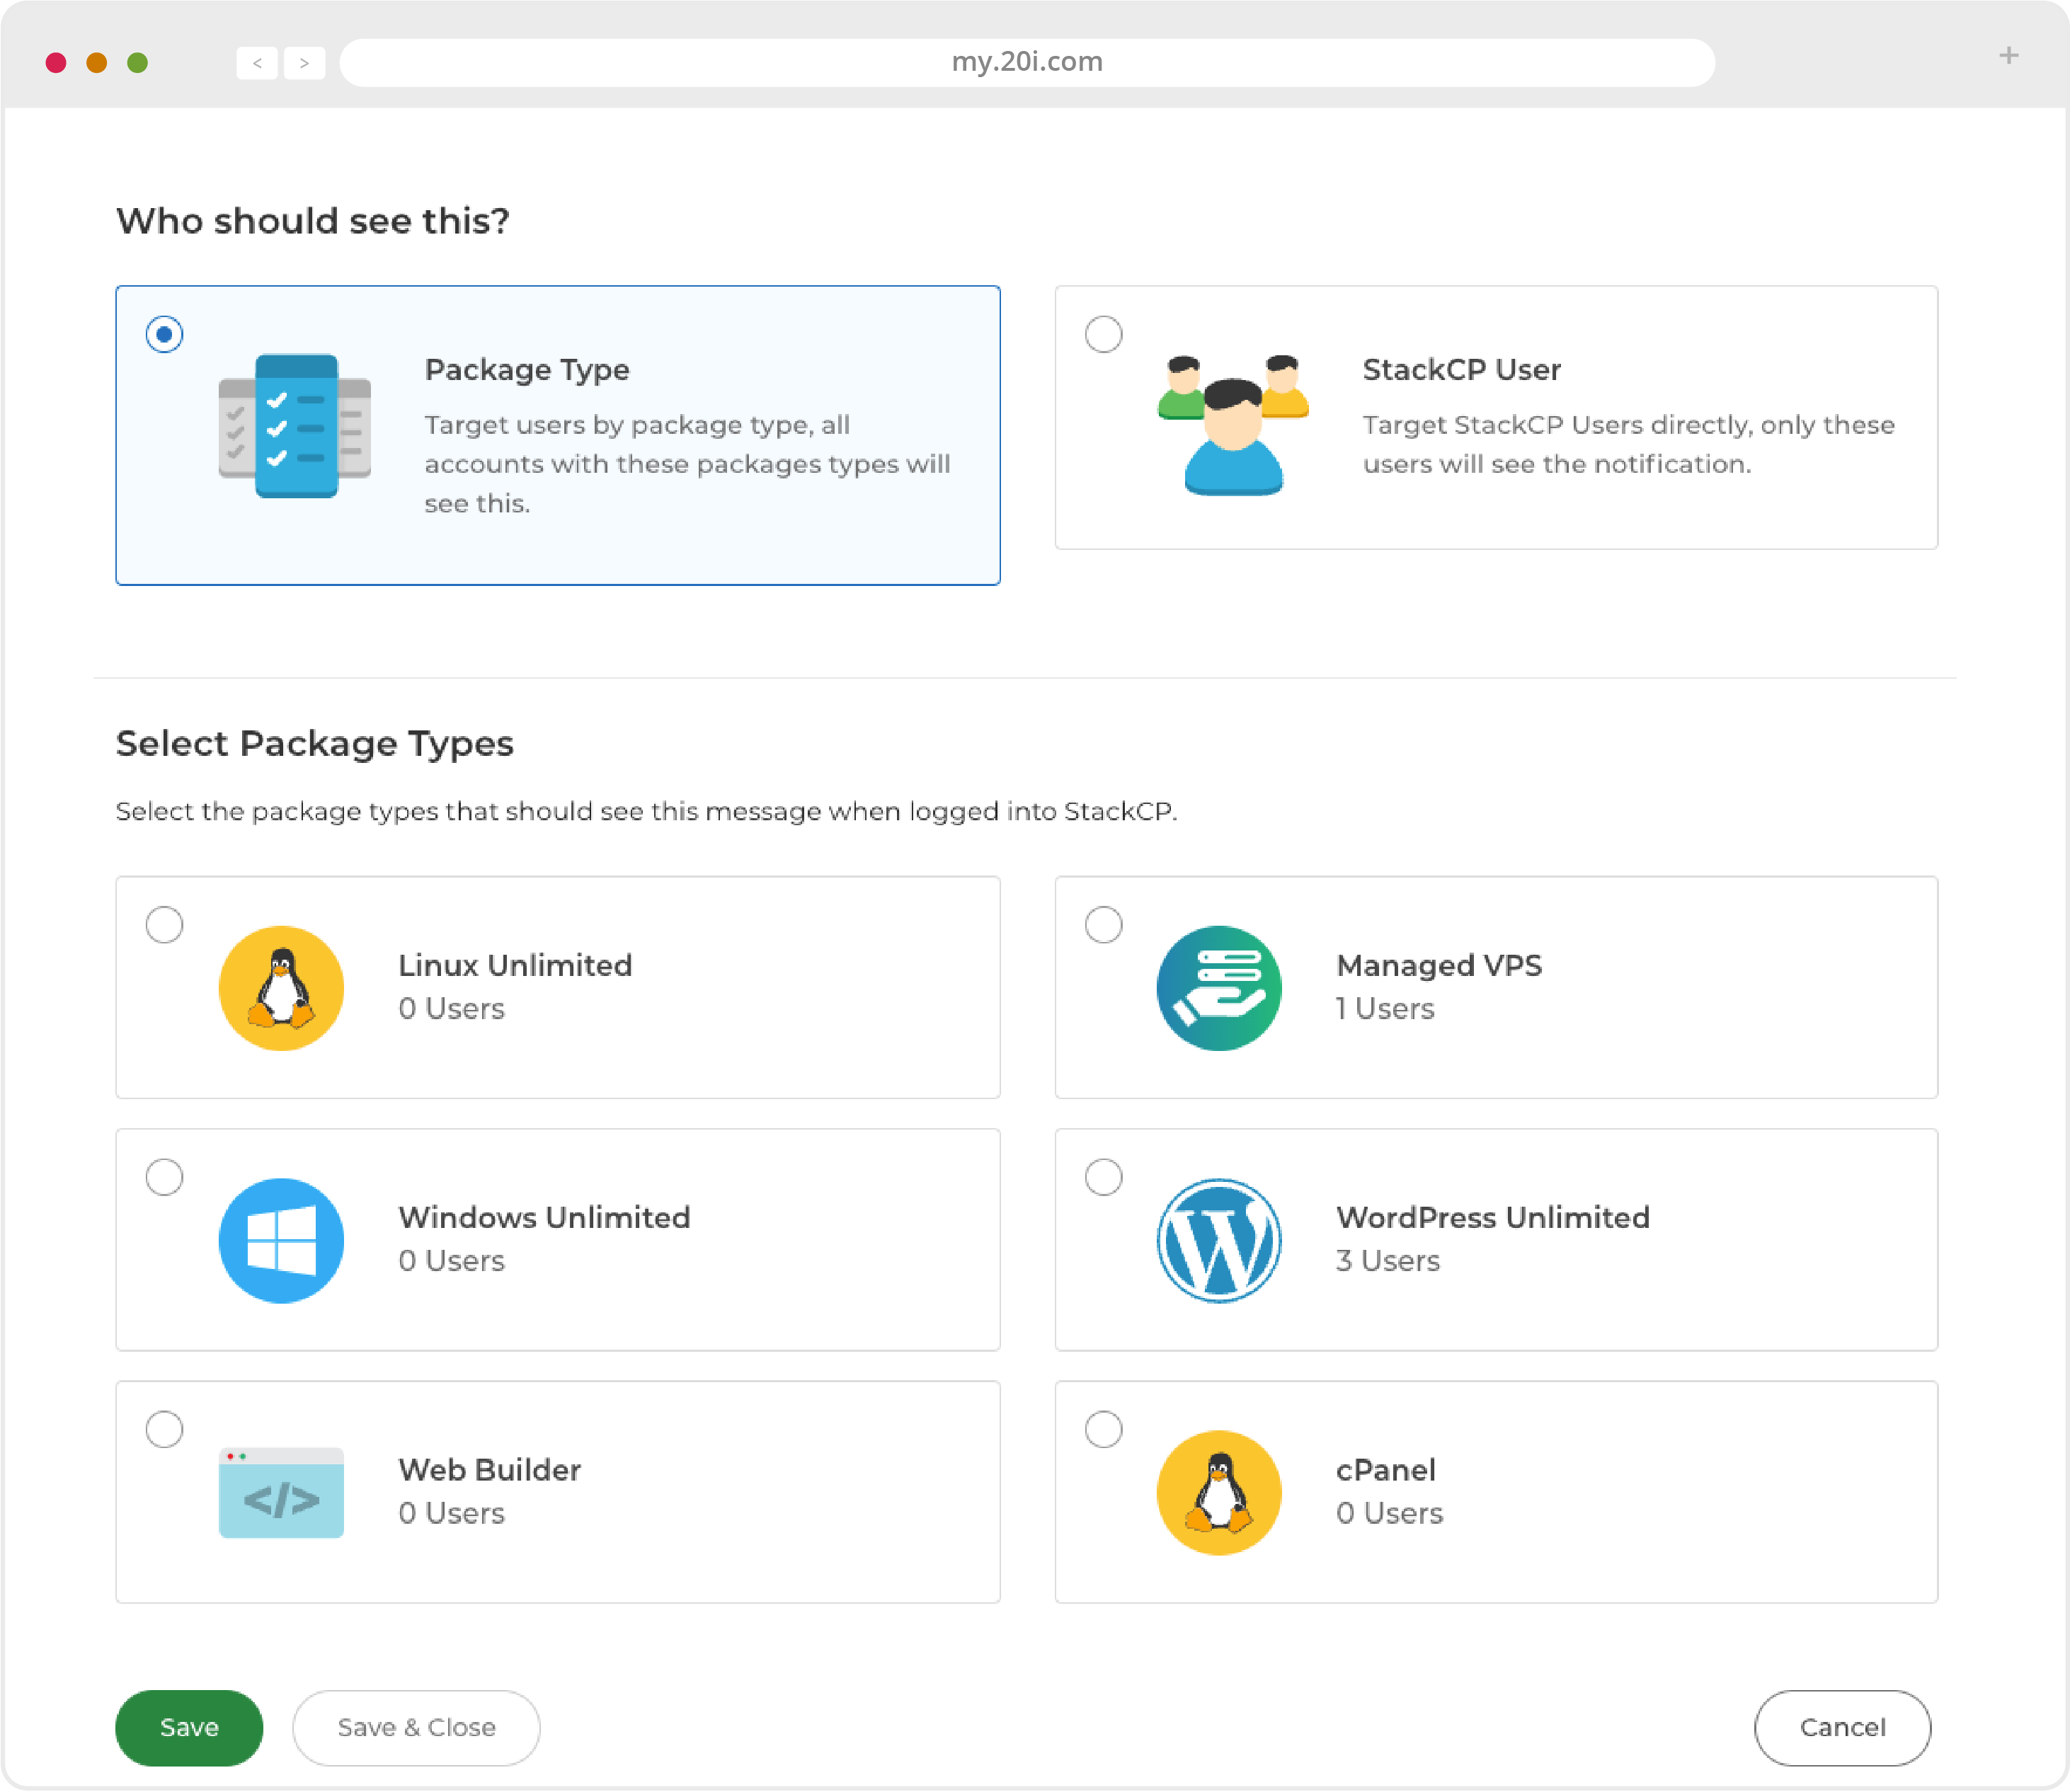
- If you want to send the message to those on a particular package, then choose Package Type under ‘Who should see this?’ and select which package(s) should see it (or all packages)
- If you want to send the message to selected Users, then choose StackCP User and select the individual(s) you wish to receive the message
- Select Save Notification and you’ll be returned to a list of your available notifications
- Here you can check User Reach and see a preview of your message, before selecting Send to activate it
>> Next step: Branding your business