Reseller Hosting: HostShop

HostShop is an all-in-one automated platform to manage clients, commerce, billing, payments, service provision, communication and support. It includes an online shop that you can integrate with your website, or you can use one of our ready-made hosting website templates.
Getting Started with HostShop
We created HostShop with the aim of a fast and easy setup. To get started quickly, the minimum you need to do is steps 1 and 2 below.
- Prepare the domain names and hosting services you want to sell
- Add and test your payment gateways
- Optionally add 20i account credit
- Customise your shop and branding
- Optionally install HostShop presales template and customise
- Open your shop and start earning from selling hosting and domain services
Your shop can then be opened in HostShop Configuration and you can start taking orders. We recommend reading all of this guide to familiarise yourself with HostShop’s features and functions.
Payment Gateways
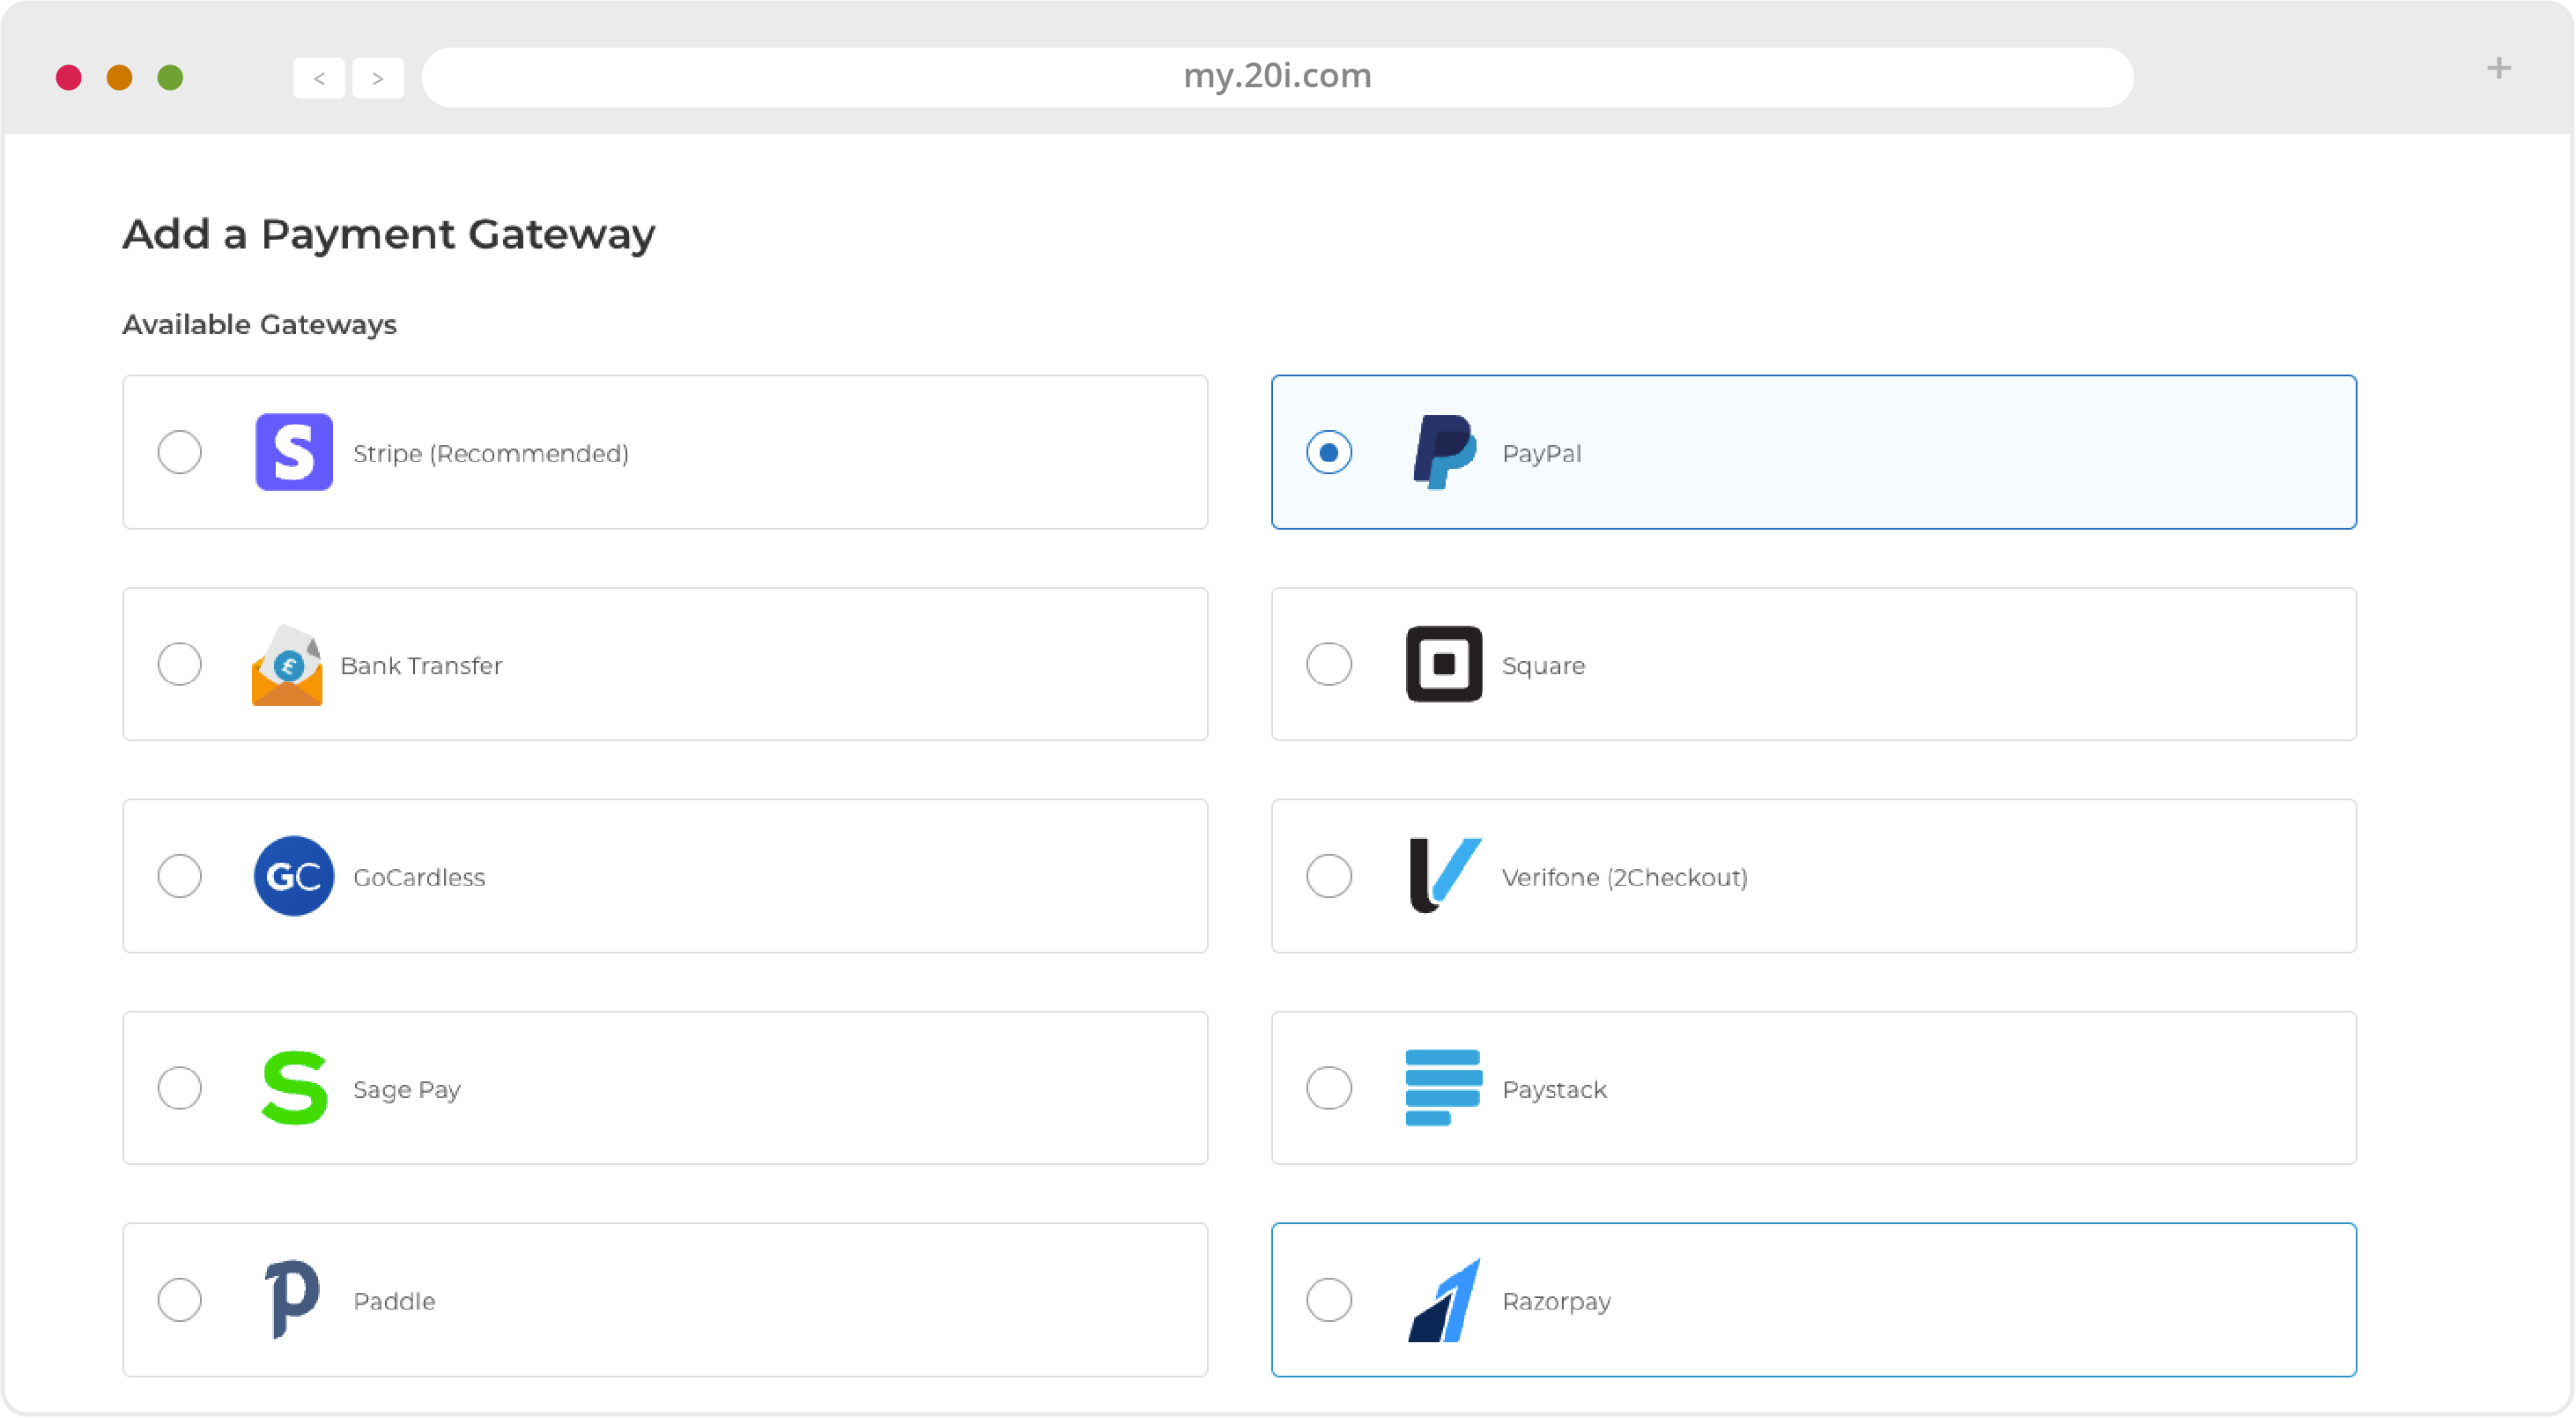
Before you can start taking orders through 20i HostShop, you need to set up a payment gateway. Here we’ll use the example of setting-up PayPal, but the process will be similar with all gateways.
- Head to HostShop > Overview
- Select Payment Gateways from the navigation menu on the left-hand side
- From the Add a Payment Gateway section, select PayPal
There are two details you need from PayPal, the Client ID and the Secret. You will need to have a PayPal account already setup. To get the Client ID and Secret:
- Login to your PayPal account
- Select Create App
- Give your app a name
- Select Create App
- You’ll now see your Client ID and the Secret required to setup the payment gateway
- Copy the Client ID and Secret into their respective fields within 20i
- Select Add Payment Gateway
Manual Payments
You may want to create a ‘pro forma’ invoice that you can mark as paid ‘manually’ once you have received payment outside of your payment gateway. For example, you could use this for payments made using cheques or bank transfer.
These pro forma invoices are managed on the Pending Orders page. To set this up, use the ‘Mail In Payment/Bank Transfer’ option.
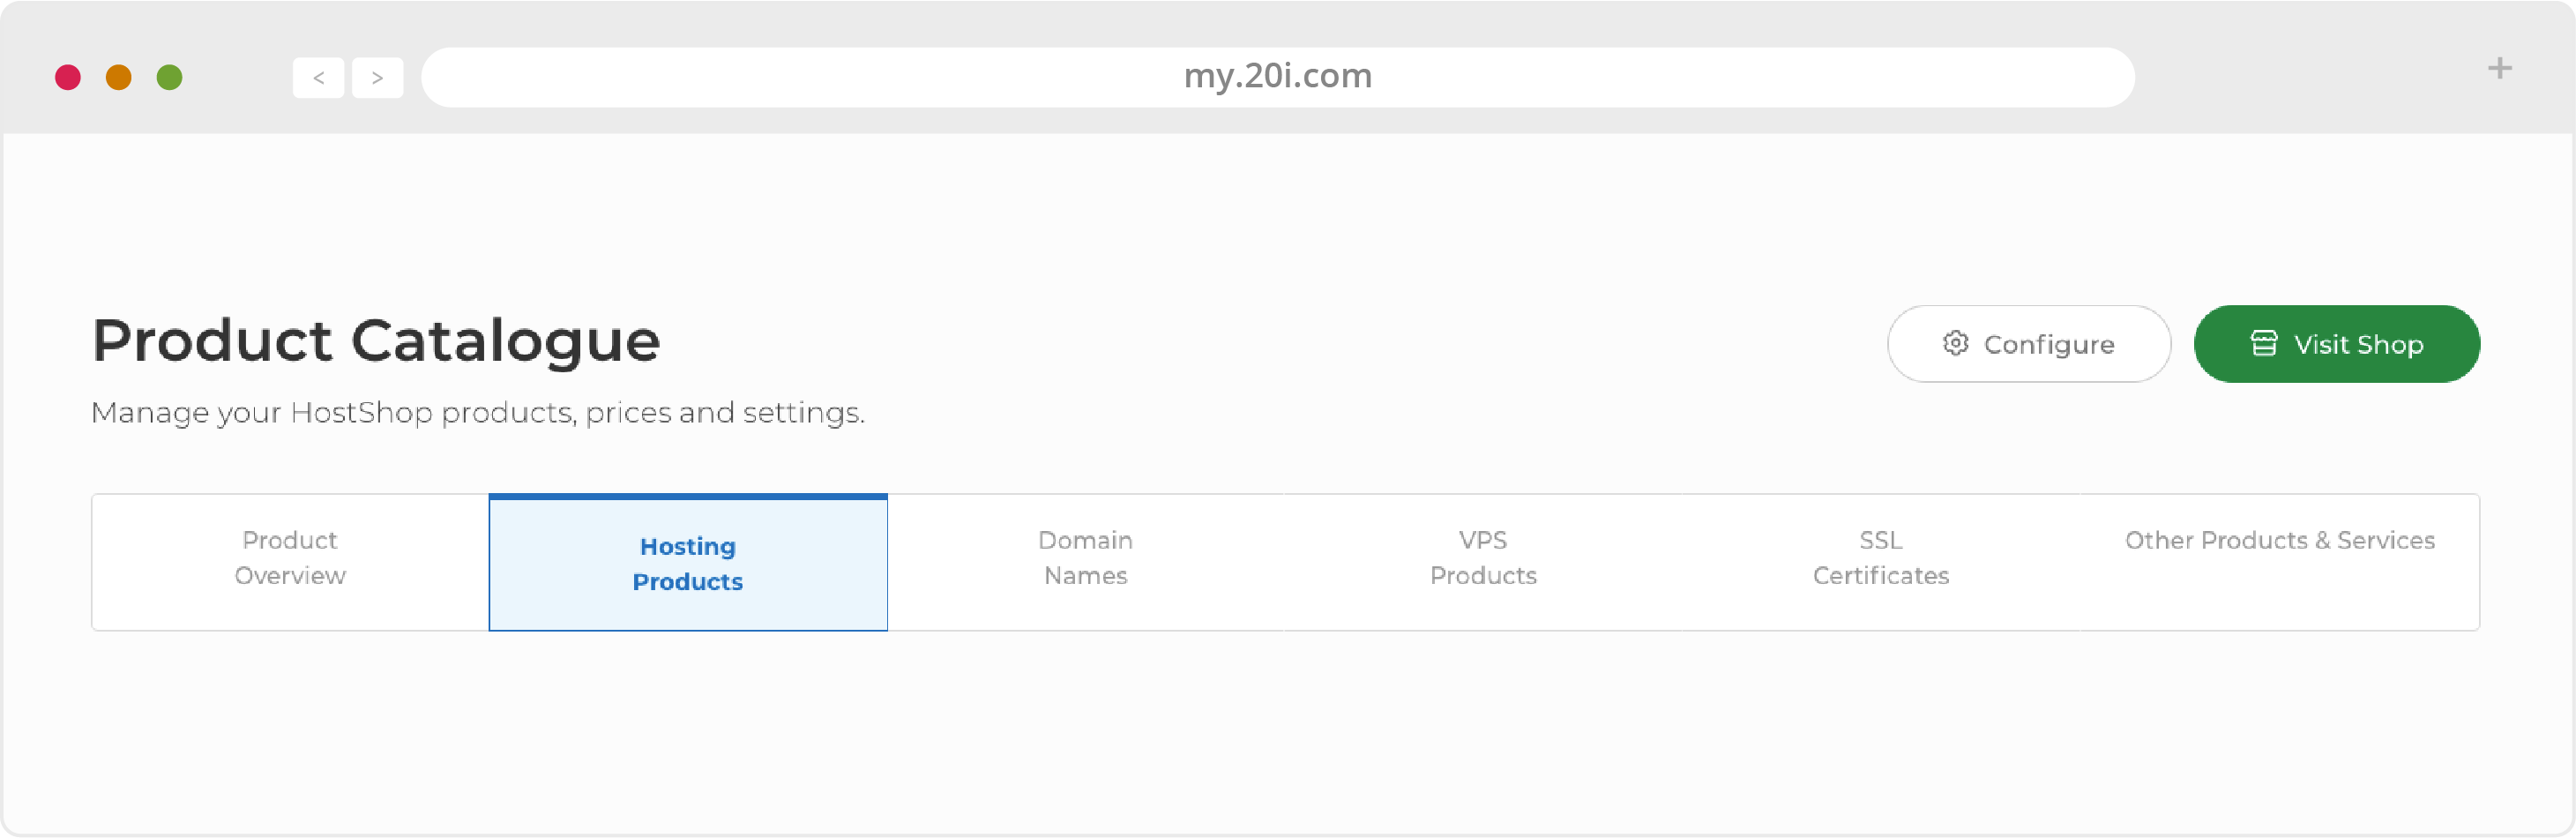
Adding Services and Products
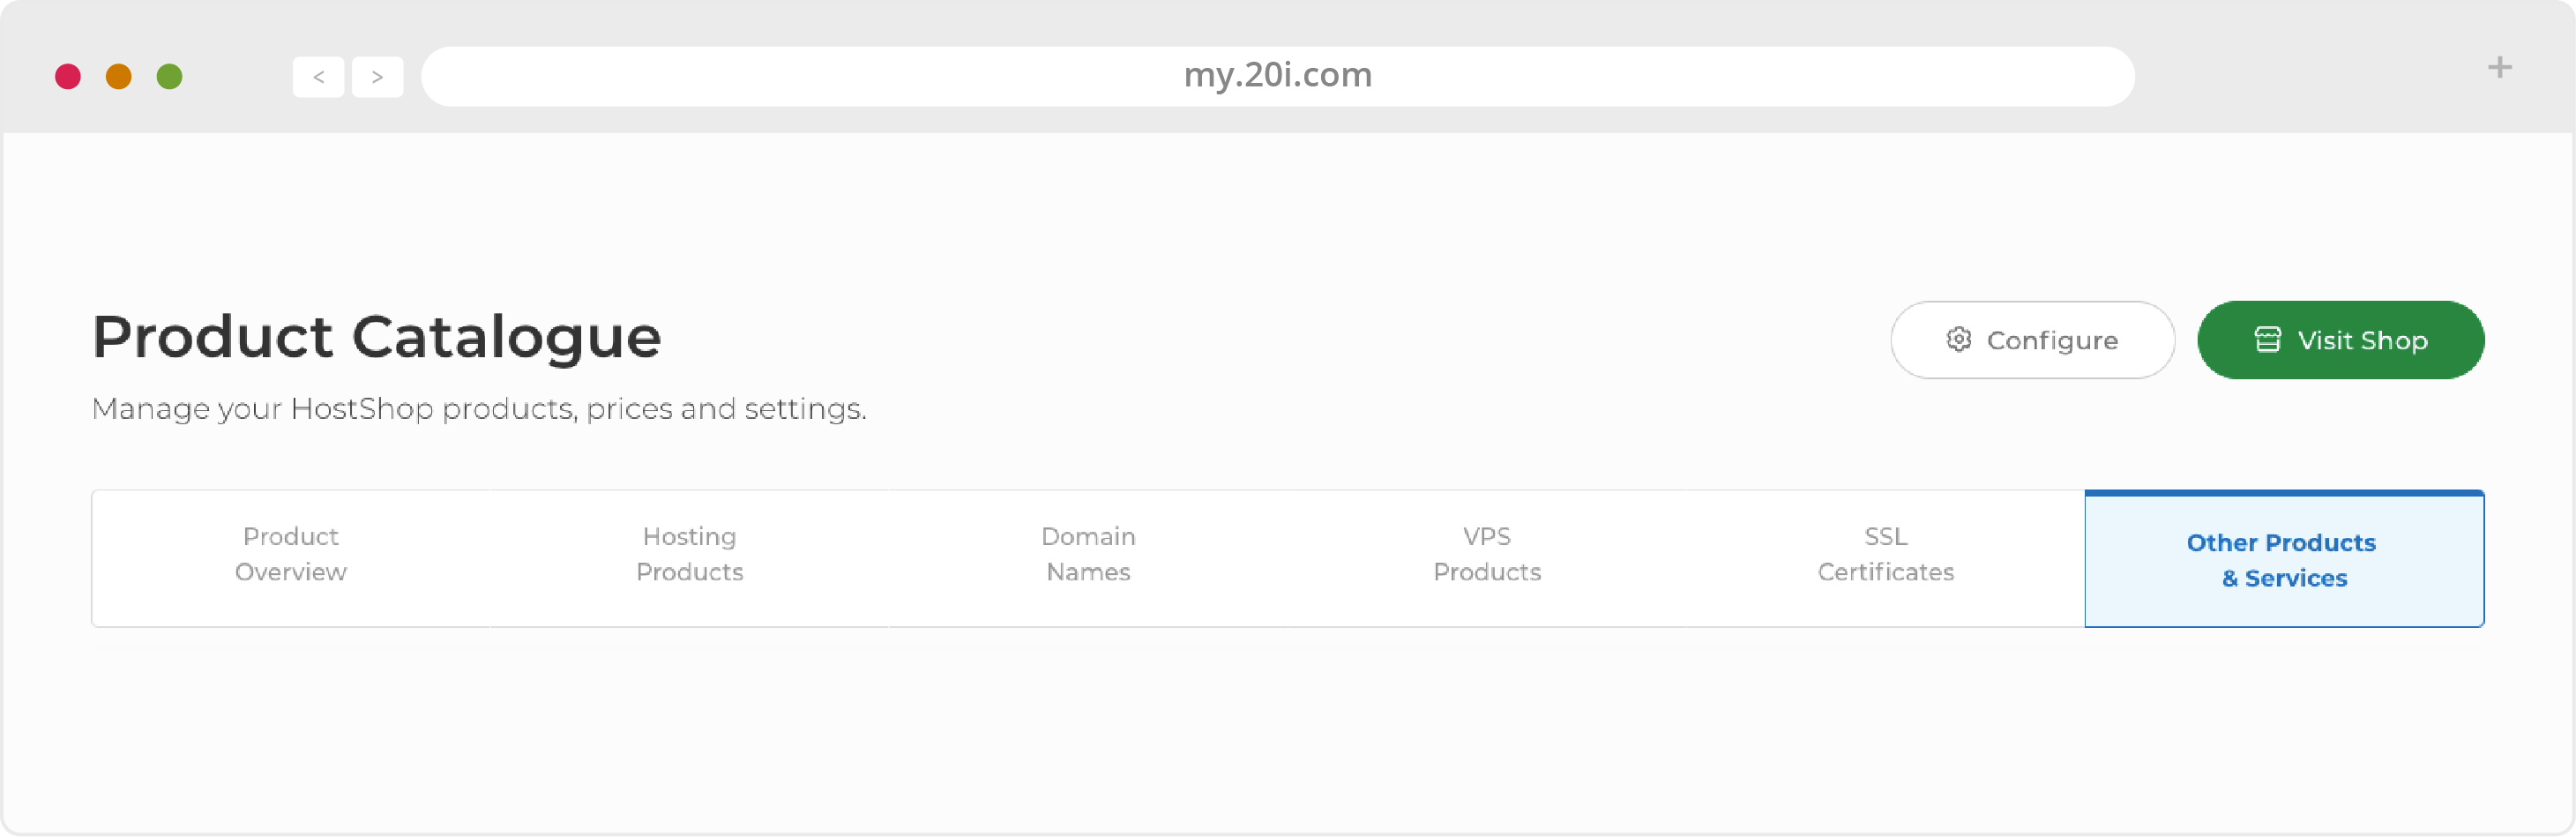
From the Product Catalogue section of HostShop you can choose the products and services that you want to sell from the corresponding tabs, i.e. Hosting Products, Domain Names etc.
You can create and edit the hosting package types from here. Use the drop-down menus to select the options you want to make available, and click the ‘Add Plan’ button.
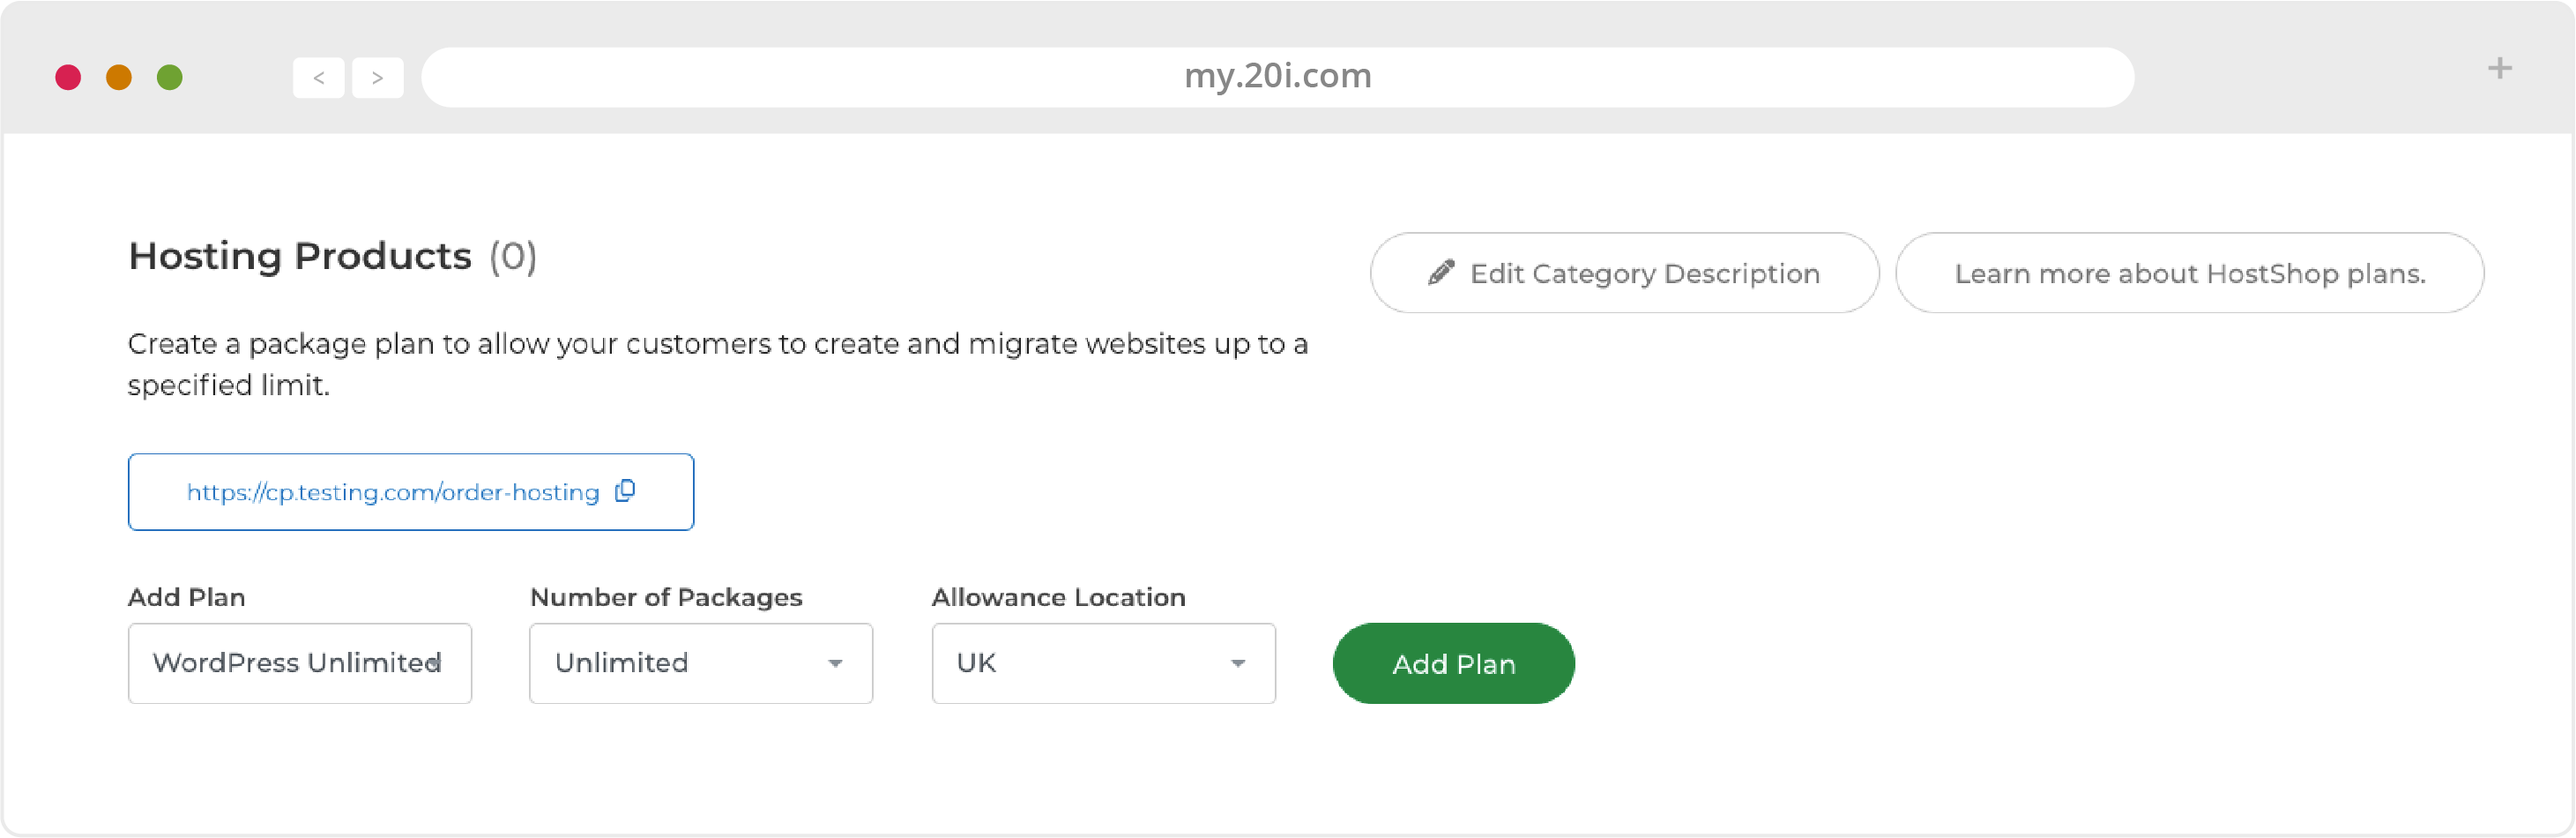
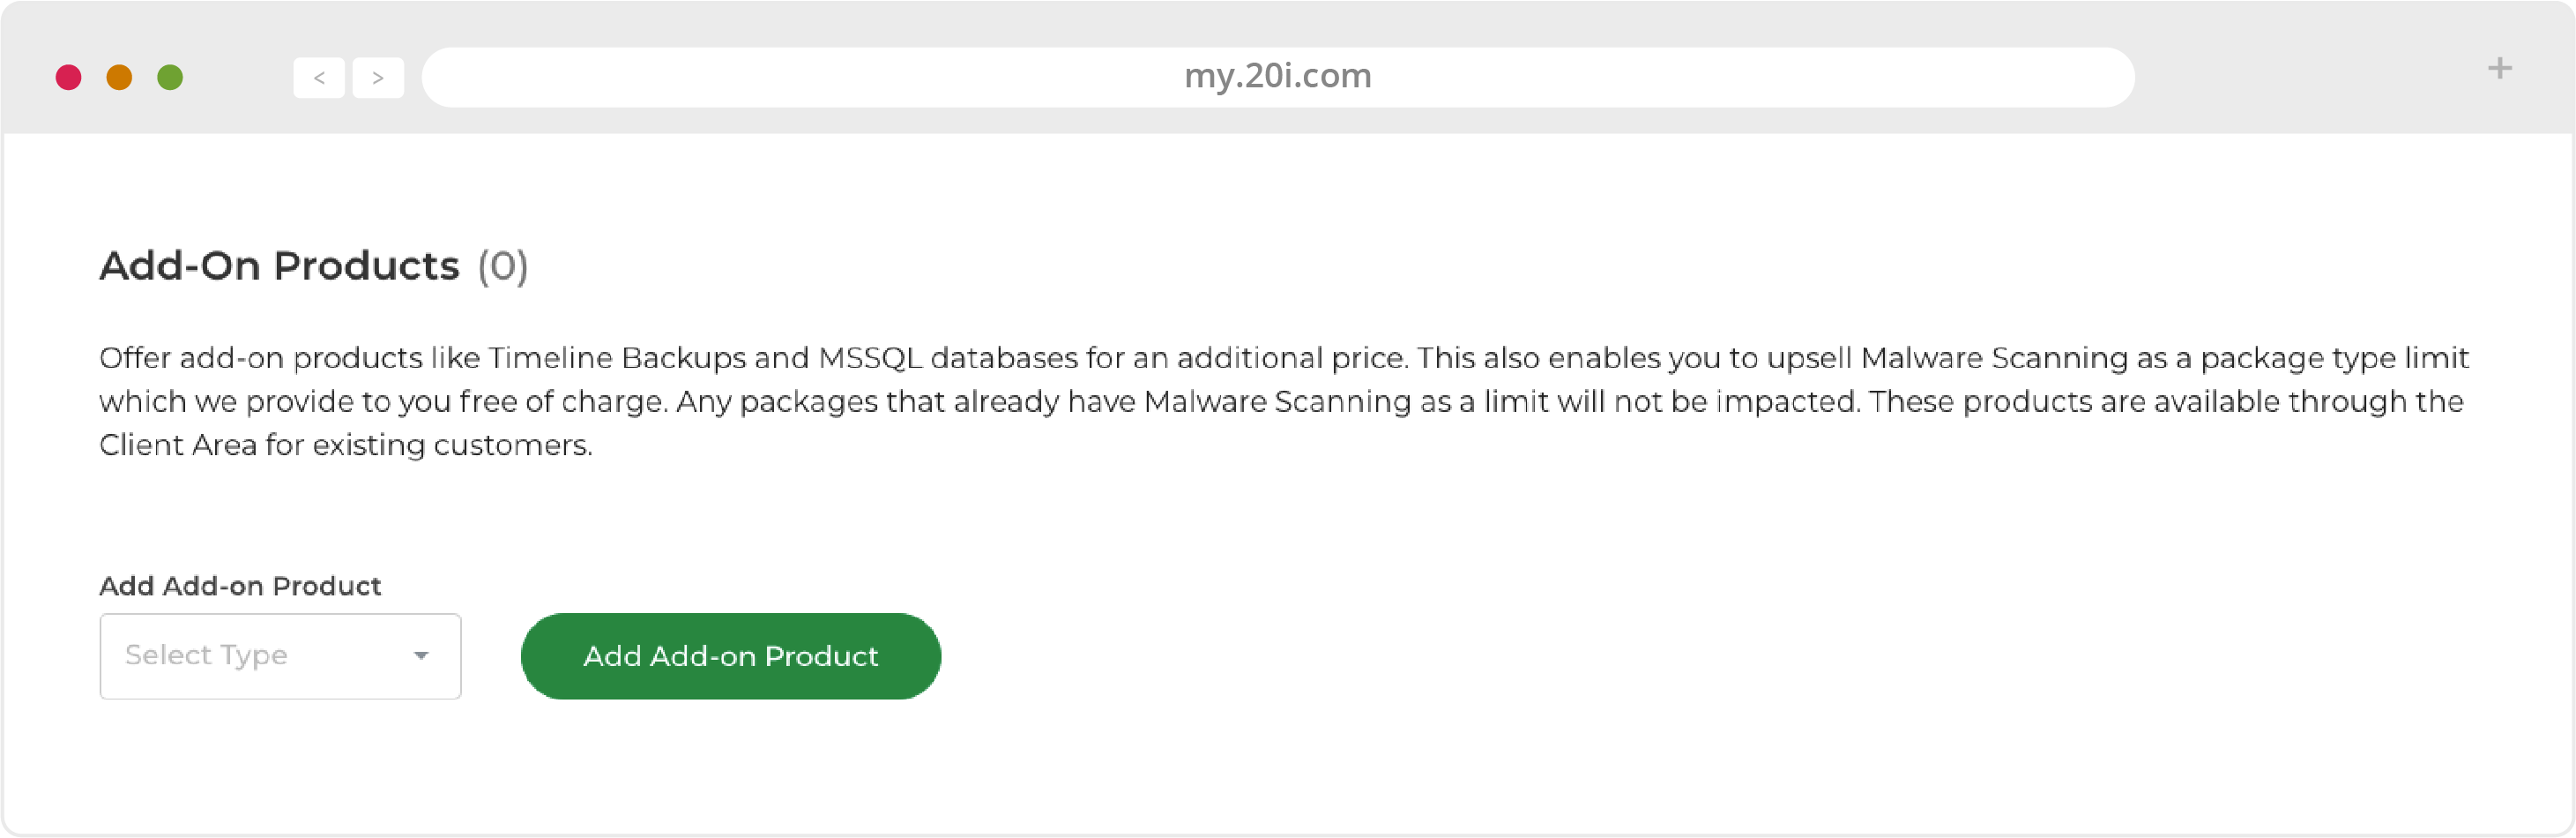
Select any Add-on Products from the drop down menu to include them in the package you want to sell. You can now start adding your pricing and choosing renewal periods.
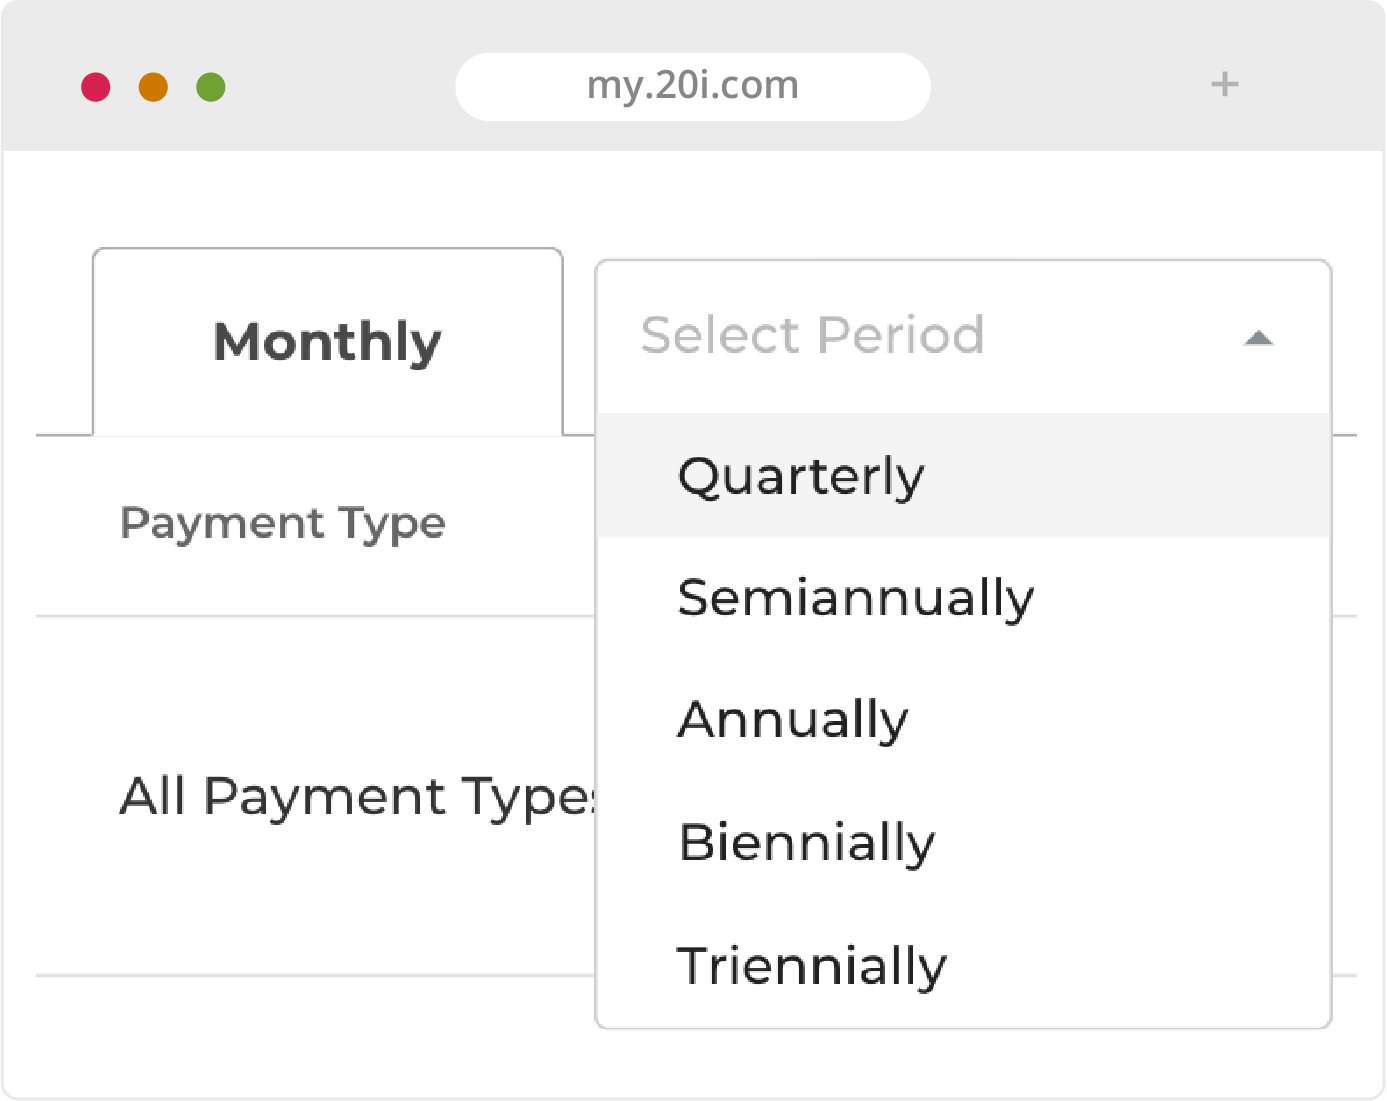
With your products and add-ons configured; set your price and click ‘Save’. Monthly renewal and All Payment Types are selected by default. You can change or add a payment periods from here.
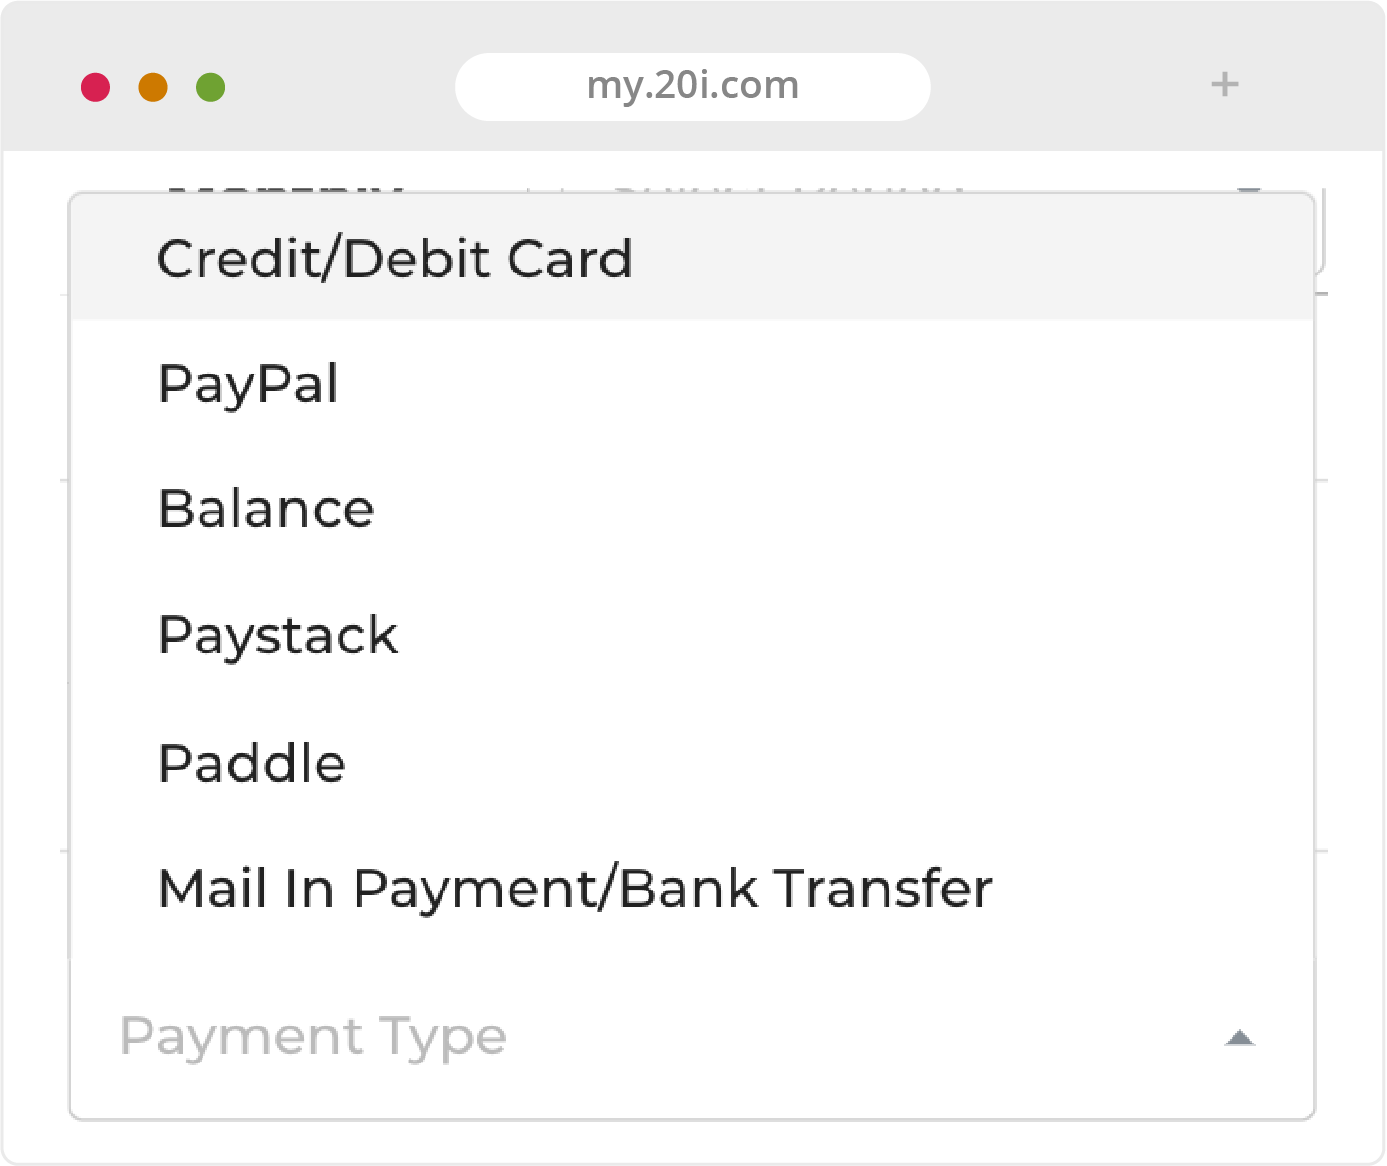
Control which payment types can be used, and any pricing differentials, by using the drop down menu. If the payment type that you wish to select is not visible, head to the Payment Gateways section of HostShop to make sure it is enabled.
Next, you can set the annual price (and other time intervals, if you want). Select an interval from the drop down choose Add Renewal Period. The Renewal Period will appear in a new tab of the hosting product, and you can set the price here.
The overall process is the same for adding domains, domain privacy, VPS services and backups, SSL certificates, MYSQL databases (if you offer Windows hosting), and malware scanning.
Custom Products
HostShop is flexible: as well as selling 20i’s hosting products and services, you can also add and bill customers for other services, such as web design, themes or advertising. All your services can be bought through one shop interface.
You can follow the same process as above to add custom products, by choosing Other Products & Services tab in the Product Catalogue.
Managing Your Customers
20i HostShop is designed to be self-service for your customers, with services and billing all automated.
After they visit your shop and select a product, they’ll automatically be prompted to either ‘Sign In’ or ‘Create an Account’. When creating a new account, they’ll need to verify their email, then enter their contact details and add security questions.
They’ll then be able to complete their purchase.
Resend Verification Email
If there’s been a problem with the verification email, you will need to log in as them in the StackCP Users area. Locate them in the list, and go to Options > Sign In.
You’ll then be prompted with ‘Not got the email? Resend’. Select this and the email address verification email will be resent from the address you specified in Reseller Preferences > Email Templates (see the next section).

Pending Orders
Pending Orders are those invoices that need your attention, for two reasons:
- Pro forma invoices: If you’ve created the option of ‘Mail In Payment/Bank Transfer’ as one of your payment types, this will create pro-forma invoices. You can view these orders and download them as PDFs. Once you receive payment for these, you can provision the order and mark it as paid or unpaid (with the latter they’ll be moved to your Unpaid Invoices page). You can also drop the order if the customer is no longer interested
- Potentially fraudulent orders: HostShop includes sophisticated checking for potential fraud. Orders that receive a positive abuse score will be held here for manual review. You can either complete the order and provision the product or drop the order and the invoice will be cancelled. You can also ‘Reject’ the order, which will also cancel the invoice without provisioning but also make future orders by the same customer more likely to be rejected
Invoices and Customer Contracts
Billing Frequency
Billing is handled automatically, and those customers who sign up using HostShop will receive requests for payment dependent on the Service and Contract they’ve signed-up for. For example, those on monthly contracts will receive a bill a month after the date of first purchase.
Previous Customers
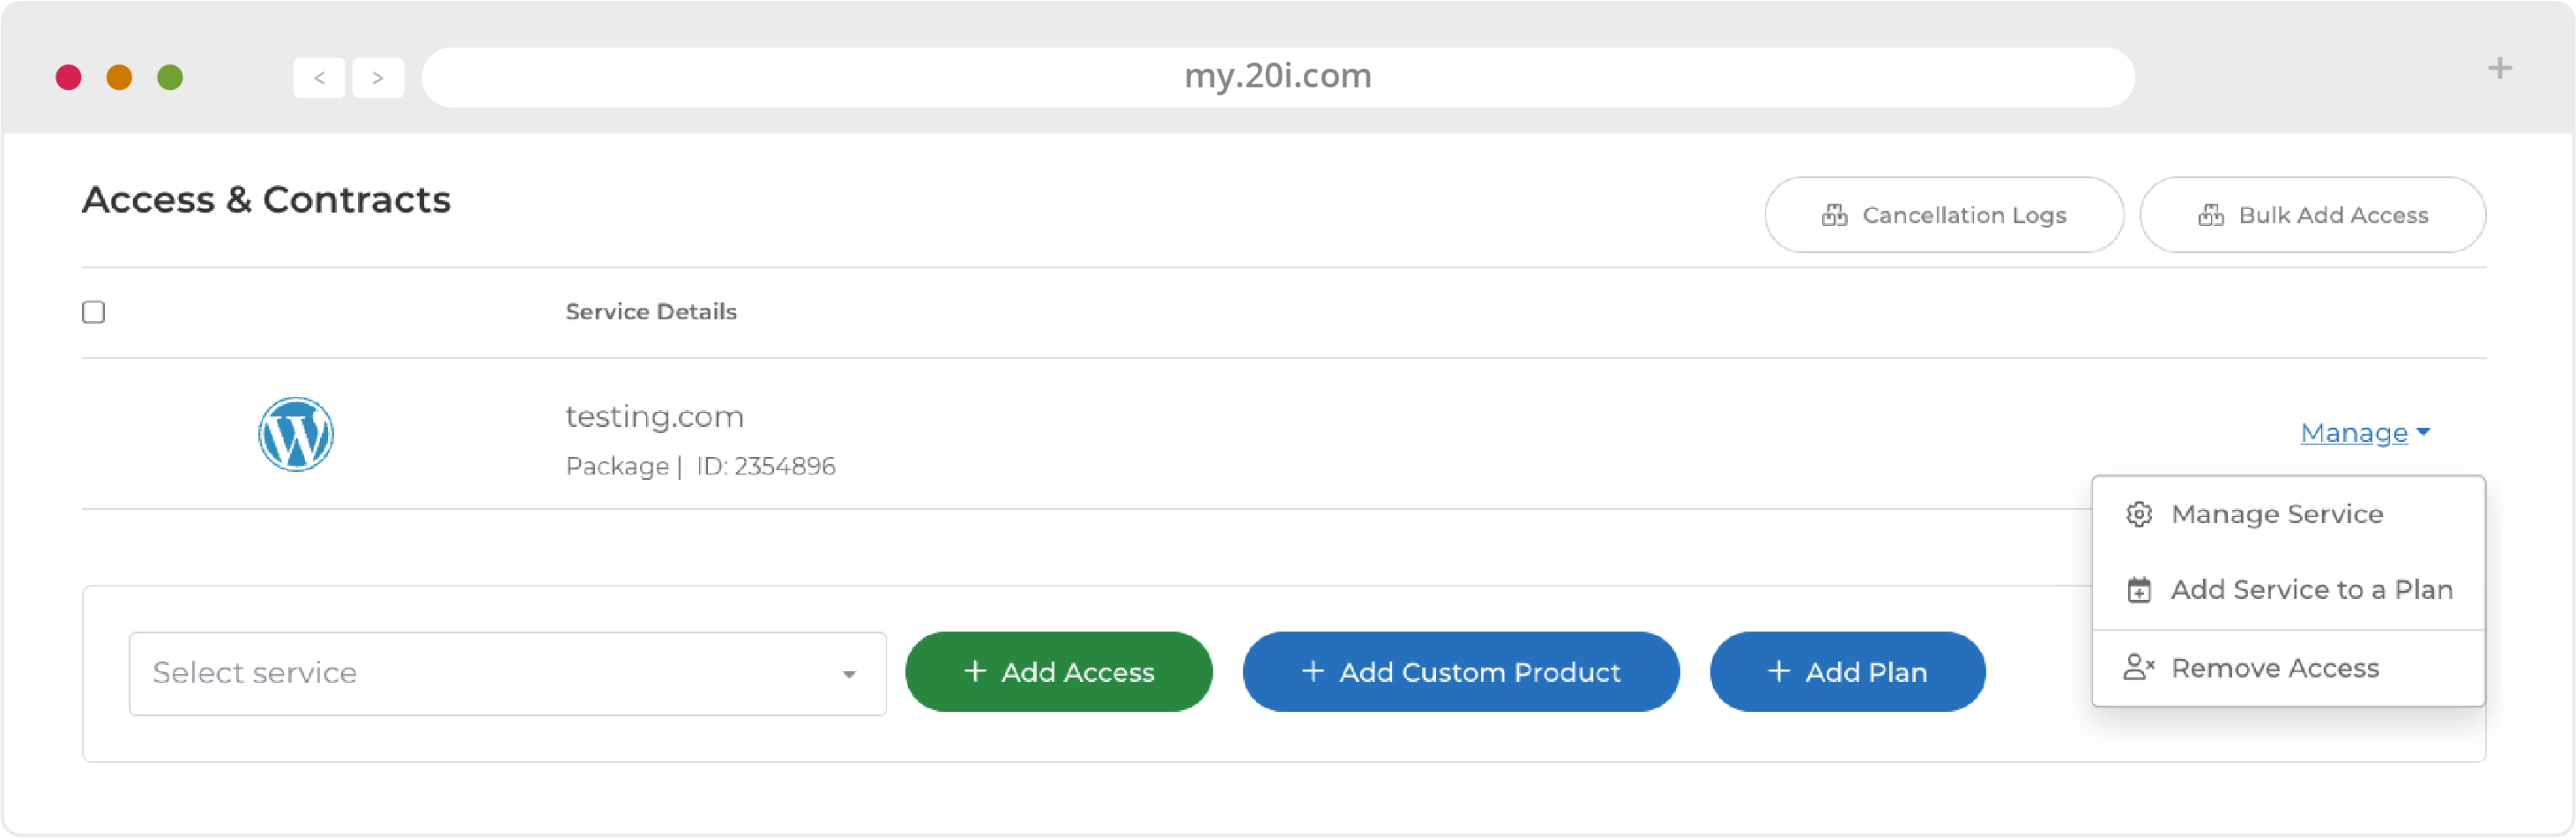
If you’re new to HostShop and have customers already, you’ll need to add them as StackCP Users and assign services to them which is covered in the StackCP section.
For them to start on the automated billing system, in StackCP Users you’ll need to go to: Options > Manage. On their StackCP User Card, you will be able to add services, then ‘Manage’ that service to add a Contract. A Contract consists of a price, a payment date, frequency and an expiry date. You will have to have set these up in your Product Catalogue (see above).
Invoices
- Invoices - An overview of all invoices, paid and unpaid
- Unpaid Invoices - Here you can view payments in arrears and download previous invoices
- Failed Orders- Customer orders that have failed the provisioning stage
Renewals
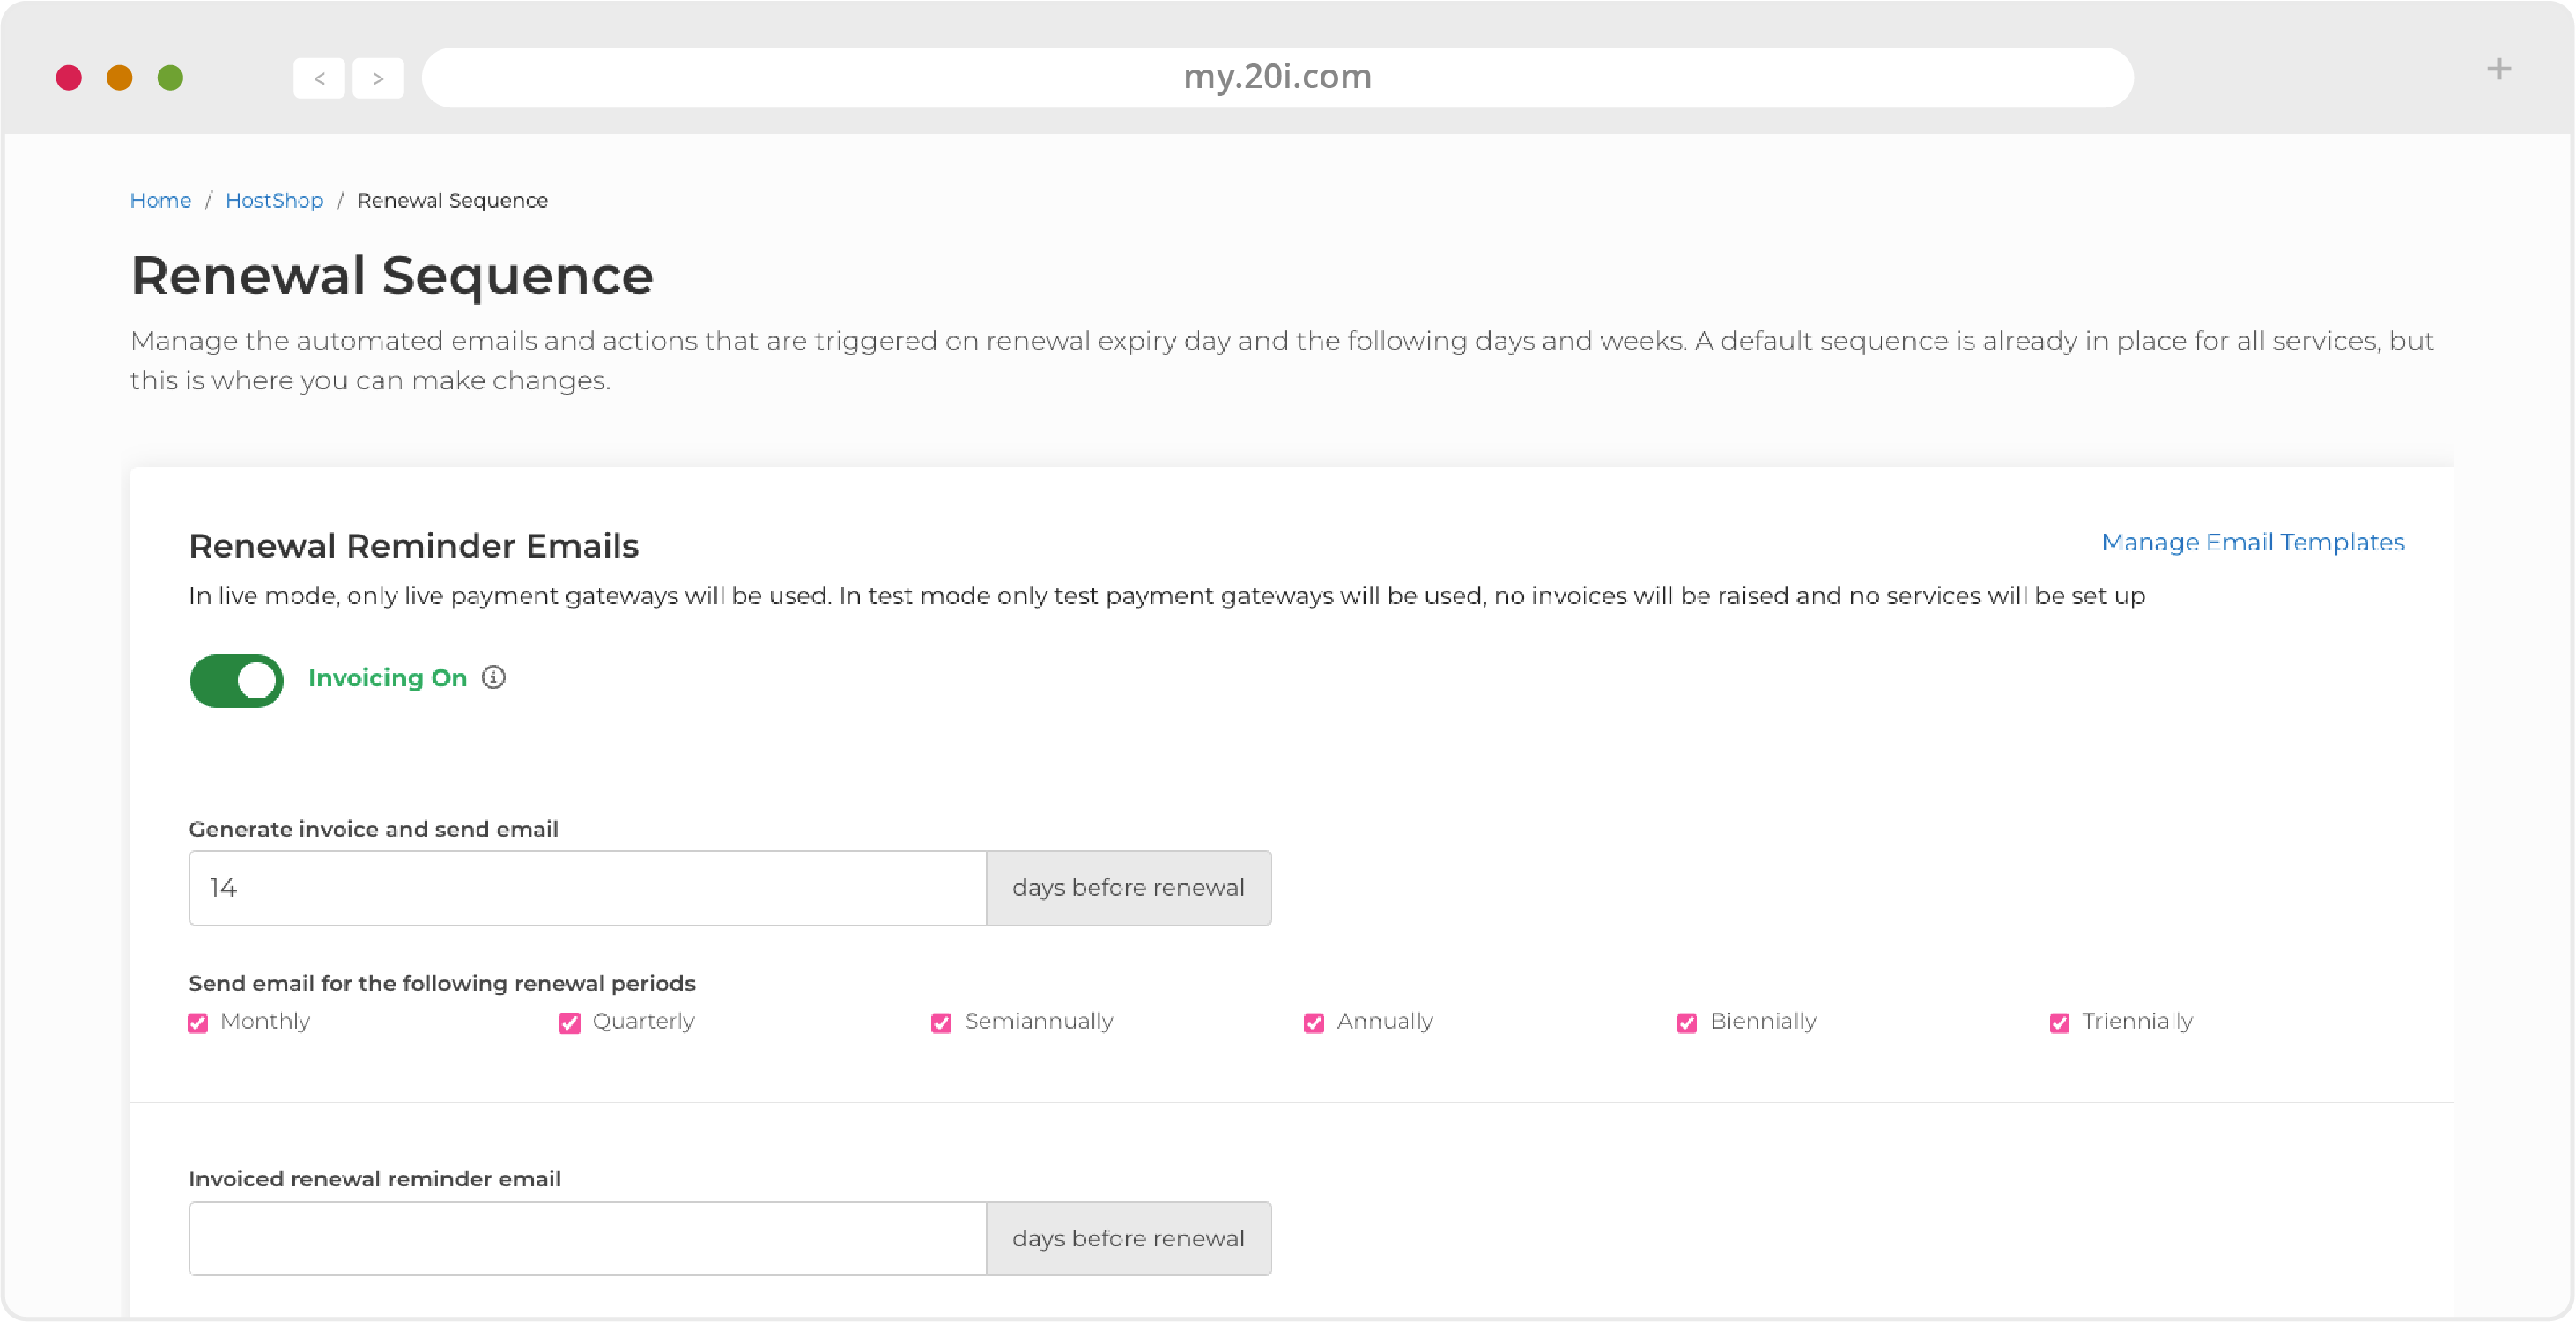
HostShop includes an automated process to handle renewal reminders on our Renewal Sequence page. We have a default sequence set up, but it can be modified here.
Emails
The first section covers email reminders, with the default being 21 days before, 7 days before and 5 days after the expiry. If you don’t want an email reminder to be sent you can enter ‘0’ in the box.
You can manage the content of the emails using the link to the Email Templates page.
Renewal Sequence
This covers the actions that follow after the expiry day. You can lock out services, disable services or cancel services. Combined with these actions, you can also send different email notifications based on preset templates or those you create yourself on the Email Templates page. These emails are in addition to the ‘renewal email after expiry’ one set above.
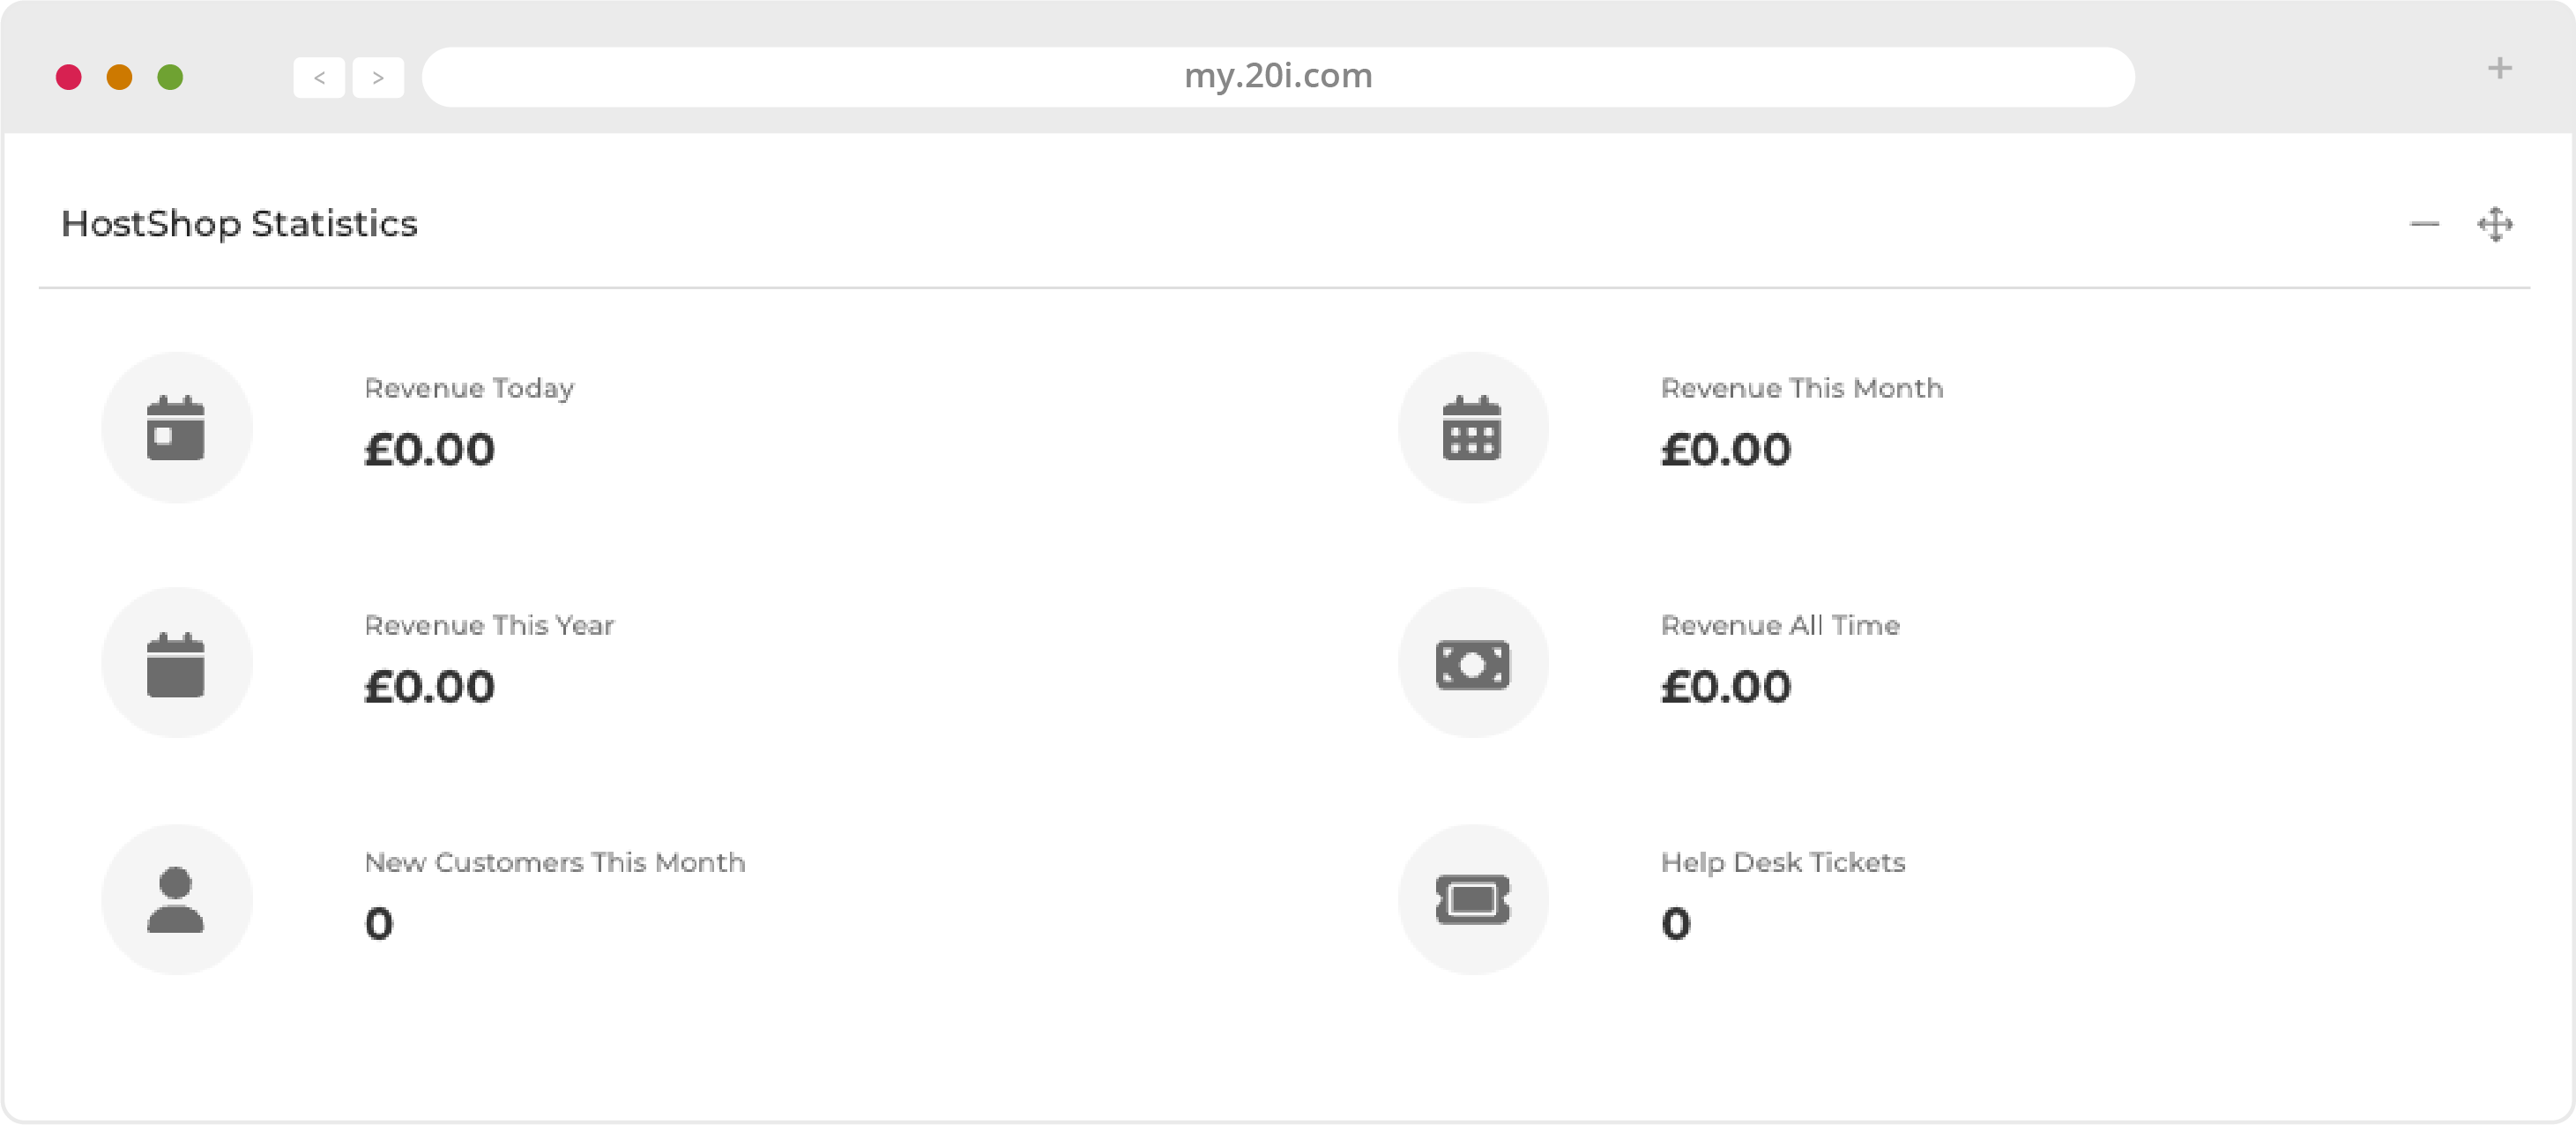
HostShop Reports
You can keep track of important business metrics using HostShop Reports. Each report includes a table and a chart showing changes over time.
- New Customers - See your latest signups here
- Revenue by Month - Monitor ongoing overall business performance here
- Top Customers - Your highest-spending customers by month here
- Service Counts - The number of active products/services, by type of product, e.g. hosting, domains, or VPS here
- Income by Product - The funds different products are bringing in to your business here
Reseller Customisation
Reseller Customisation is where the branding and design options can be changed. You can preview your changes before making any final decisions.
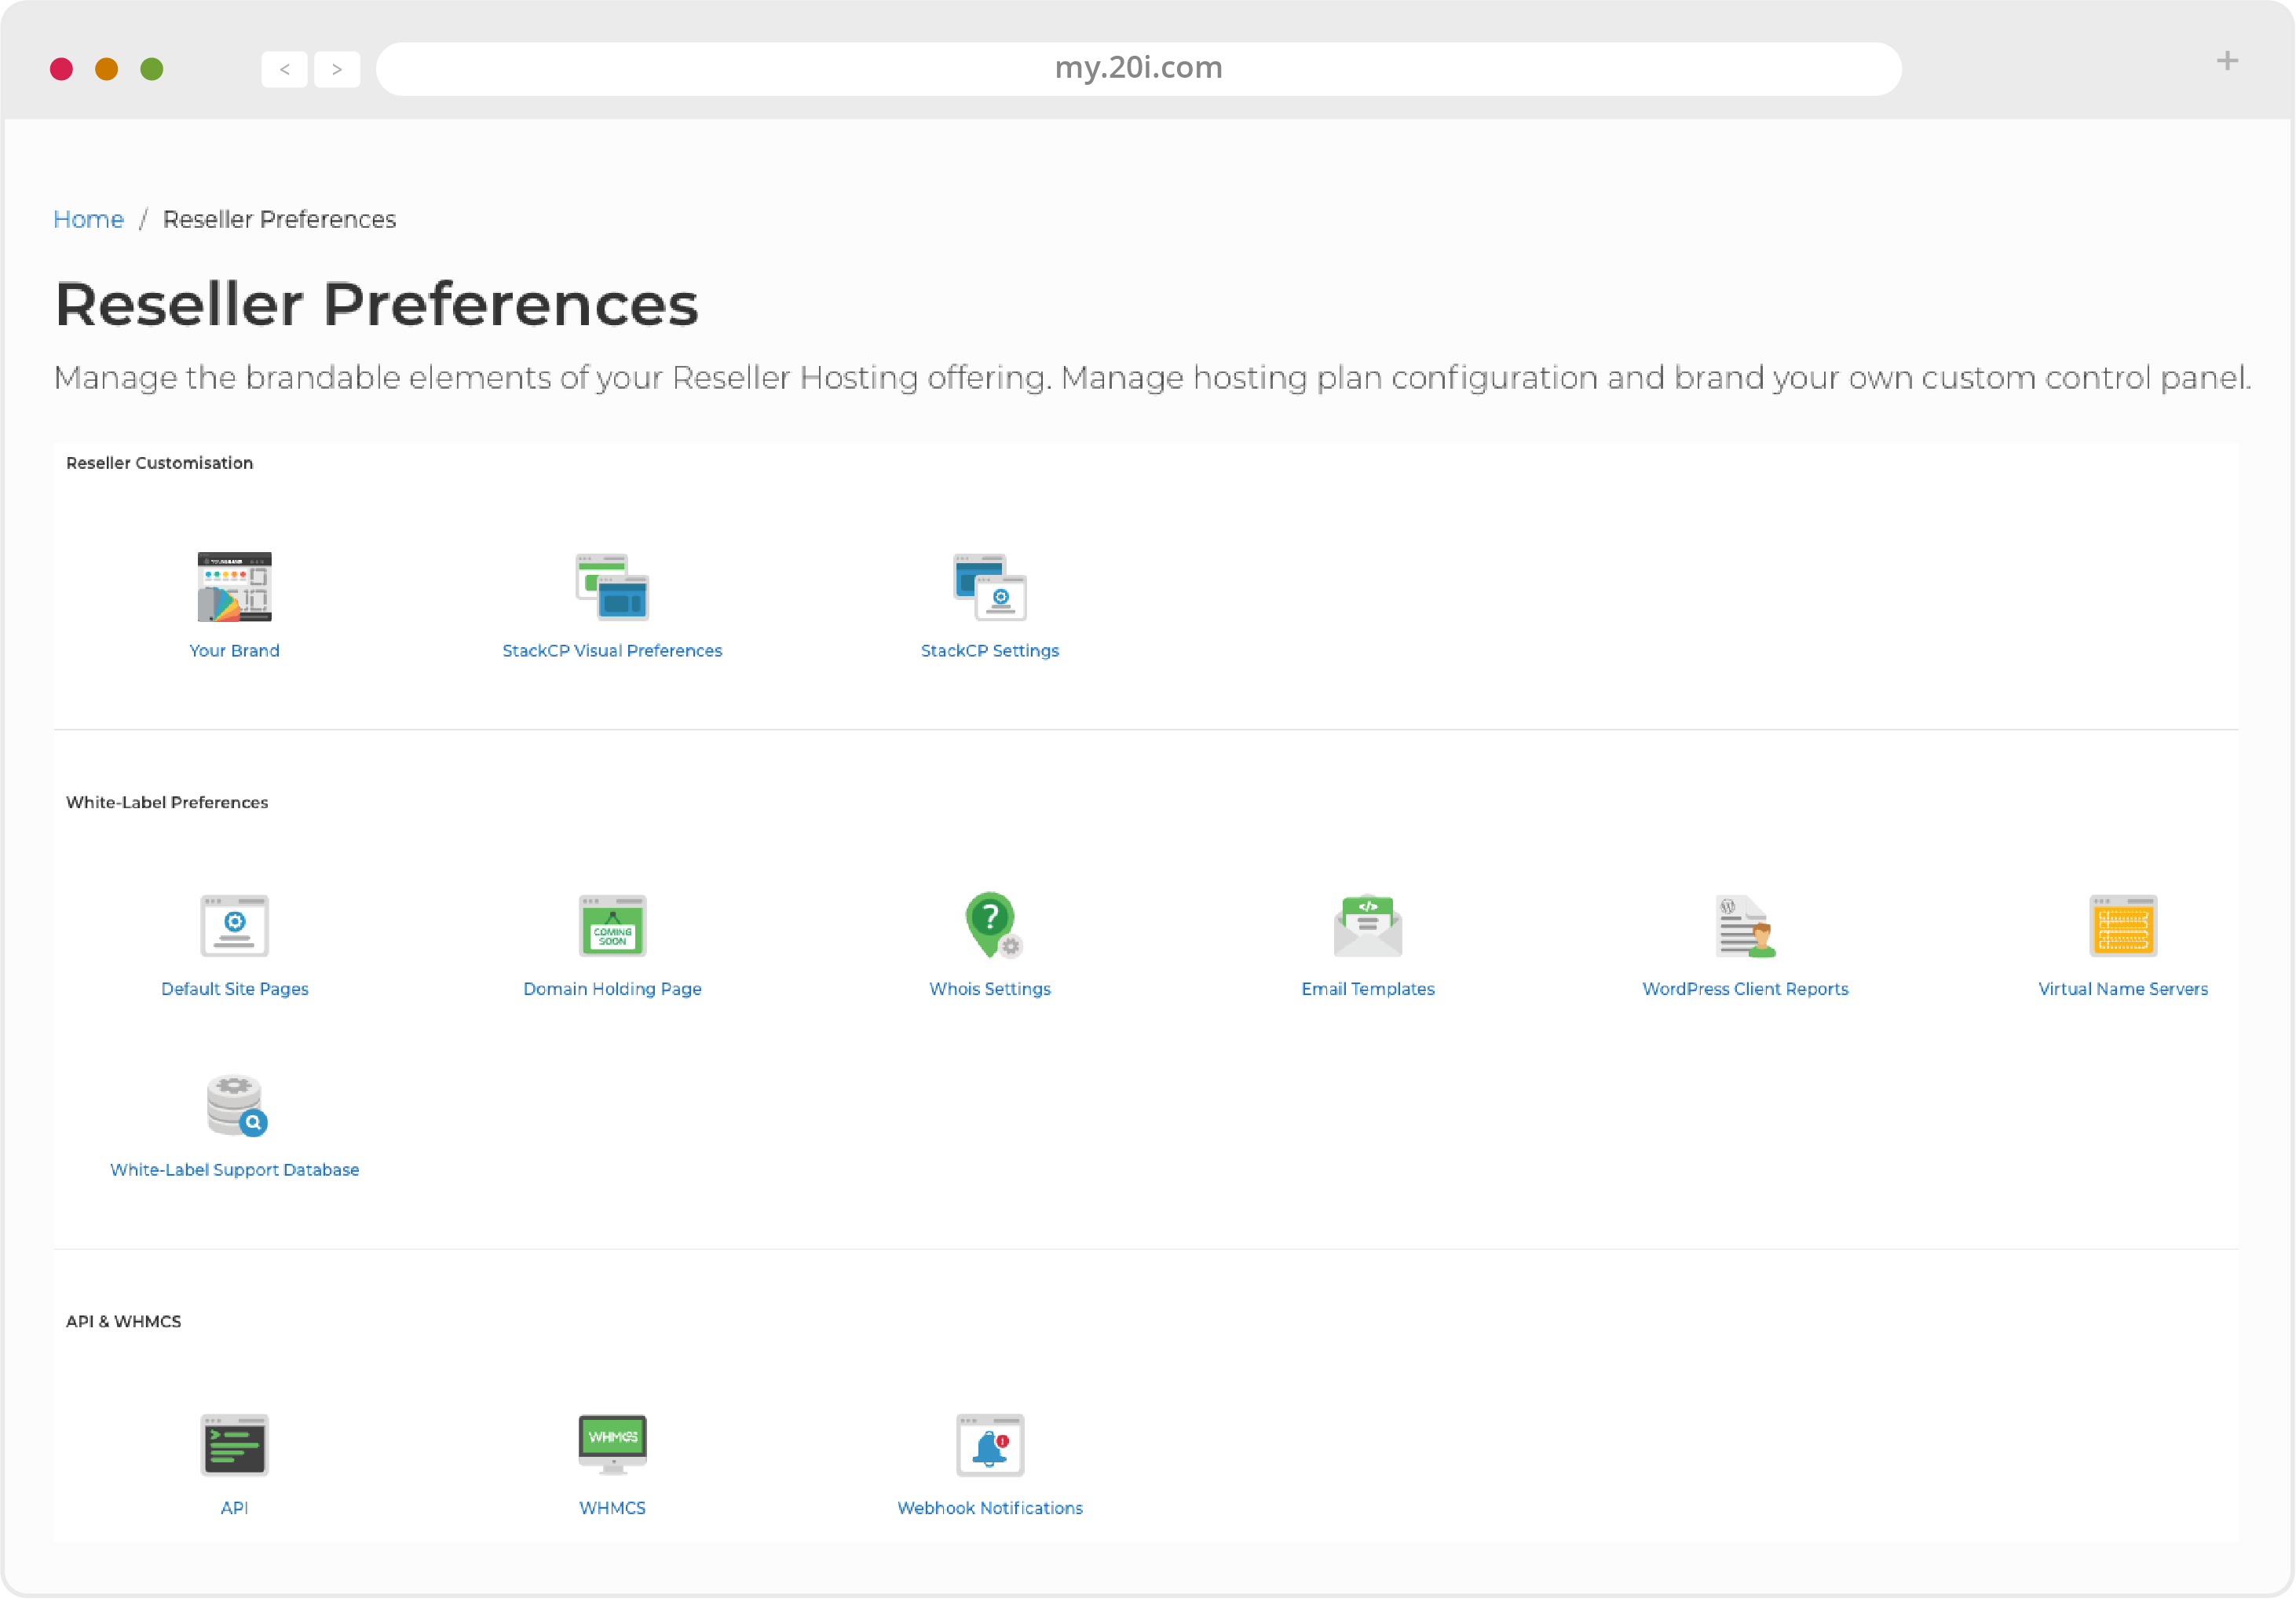
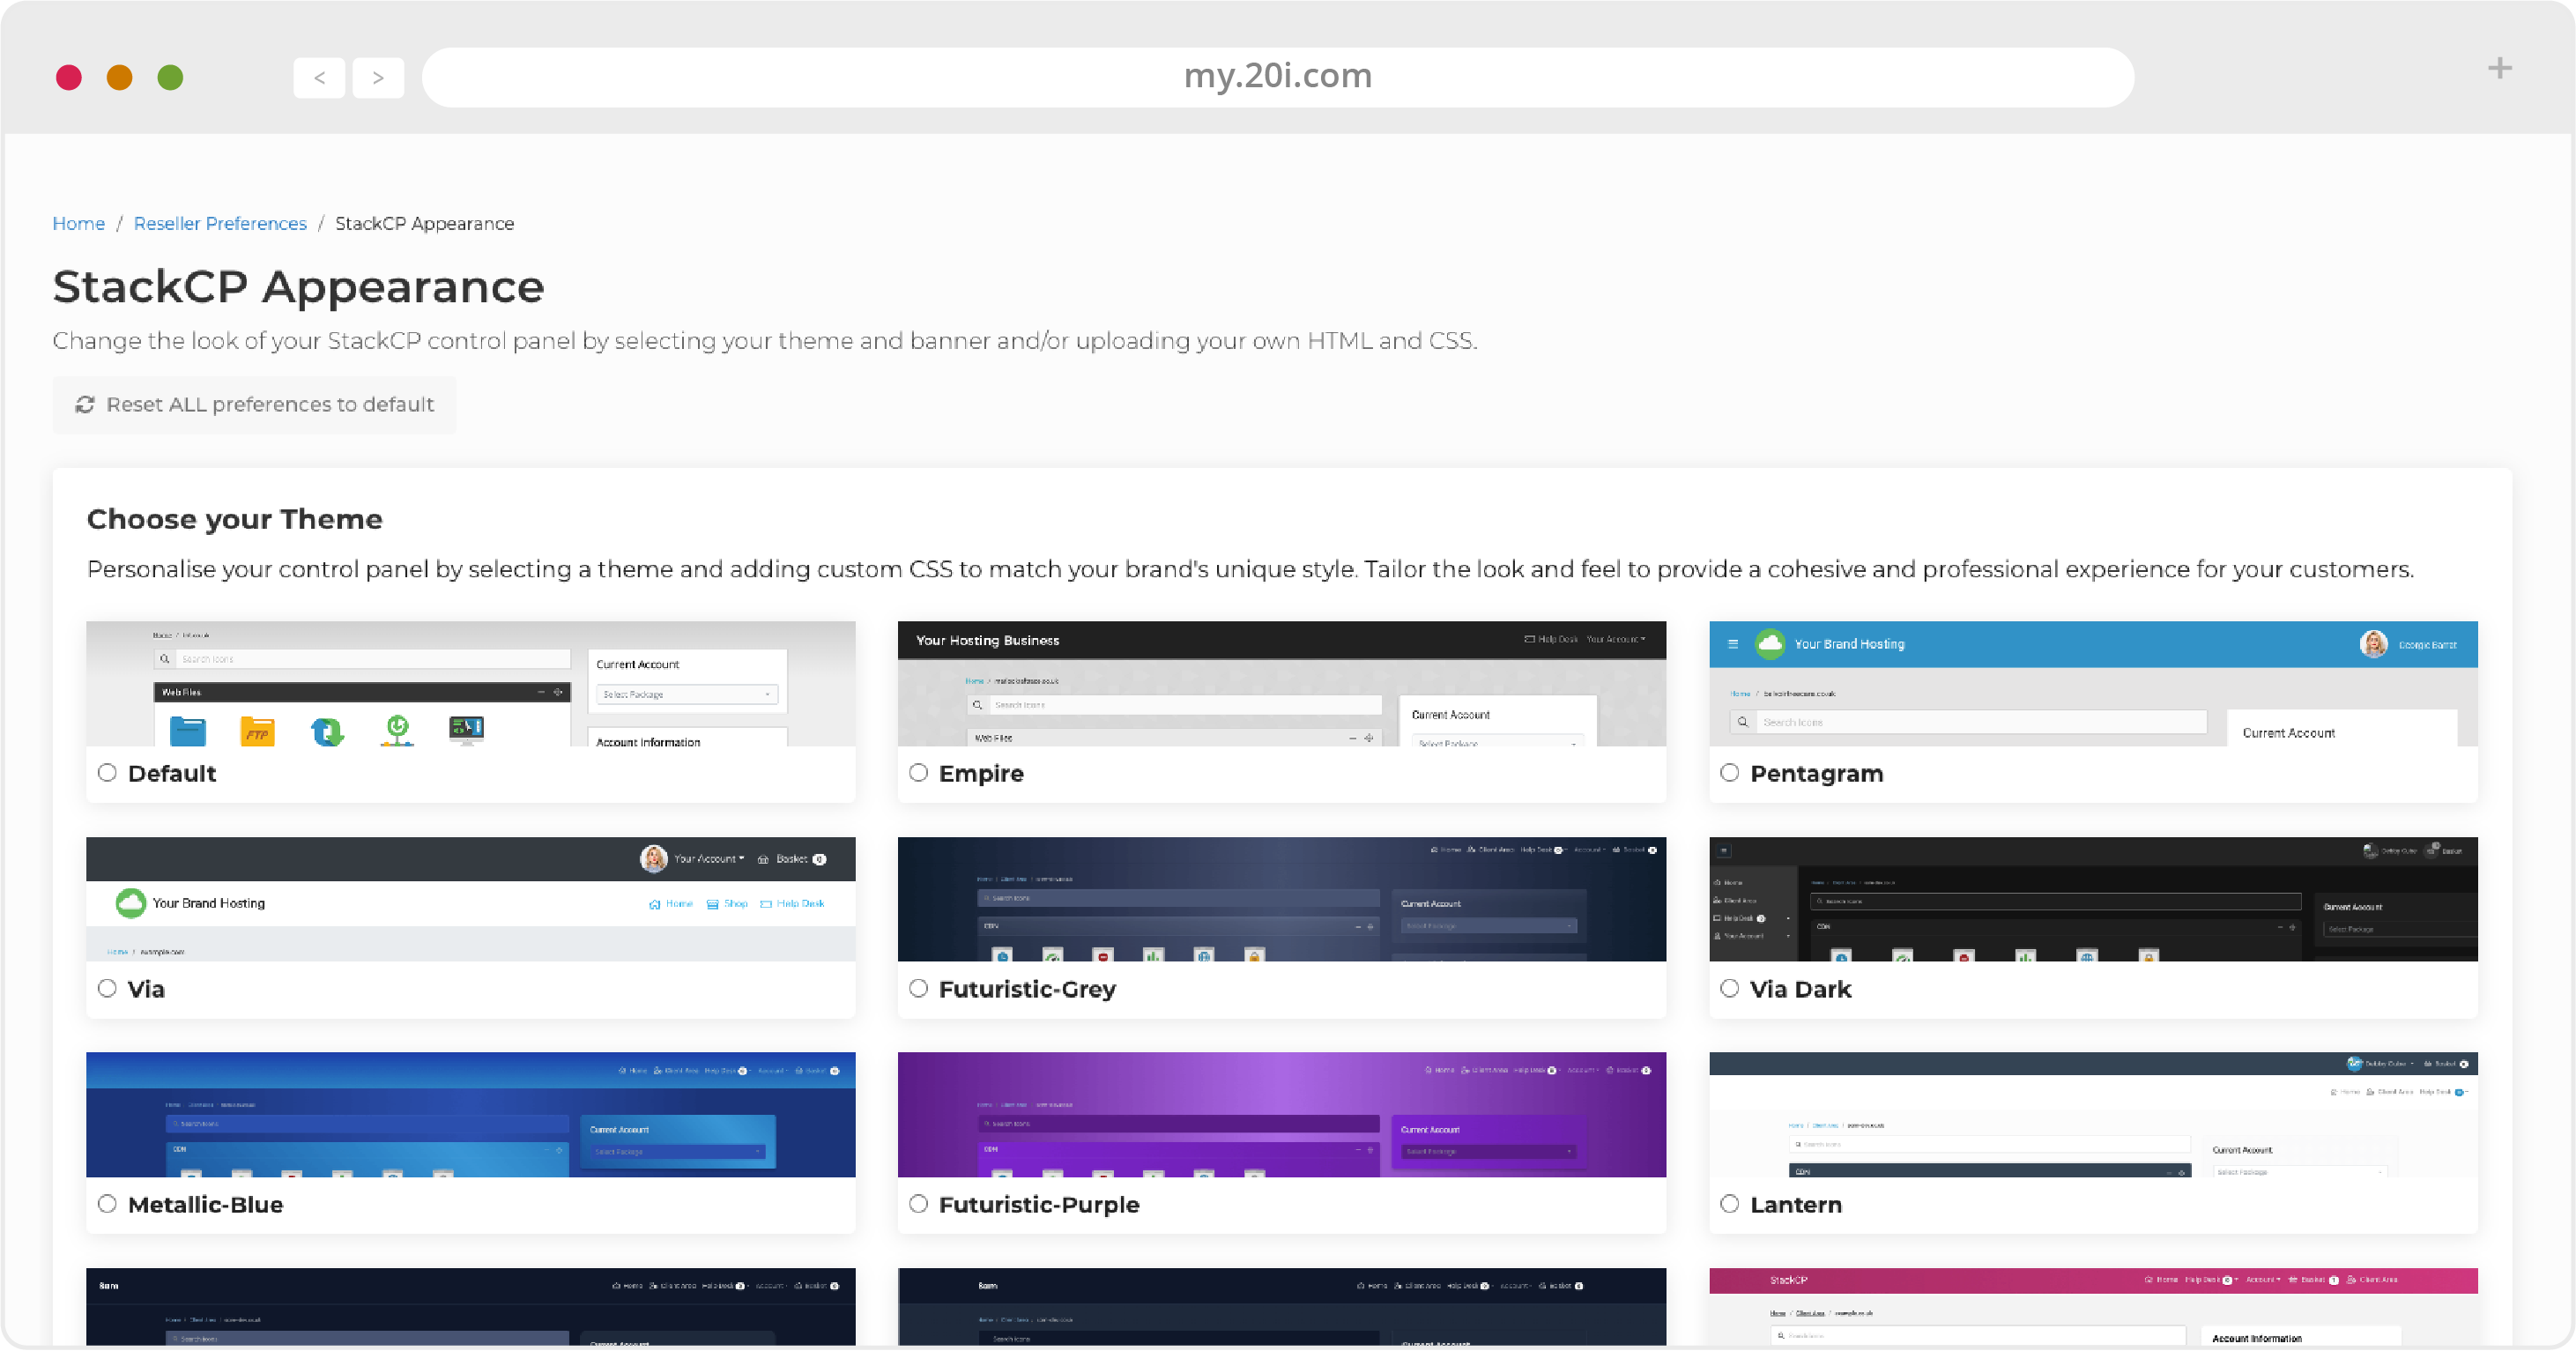
StackCP Visual Preferences
The first section covers the appearance of the StackCP control panel, and links to the StackCP Visual Preferences page, where you can choose one of our themes and add custom code and images to your customers’ control panel.
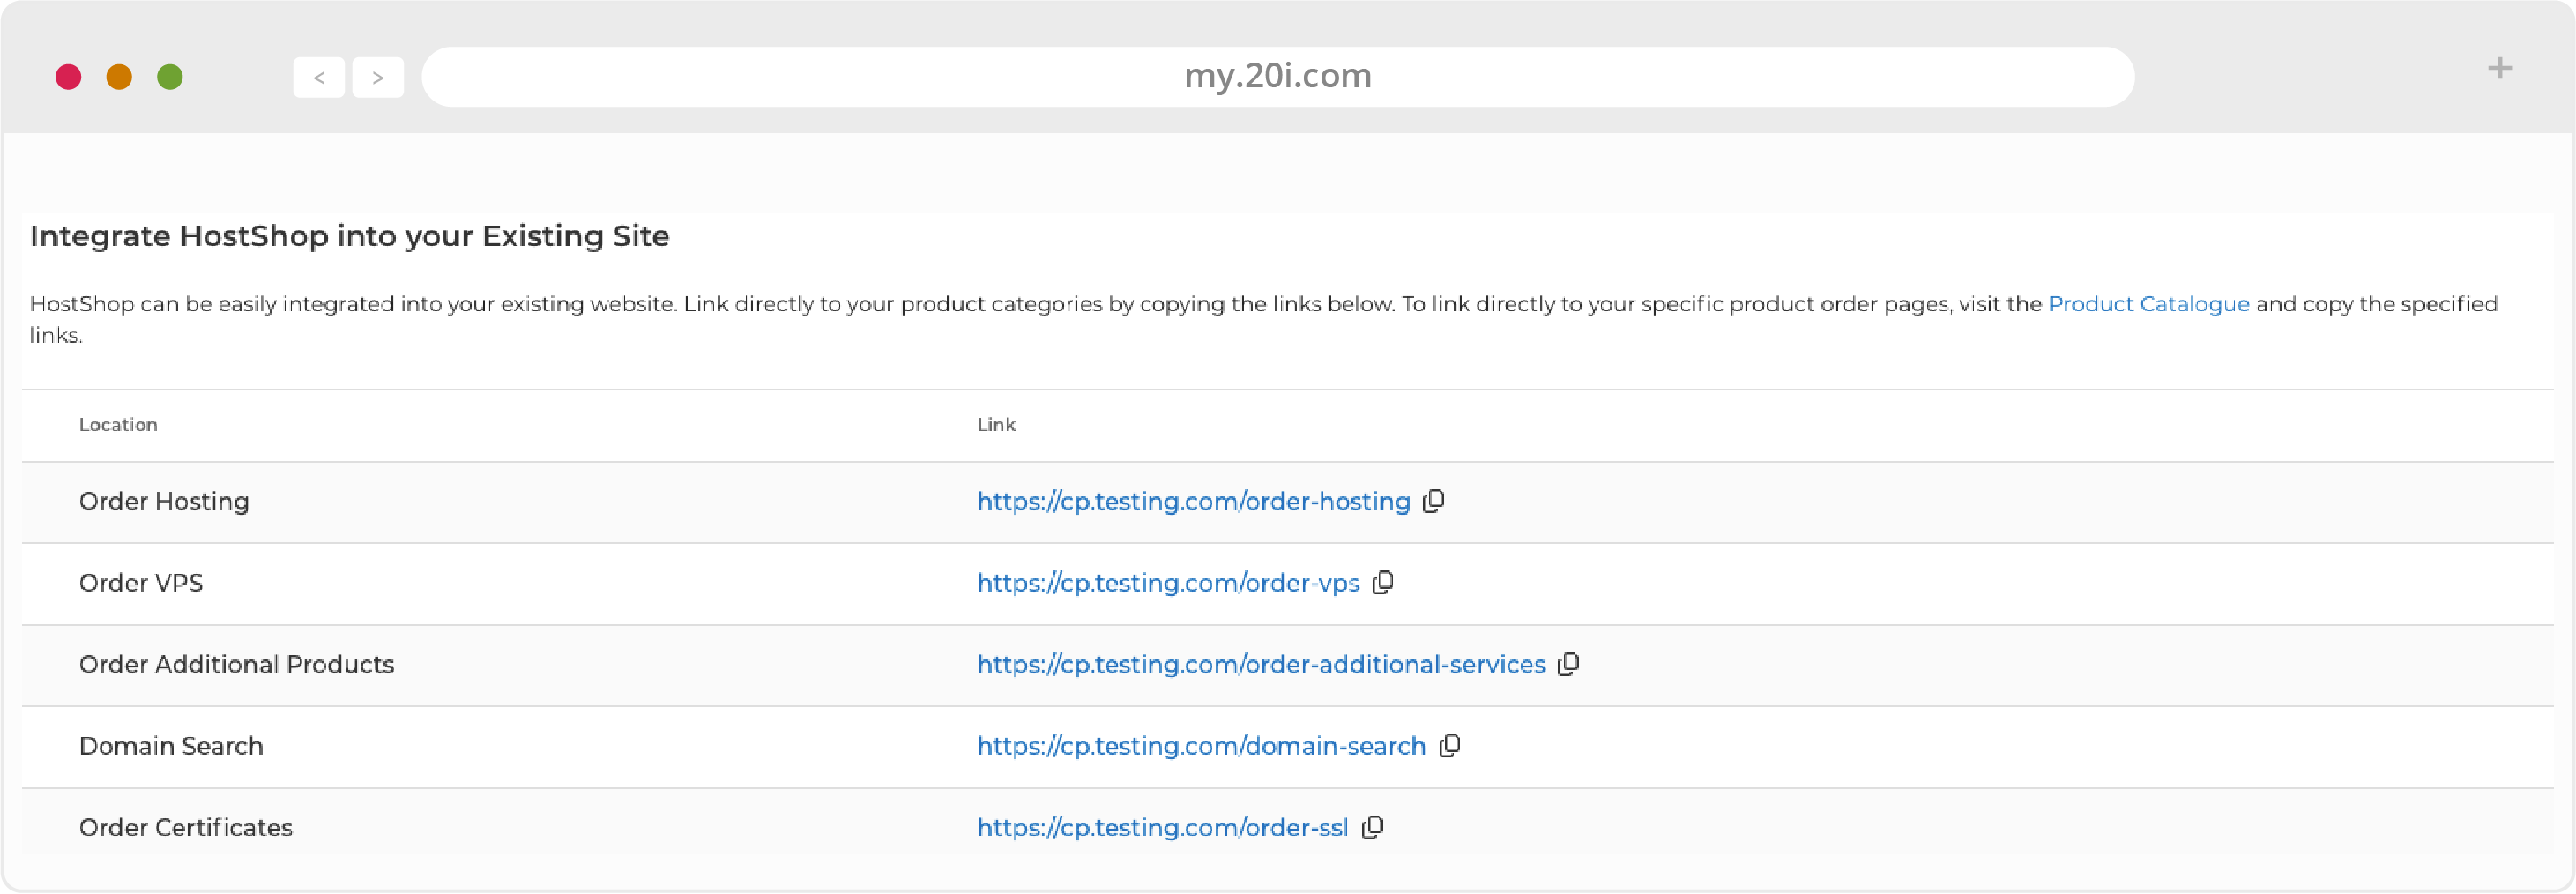
Links to Your Shop Pages
Next - for those who already have a website - there are links you can use to integrate the shop with your site. For example, if you have an ‘Order hosting’ button, you’d use the link provided here.
If you wanted to link to a specific product - like a single hosting plan - you would need to use the direct link to that single product; these links are available in the Configuration.
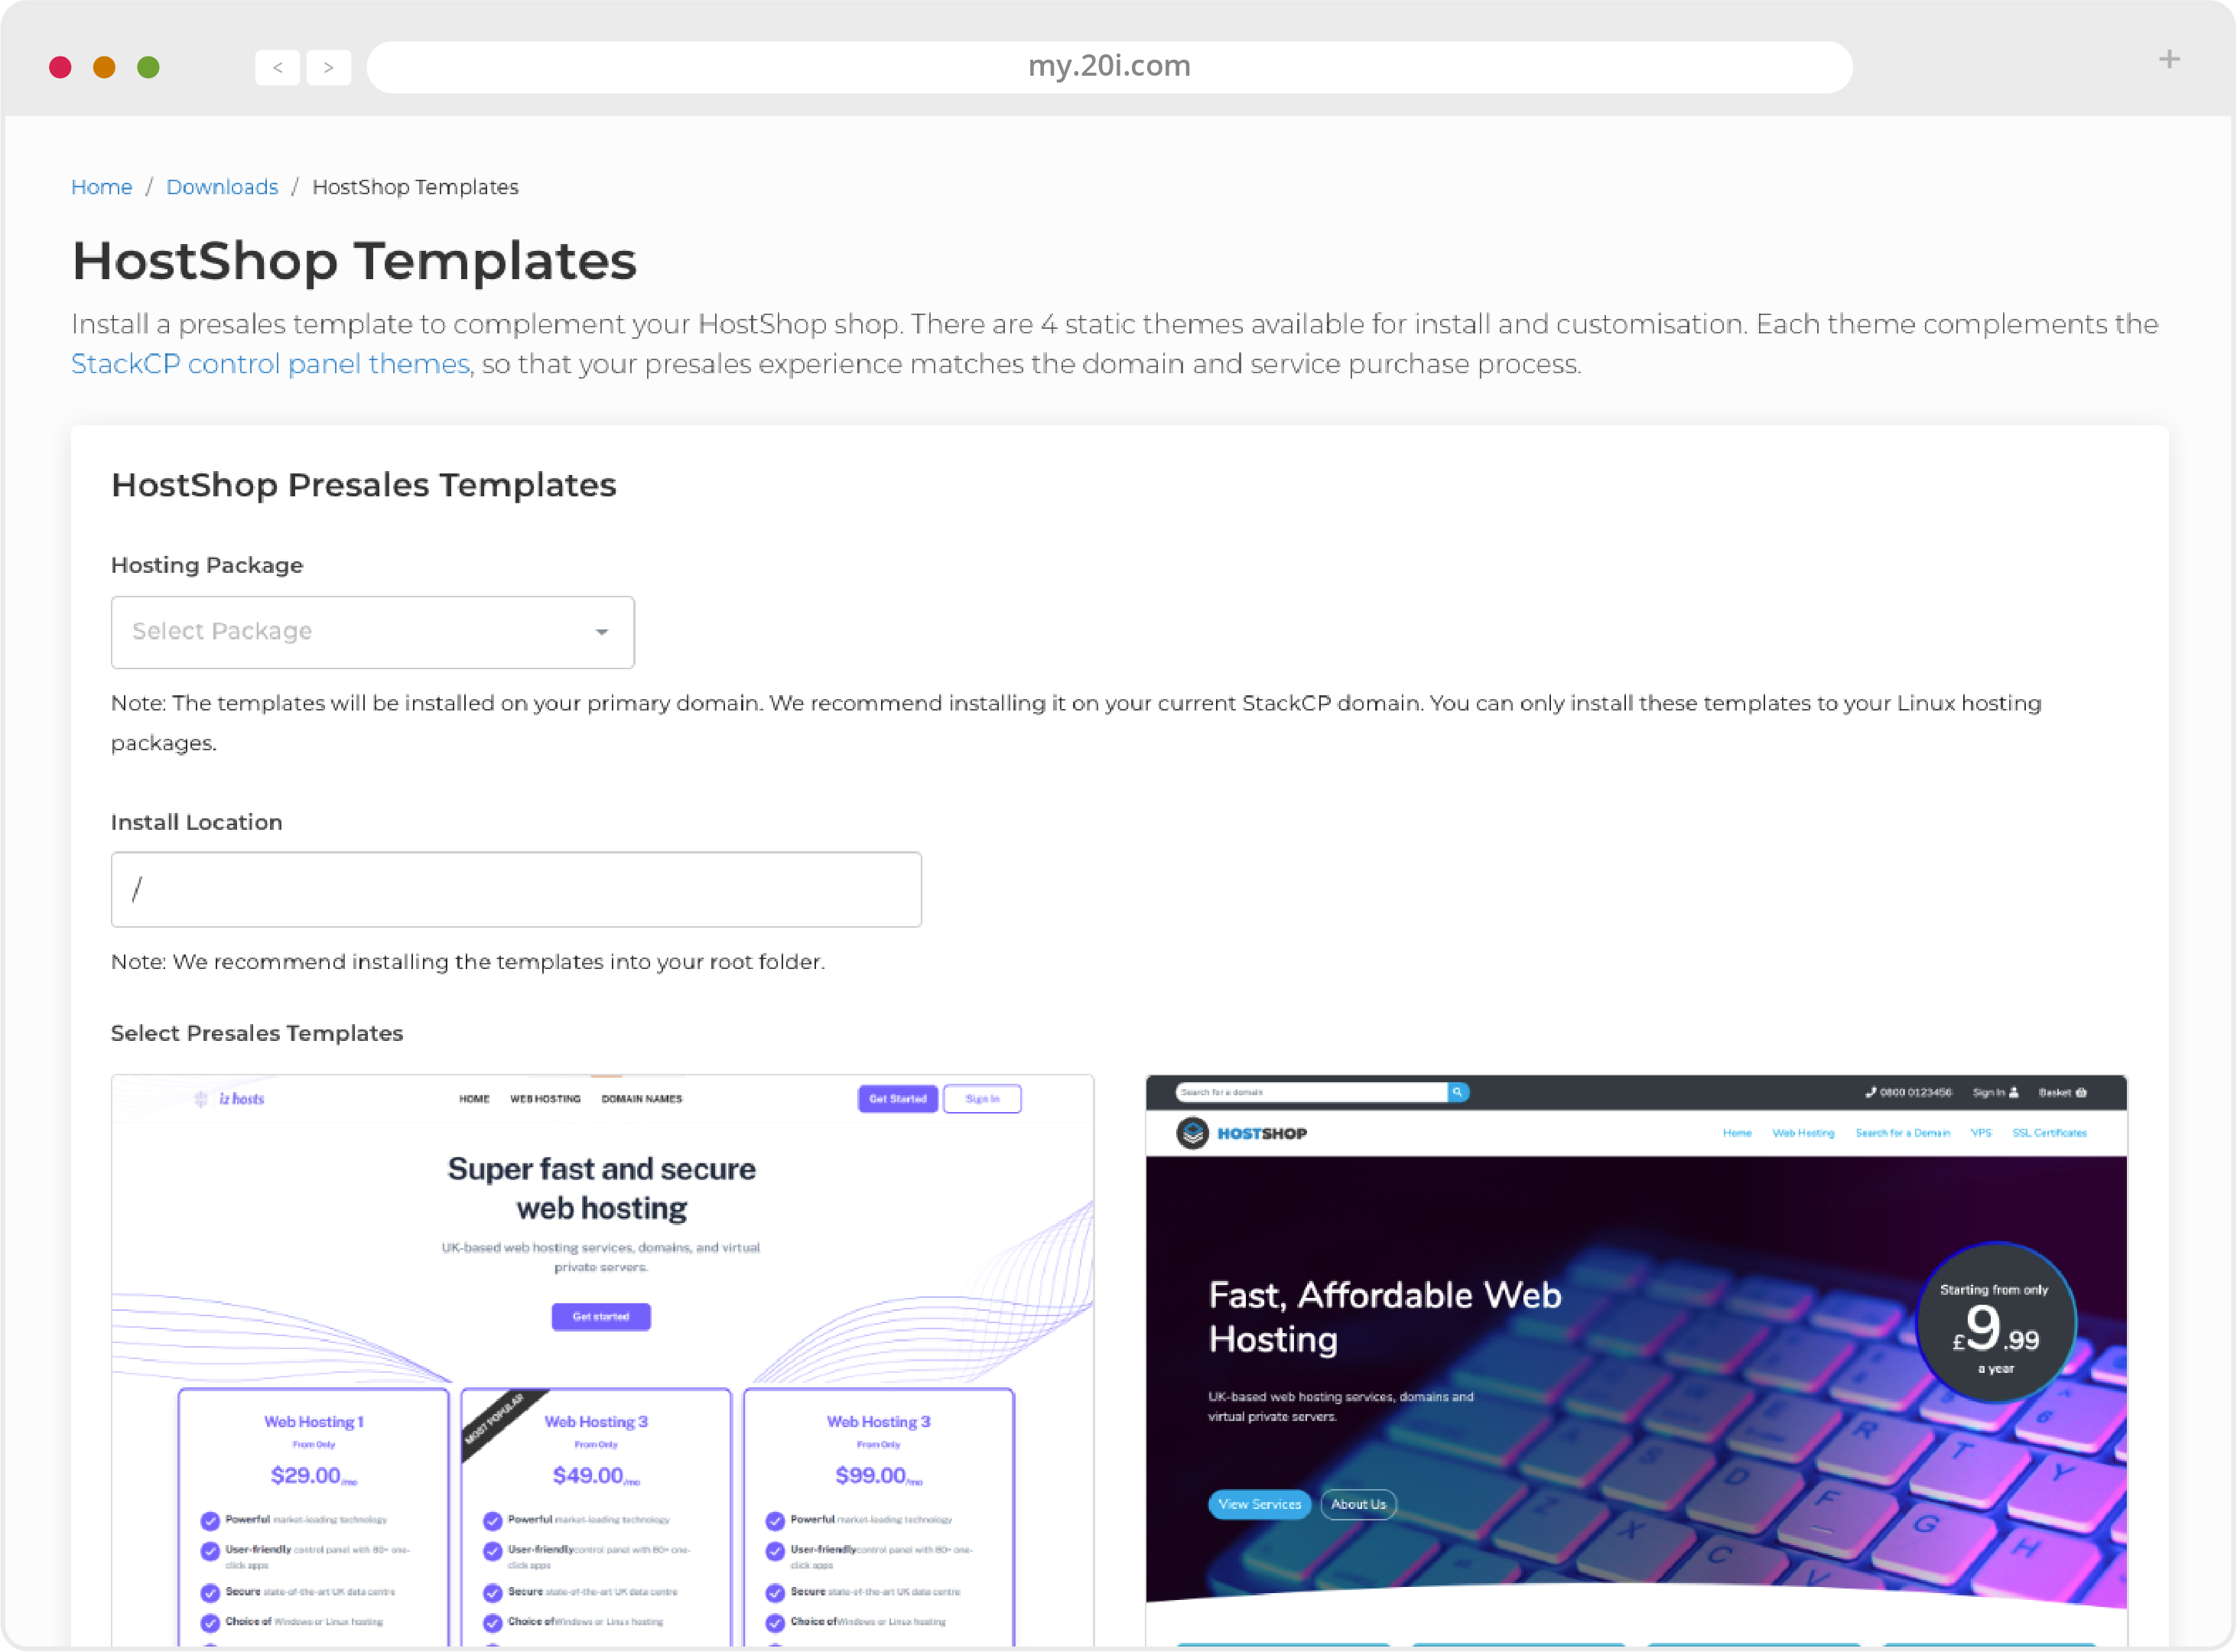
HostShop Presales Templates
There is an ever increasing variety of ready-made website templates that are free for you to use as a basis of your business. They include marketing copy and stock images which you are free to use as you wish.
They are based on the Bootstrap 4 CSS framework so they can be easily modified. We would recommend making changes to the copy - at the very least.
This is so your website looks unique in the market and avoids potential plagiarism penalties from search engines. The themes also include some ’dummy text’ in the blog posts and testimonials, so we recommend replacing or removing this.
They’re designed to compliment StackCP themes, which determine the appearance of the shop and your customer’s control panel after they’ve signed up.
So each StackCP theme has a corresponding presales website template. While you are able to mix StackCP themes and presales website templates, we recommend that you use the corresponding one for the smoothest transition between your presales website and your shop/control panel.
HostShop Homepage Text
HostShop Configuration is where many central functions and settings of HostShop can be managed.
Open/Close Your HostShop
You can’t open your shop until you’ve added payment methods and services/products, but the option is here.

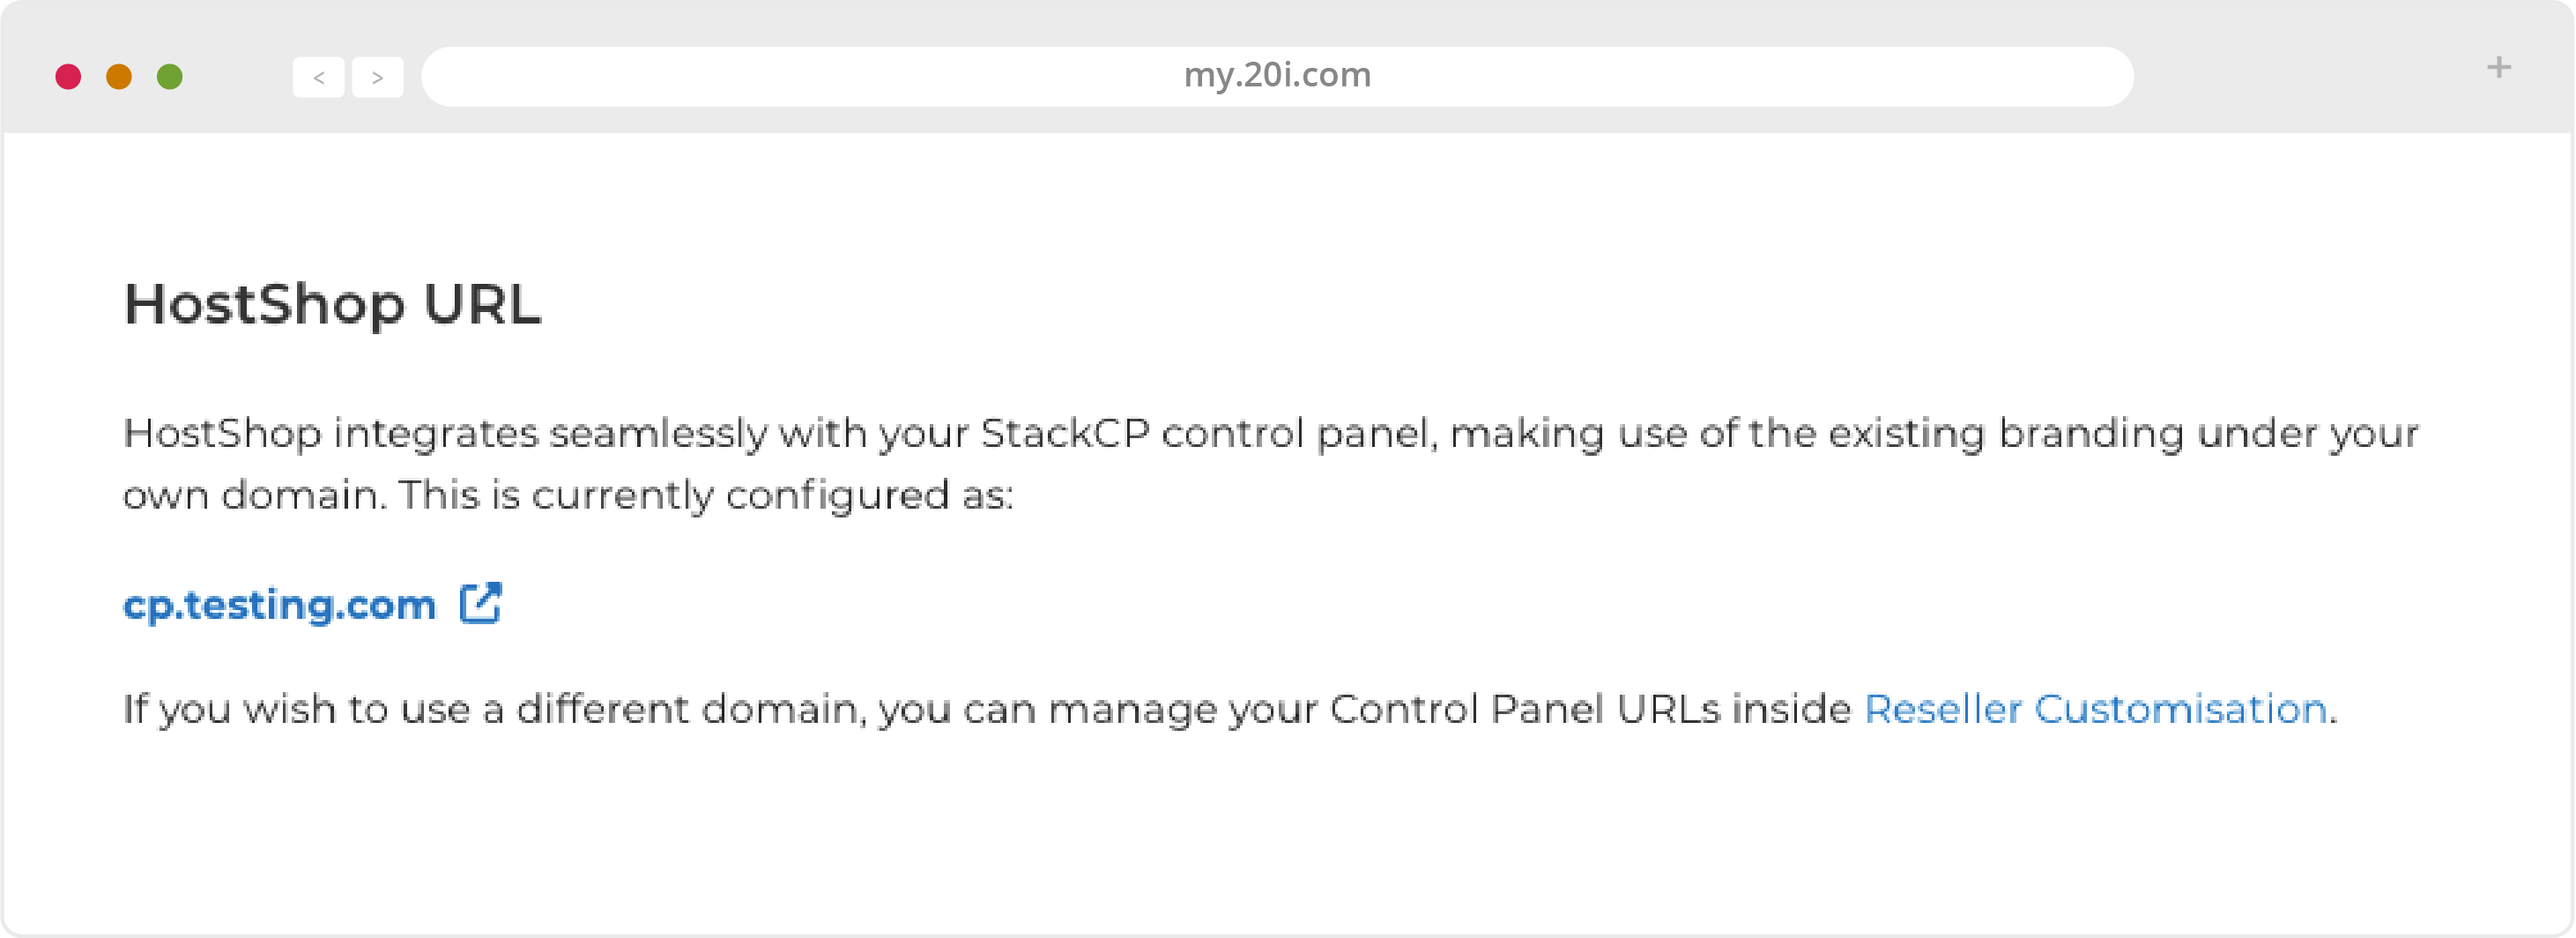
HostShop URL
This confirms the domain and URL where HostShop can be found. It can be updated in Reseller Customisation (see the StackCP section).
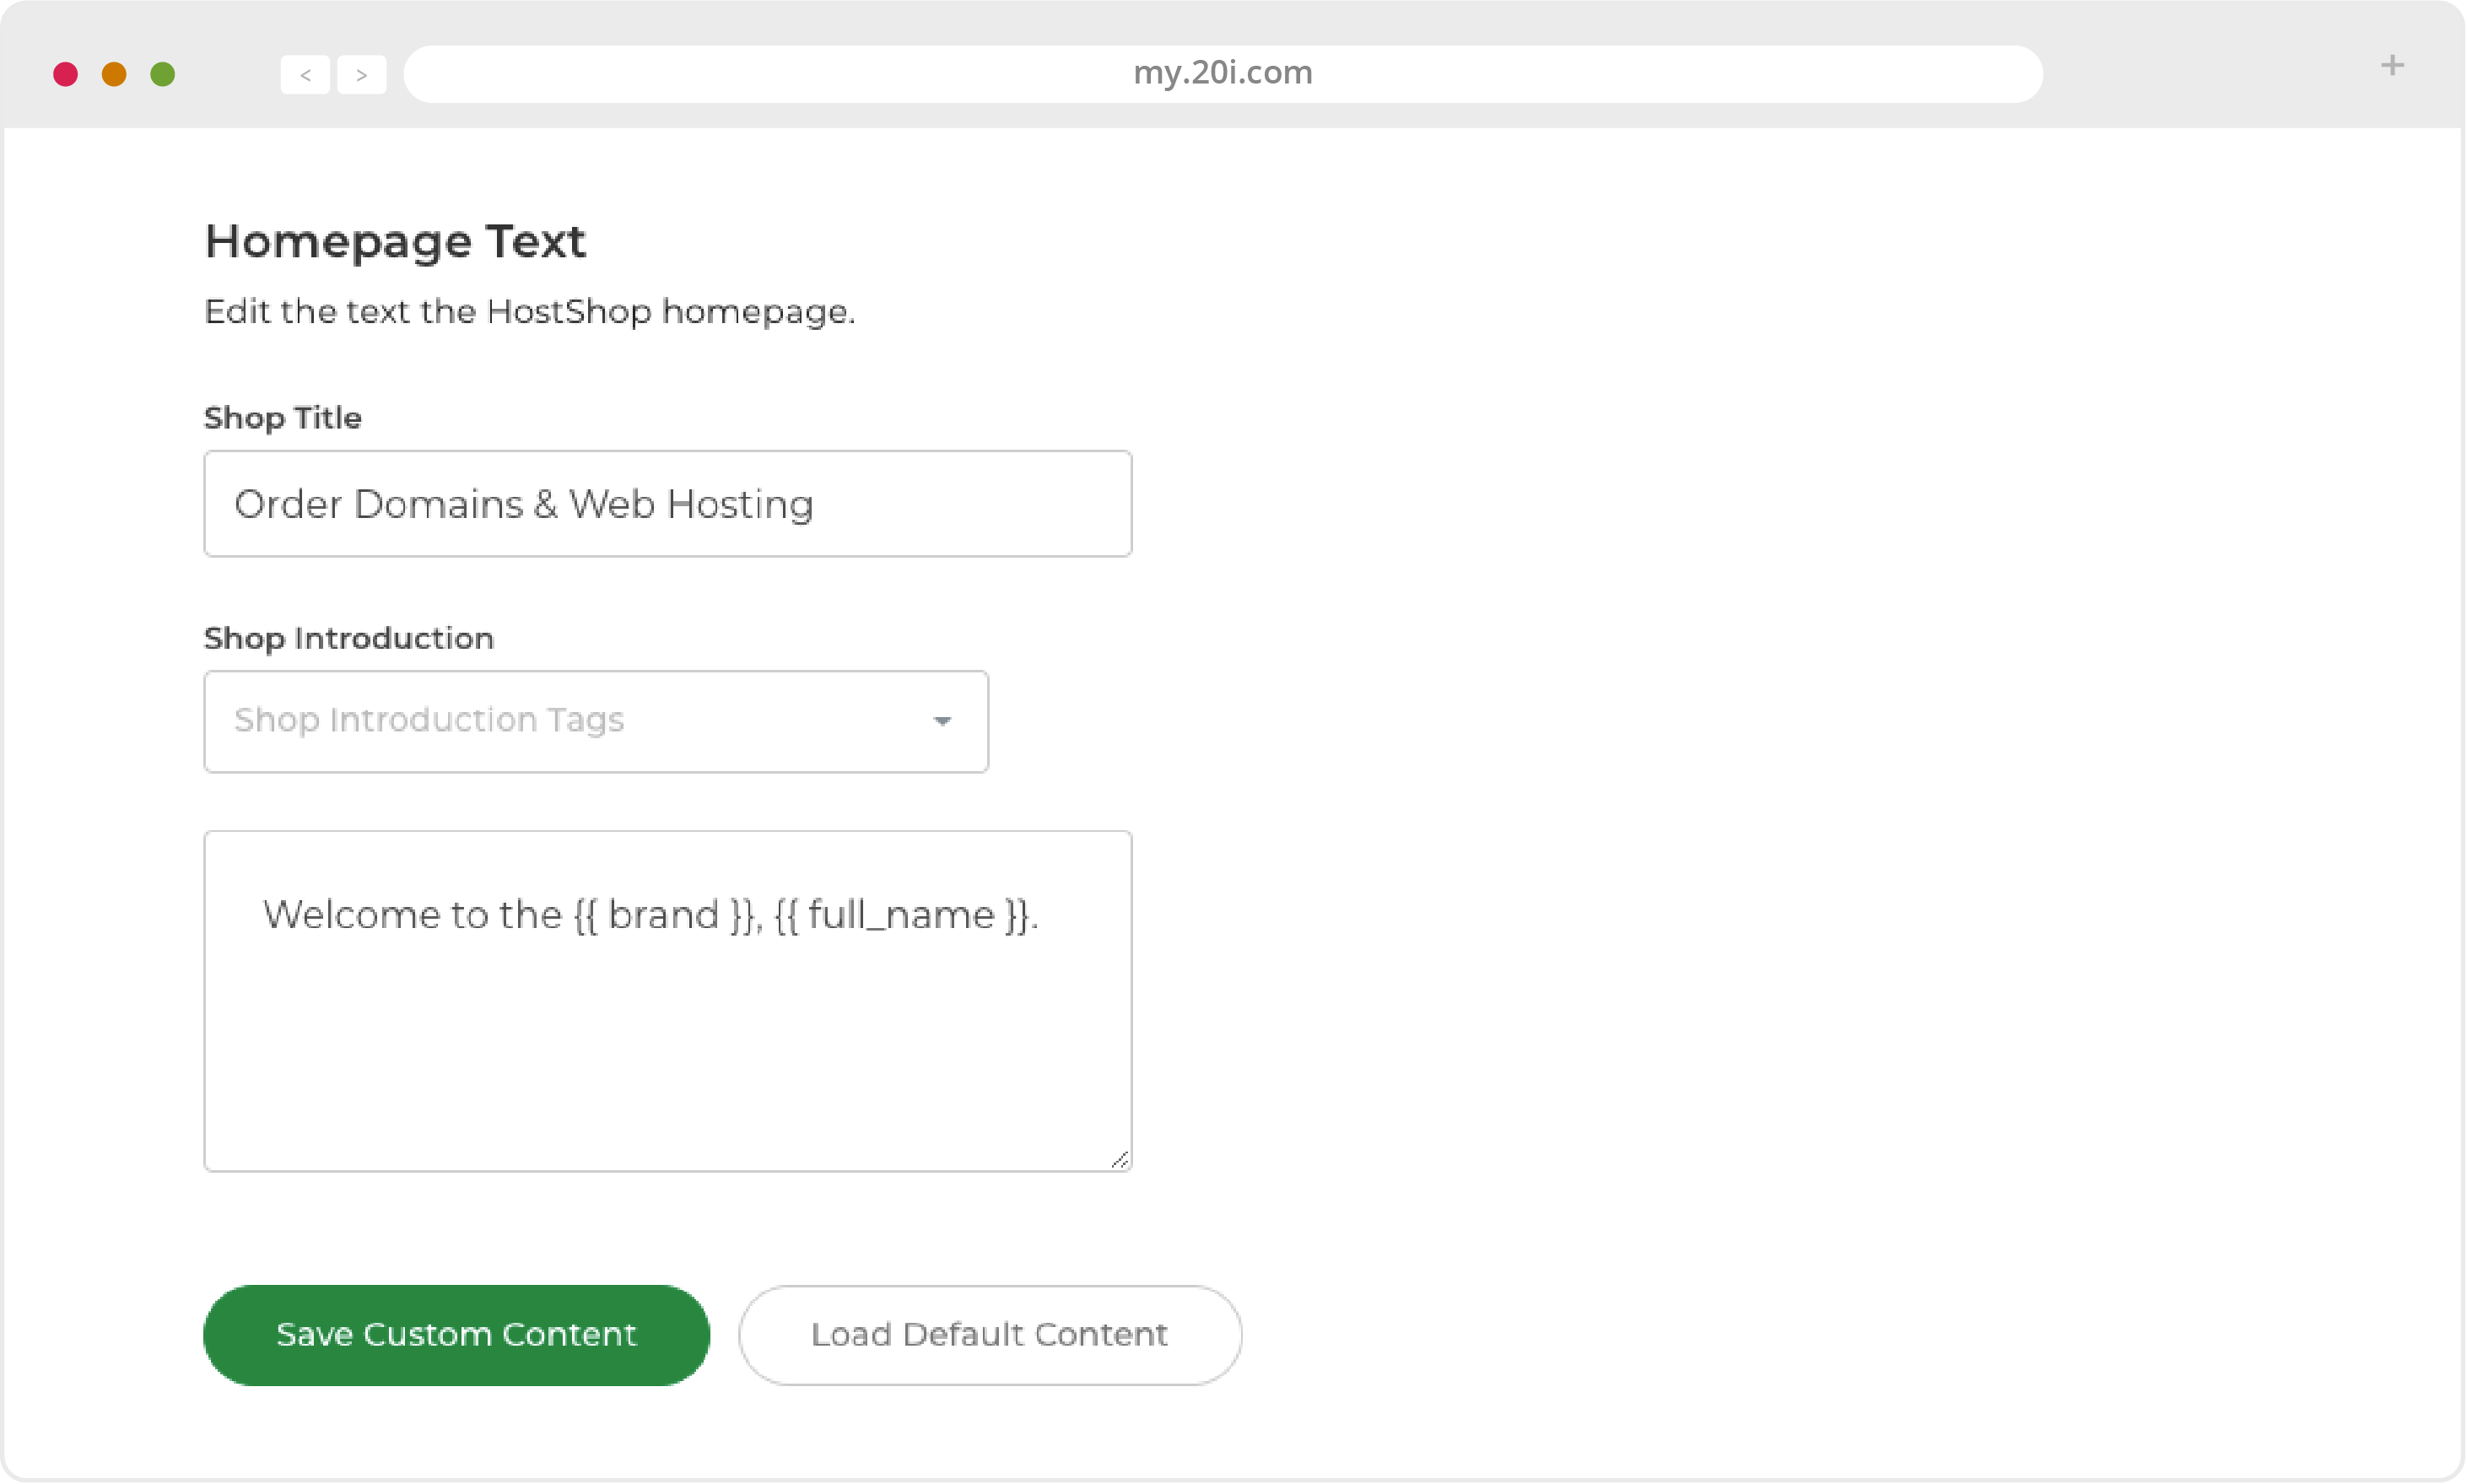
HostShop Homepage Text
From the Configuration section of HostShop you can customise the text content of your shop page(s), add in your brand name and personalise the experience of your StackCP Users via tags.
Currency
Here you can set the currency used in HostShop. Please contact 20i support if you’d like a currency that isn’t included to be added.
Enable/Disable Contact Form
Change text of Enable/Disable Contact Form section to read: “Activate or deactivate the ‘Contact Us’ option for your HostShop from this settings page.
Enable/Disable HostShop
This is to turn the entire HostShop module on or off. Turning it off doesn’t delete any changes you’ve made to the standard setup, so your configuration(s) will still be there if you turn it back on.
If you have renewable contracts present in HostShop, it isn’t possible to disable it from here - you would need to cancel those contracts first.
Tax Settings
You can set your UK company VAT number here and it gives you the option to disable sales to EU countries. Information about the VAT Mini One Stop Shop can be found on the website for the European Union: https://20i.co/3bBw9rc.
>> Next step: Supporting your customers