Reseller Hosting: Migrating Existing Hosting Packages and Domains to 20i

Note: If you're starting your hosting business from scratch and don’t need to migrate customers/services from another company, you can skip this section and head to Registering new domain names.
How The Migration Centre Works
The 20i Migration Centre automates migrations from most reseller hosts, allowing you to move your websites and email in just a couple of clicks.
It’s completely free to use. There’s no website or email downtime, and no risk of data loss.
Using the Migration Centre, you can:
- Automatically move your websites, MySQL databases and email to 20i
- Preserve all folders, files, scripts, emails, and other data exactly as-is
- Choose which packages to move and when, giving you fine control over what you migrate and allowing you to move websites in batches
- Transfer any WordPress website by supplying FTP details
- Avoid any risk of data loss and downtime
- Free up your time to do other things (your migrations complete automatically in the background)
There are no limits on how many times you can use the Migration Centre and no limits on how many websites, databases, or mailboxes you can move across.
Please ensure you leave a good amount of time to migrate data if your current hosting package with another provider is due to expire or renew soon.
The length of time it takes to move a website and its associated mailboxes depends on the amount of data being transferred, but anywhere between half an hour and three hours is typical.
During that time you’re free to close the tab; the migration will complete independently. The Migration Centre uses an intelligent queuing system to move data to our platforms, so in particularly busy periods there may be a small wait before your migration is initiated, but this is completely normal.
Starting A Migration
Before initiating a migration, we recommend you go through your data thoroughly to check you’re only moving files, folders and emails you really want to keep, and that your website and email haven’t been compromised in any way.
Please also check your websites are behaving as expected before you move, and that you have upgraded all software to the latest versions where possible.
Note: The Migration Centre isn’t able to transfer MS SQL databases, which are unique to Windows websites. To do this, please use MS SQL Server Studio, which is included free with your MSSQL database with your current host. After migrating your data, you will need to transfer your domain or update your nameservers accordingly, which is explained below.
After logging into https://my.20i.com scroll down to the ‘Migration Centre’ section and you’ll see three icons:
- Migrations Overview - Migrate and manage your customers quickly and automatically with our Migration Centre, See the next chapter
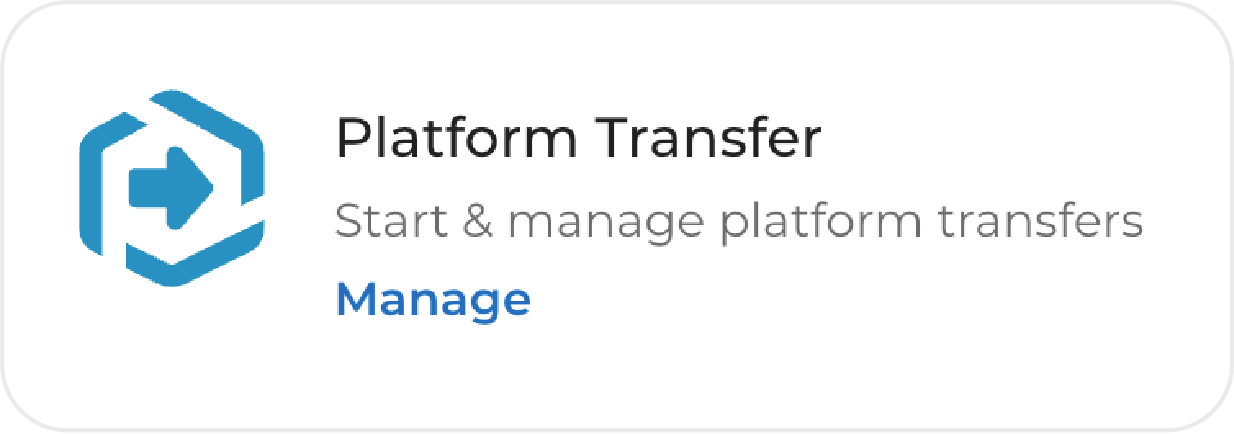
- Platform Transfer - Start and manage your platform transfers
- Transfer a Domain - Transfer a domain from another provider
Supported Hosts
The vast majority of reseller hosts are supported by the Migration Centre, including:
- WHM/cPanel hosts
- Plesk hosts
- DirectAdmin hosts
- Heart Internet
- Fasthosts
For cPanel migrations, please ensure your host has not disabled the cPanel Backup option as the system will be unable to copy your data automatically.
If you’re not sure if your web host is supported, please contact Customer Services and we’ll be happy to check. If your host isn’t supported, please refer to the ‘Migration Centre alternatives’ section below.
Migration Centre Alternatives
If you have a WordPress website, you can enter the FTP credentials to transfer it automatically to 20i regardless of who is hosting it.
Migrate a WordPress Website To 20i
Important: WordPress must be installed in the root (i.e. your URL takes the form yourwebsite.com, not yourwebsite.com/wordpress) to use the 20i Migration Centre in this way. If this isn’t the case, we recommend using a migration plugin from the official WordPress Plugin Directory (https://en-gb.wordpress.org/plugins) to move your website, rather than doing it through the 20i Migration Centre.
To migrate a WordPress website via FTP using the Migration Centre:
- Log in to https://my.20i.com
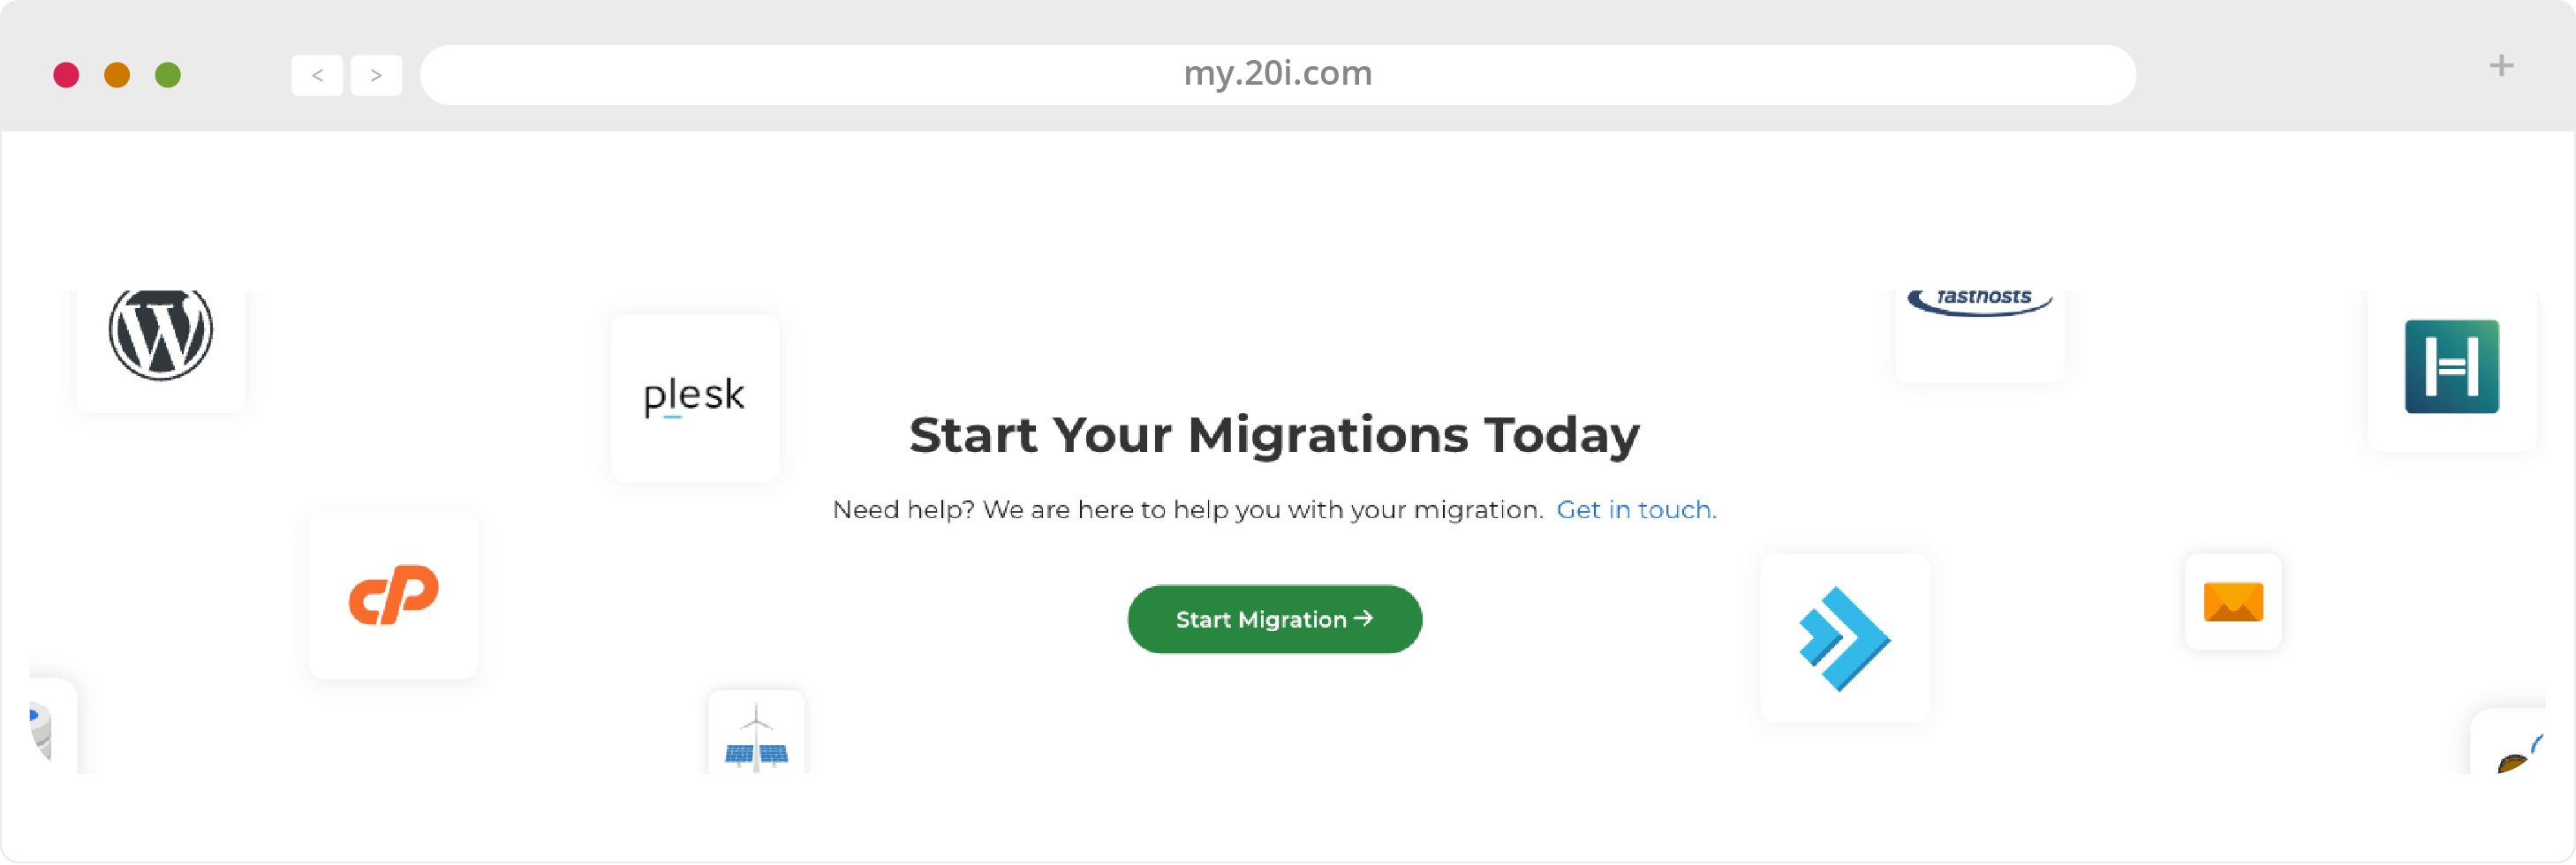
- Scroll down and select ‘Start Migration’.

- Press ‘Start Migration’ button when ready.
- Choose ‘Migrate a WordPress site using FTP’ and select ‘Next’.

- Enter your hostname, domain name (with no prefix like https:// or www.), username, and password for your existing WordPress install.
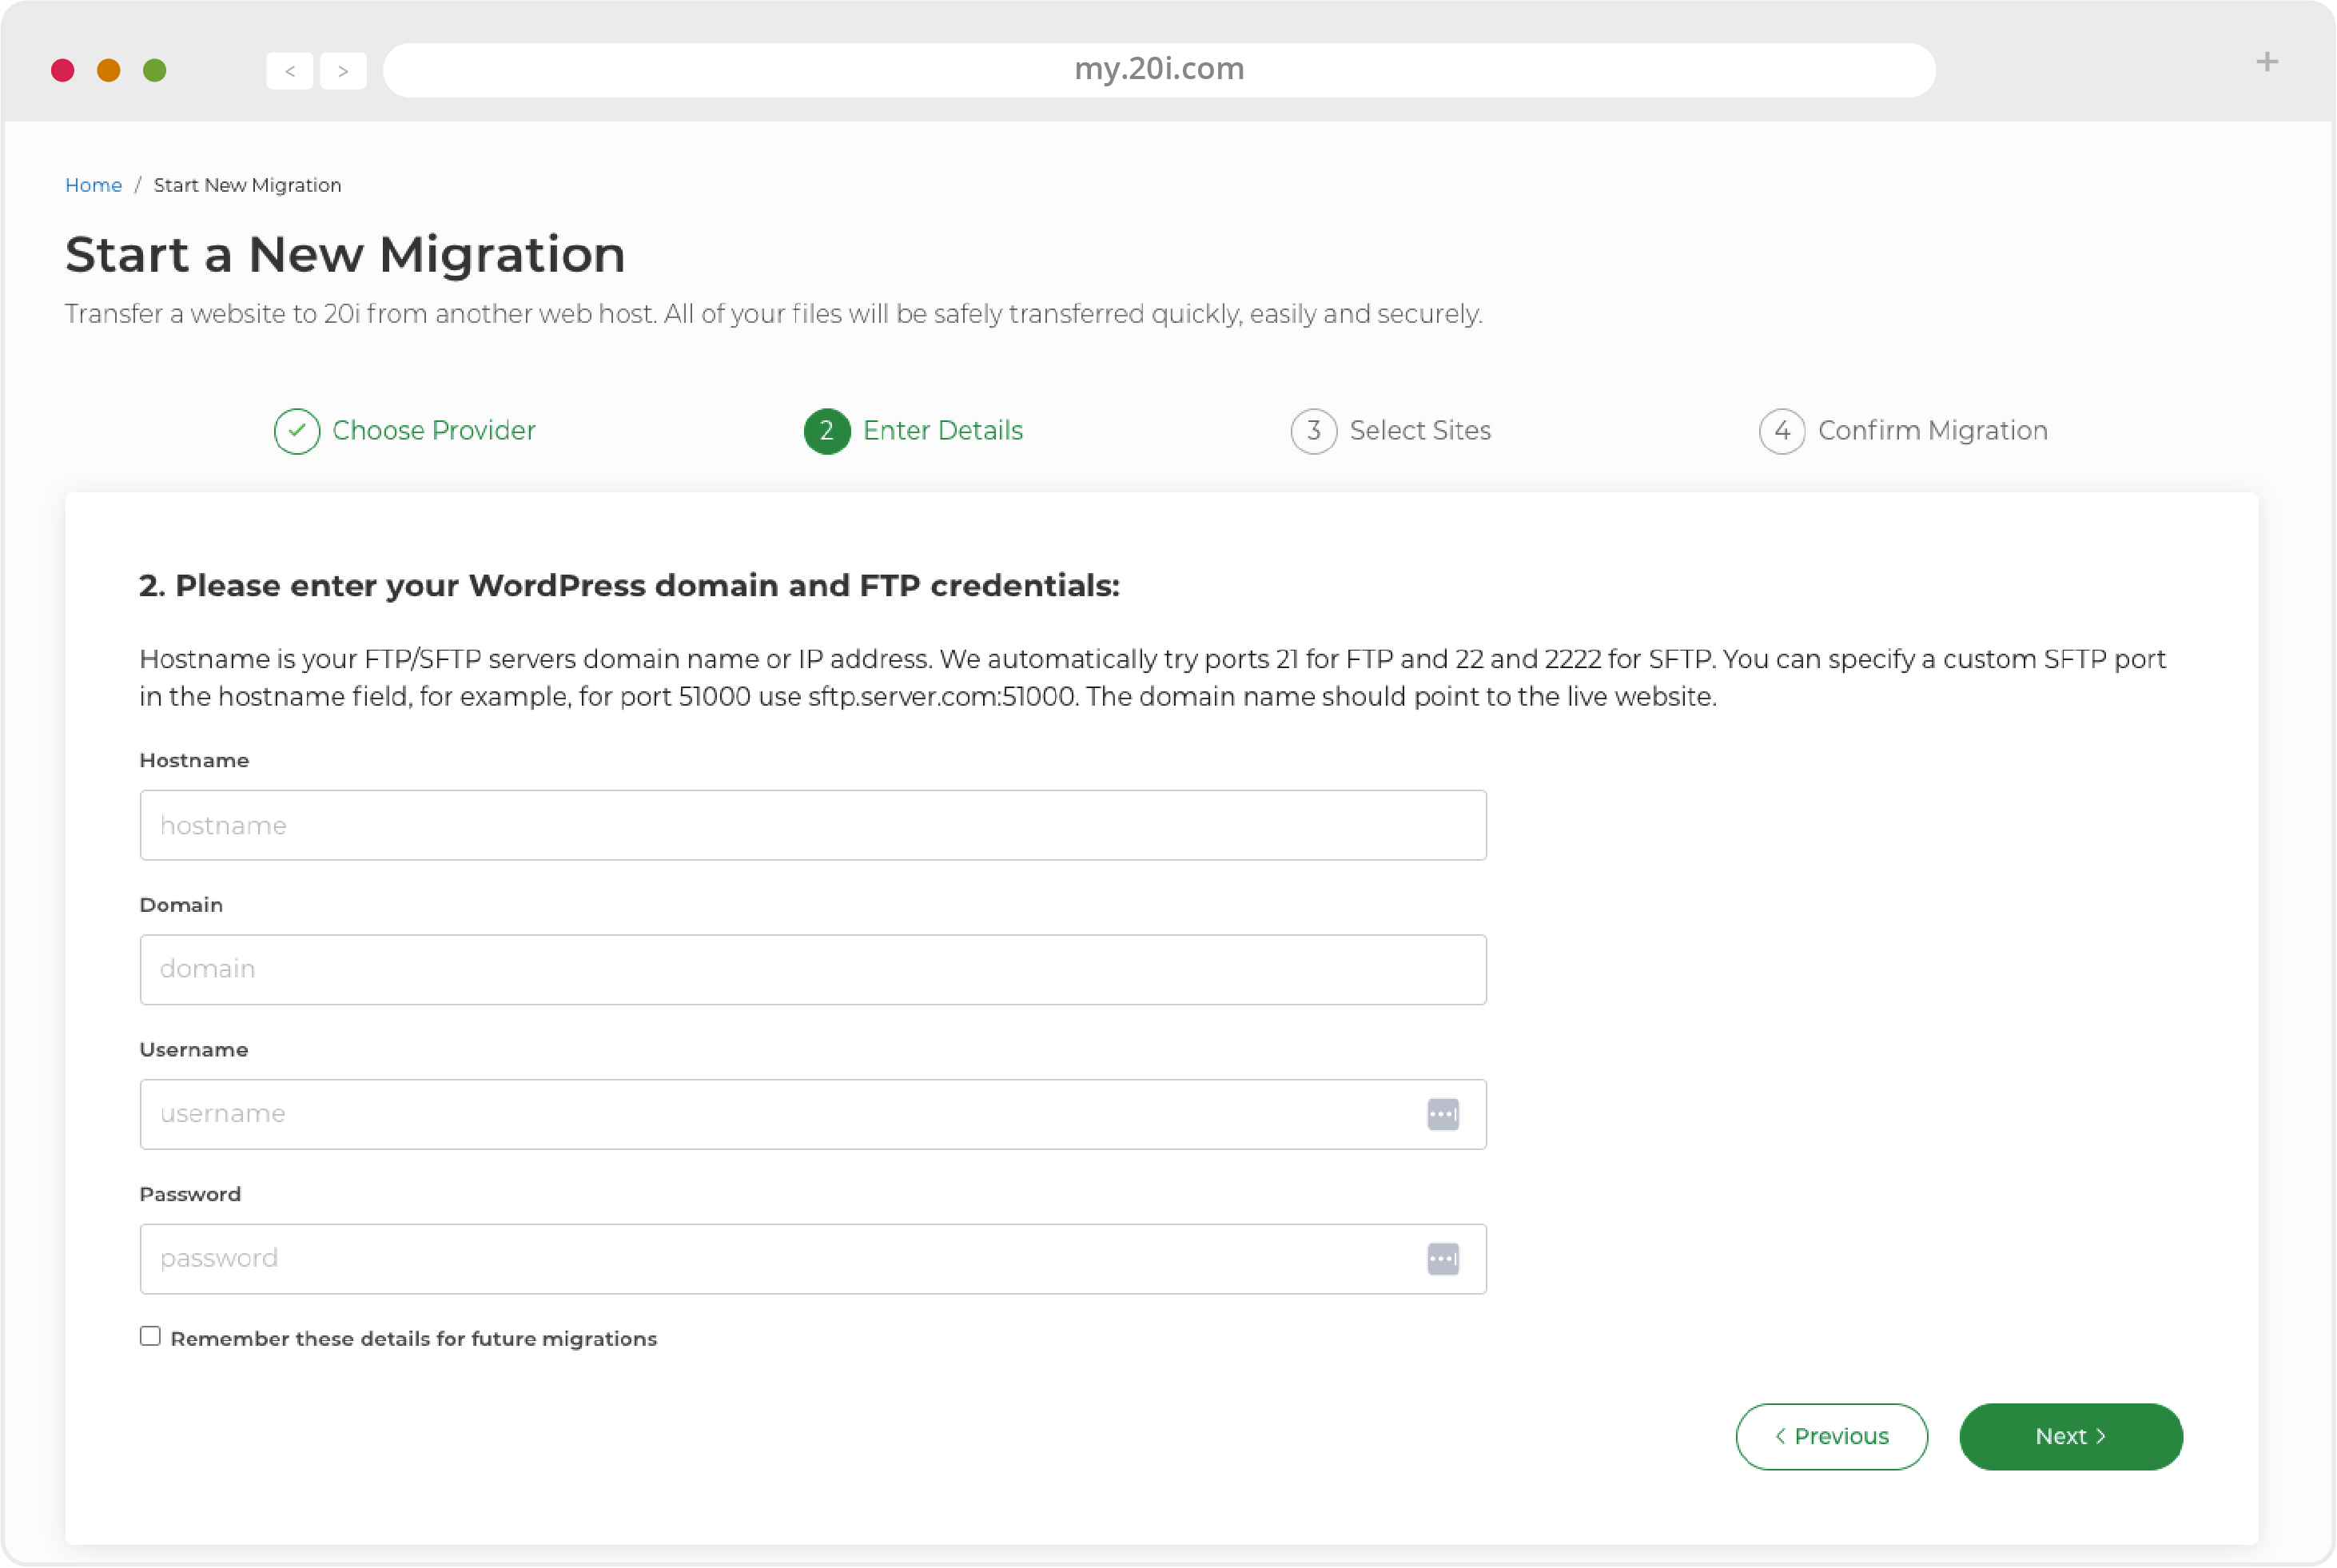
- Once confirmed, your migration will then start.
Alternatively, if your host is unsupported, you don’t have a Reseller hosting account, you don’t have WordPress websites (or your WordPress installs aren’t in the root), you can still migrate your website manually via FTP. Make sure you take a full backup of all files and databases from your current host before you start.
Migrating websites, MySQL Databases & Standard Mailboxes
Before migrating to 20i, please ensure you have a full backup of all your data, all your websites work as expected, and all software has been updated to the latest versions where possible.
To migrate your websites, MySQL databases, and standard mailboxes:
- Log in to https://my.20i.com
- Scroll down and select ‘Start Migration’
- Press ‘Start Migration’ button when ready.
- Choose your provider from the list and click ‘Next’.
- Enter the required credentials (usually username and password), and select ‘Next’.
- Enter the required API credentials (there are descriptions of where to find these for your particular host) and click the button to start your migration.
- Select ‘View’ under Migrations Overview to see the status of your migration. If you checked the option; you will be notified by email when it’s successfully completed.
If you’re using mail.domain.tld (e.g. mail.yourwebsite.com), no action is needed for your mail client. If you’re not - for example, you’re using a mail server hostname or IP address - you’ll need to update your mail client: our support team can supply further details for this or confirm your setup as needed.
Updating and Transferring Domain Names
After migrating your websites, databases and email, the final step is to update your domain names. You can either transfer your domain name to 20i or leave it with its current registrar and simply point the nameservers to your 20i hosting.
Please note that if you’re intending to use our free SSL certificates, the domain name(s) in question will need to be transferred to 20i as a security measure required by the certificate issuing authority.
Transferring Domain Names
- To move your own or your customers’ domain names to 20i, head to Domain Transfers from the ‘Migration Centre’ section of your 20i control panel and click ‘Transfer’.
- Enter the domain name(s) you want to transfer, confirm, and then check out.
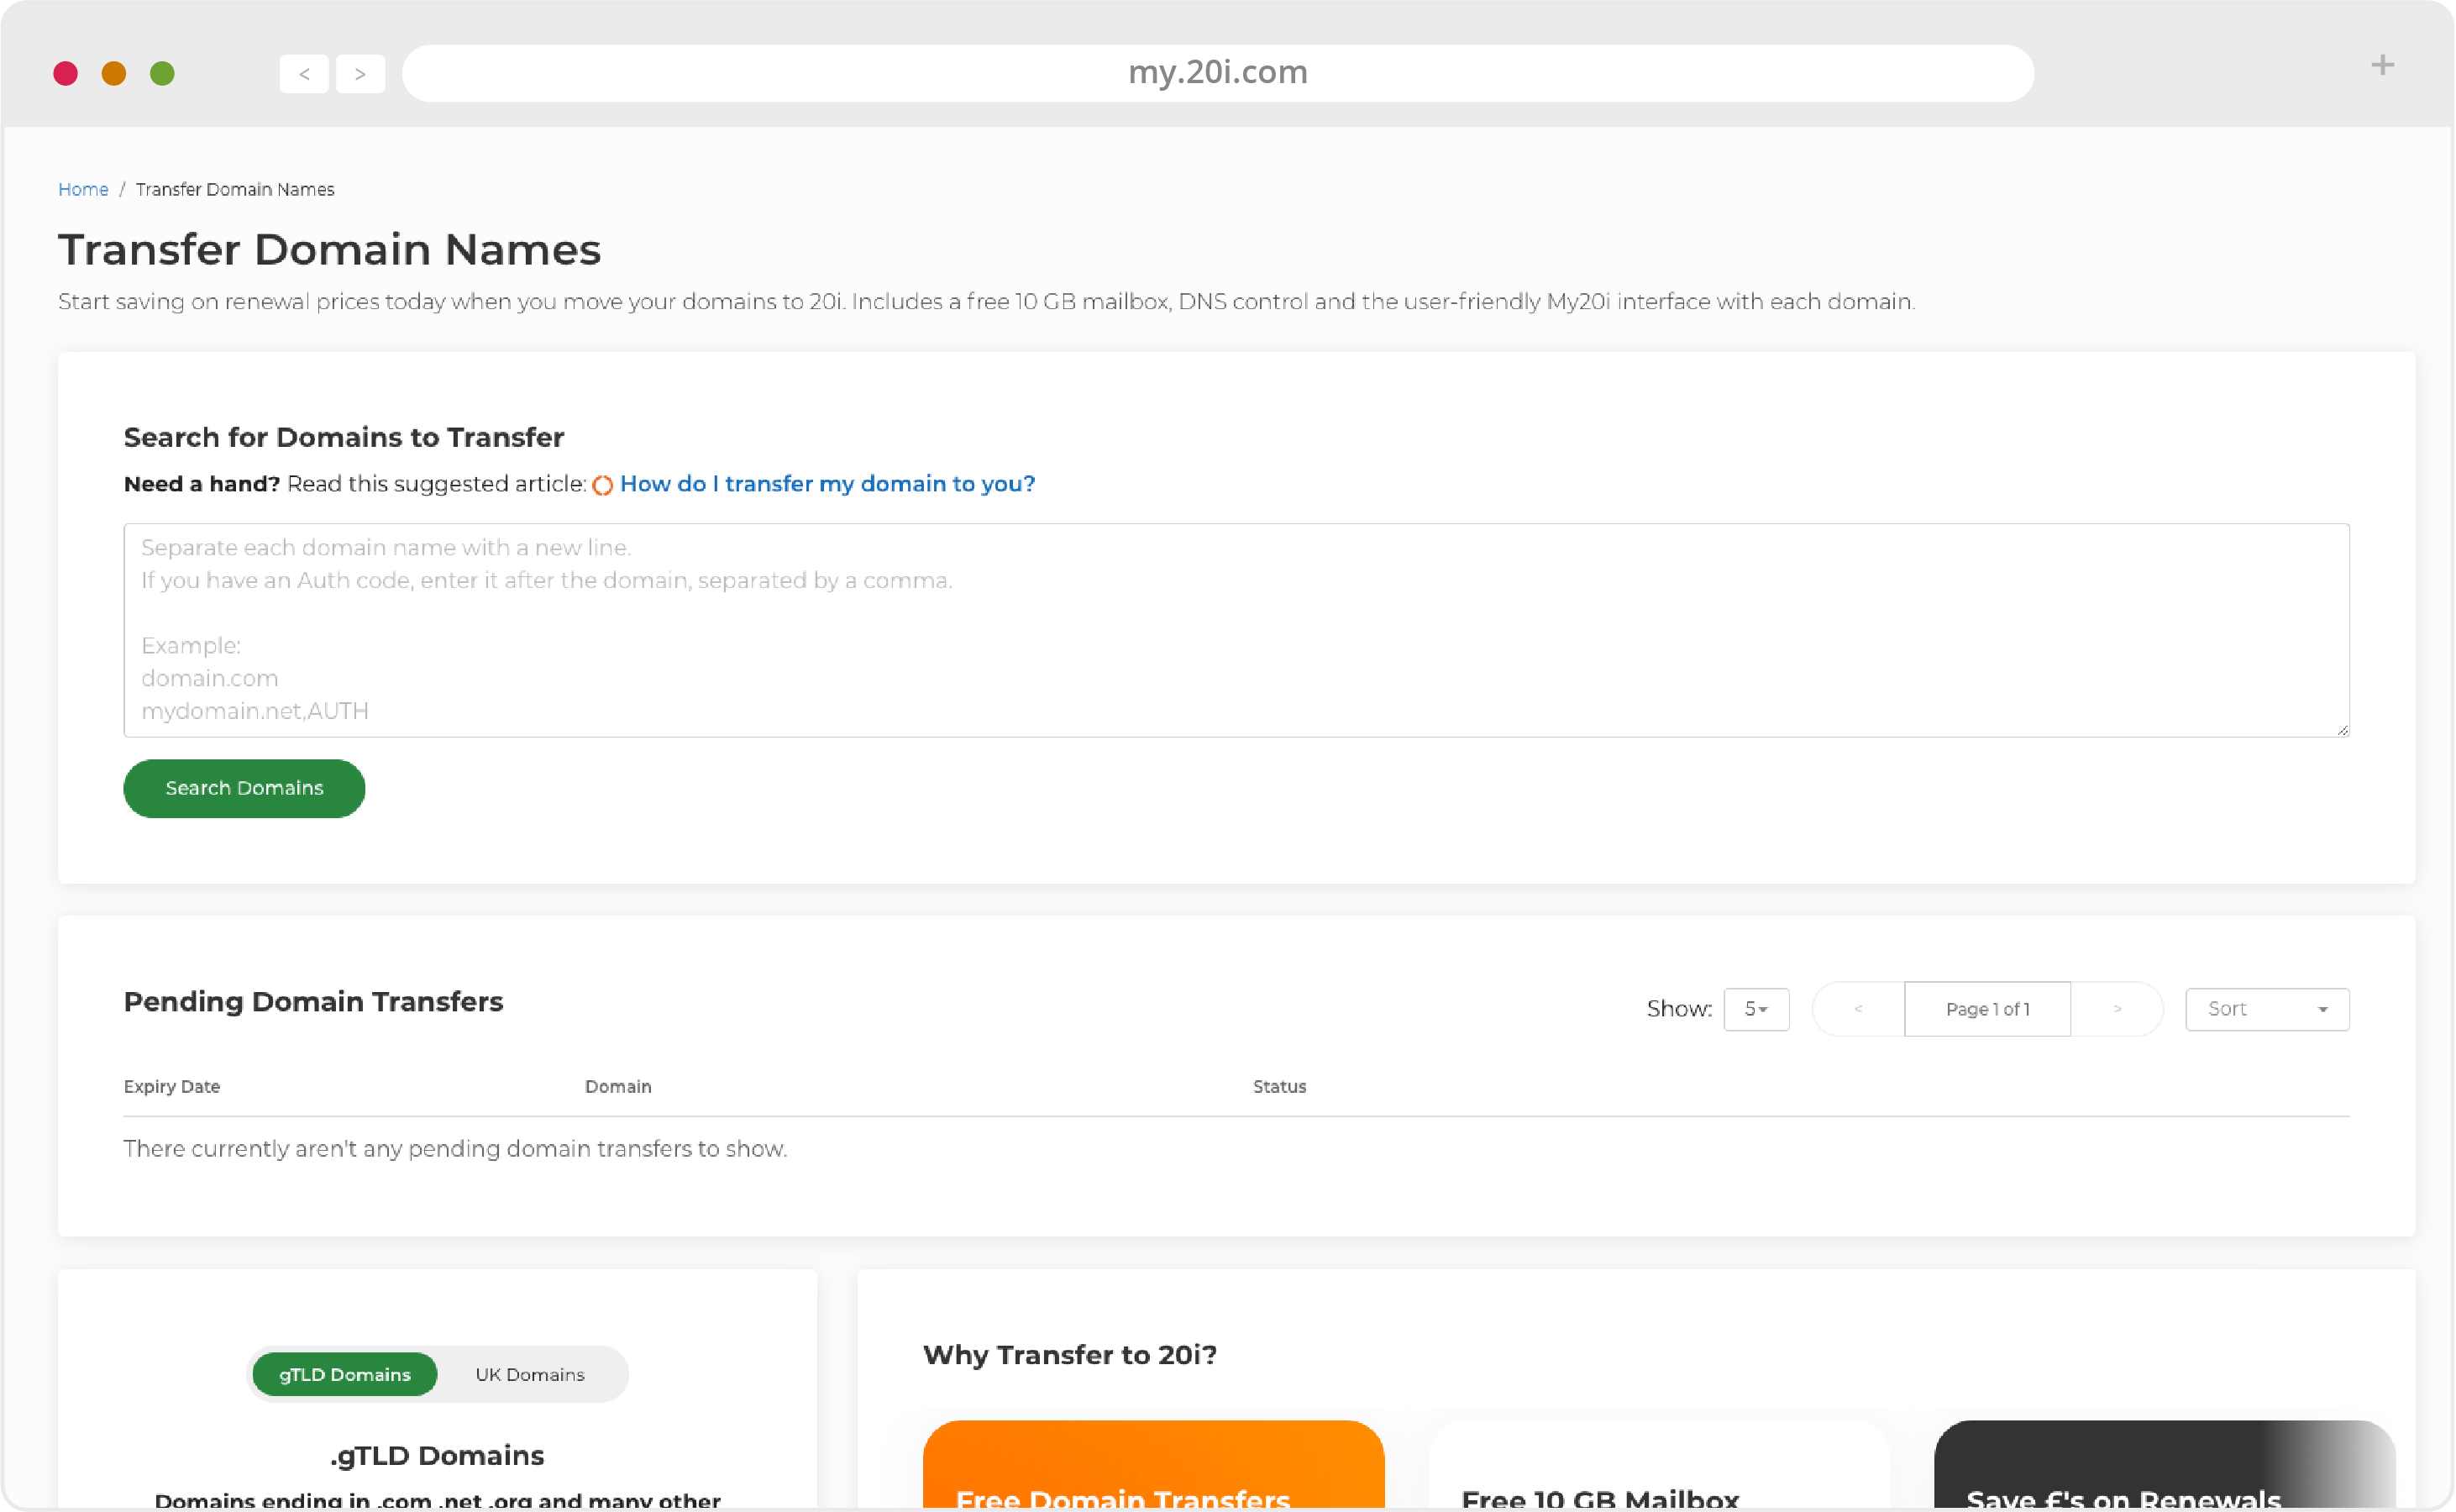
- You can see the progress of your domain transfers from the Migration Centre > Pending.
Please note that DNS propagation typically takes an hour but can take anywhere up to 48 hours as a global update is rolled out, so it may be a while before your domain resolves after the nameservers have been updated.
Updating Nameservers
If you’d prefer to update your nameservers with your current domain registrar (meaning you have your non-20i domain pointing to your 20i hosting) instead of transferring your domain to 20i, you will need to log in to your domain registrar’s control panel and update the nameservers to the following:
- ns1.stackdns.com
- ns2.stackdns.com
- ns3.stackdns.com
- ns4.stackdns.com
If your registrar doesn’t support 4 nameservers, add as many as it will support.
It can take up to 48 hours for nameserver changes to propagate across the web, but in the vast majority of cases it will be completed much faster.
Important: You can never have too many backups! Before you delete any data with your old hosting company: back it up both locally and offsite. If anything goes wrong your data will be safe.
You can also download your data at any time via My20i, or purchase our Timeline Backups service for automatic daily backups.
Switching to the 20i WordPress Platform
The 20i Migration Centre detects whether each website needs to be on our Linux or Windows platform and assigns them appropriately.
However, if you’d like to host your websites on our optimised WordPress platform instead, you’ll need to specify a platform transfer following your regular migration.
Please note that only WordPress websites and other WordPress-specific files (such as plugins, themes, and so on) are allowed on our WordPress platform because of the way it’s configured and optimised.
A small number of plugins that are forbidden for security reasons or because they conflict with our own custom caching. For an up-to-date list, please see: https://20i.co/2WMtFOO.
To transfer your website to the WordPress platform, WordPress must be installed in your root directory. The version of WordPress you’re using and all your plugins and themes must support PHP 7 or later. Once you’re happy your website meets the criteria, you can begin a platform transfer.
- Log in to https://my.20i.com.
- Scroll down to the ‘Migration Centre’ section and click ‘Manage’ under ‘Platform Transfer’.
- Press ‘Start Transfer’ when ready.

- Choose the website you want to move from the dropdown menu.
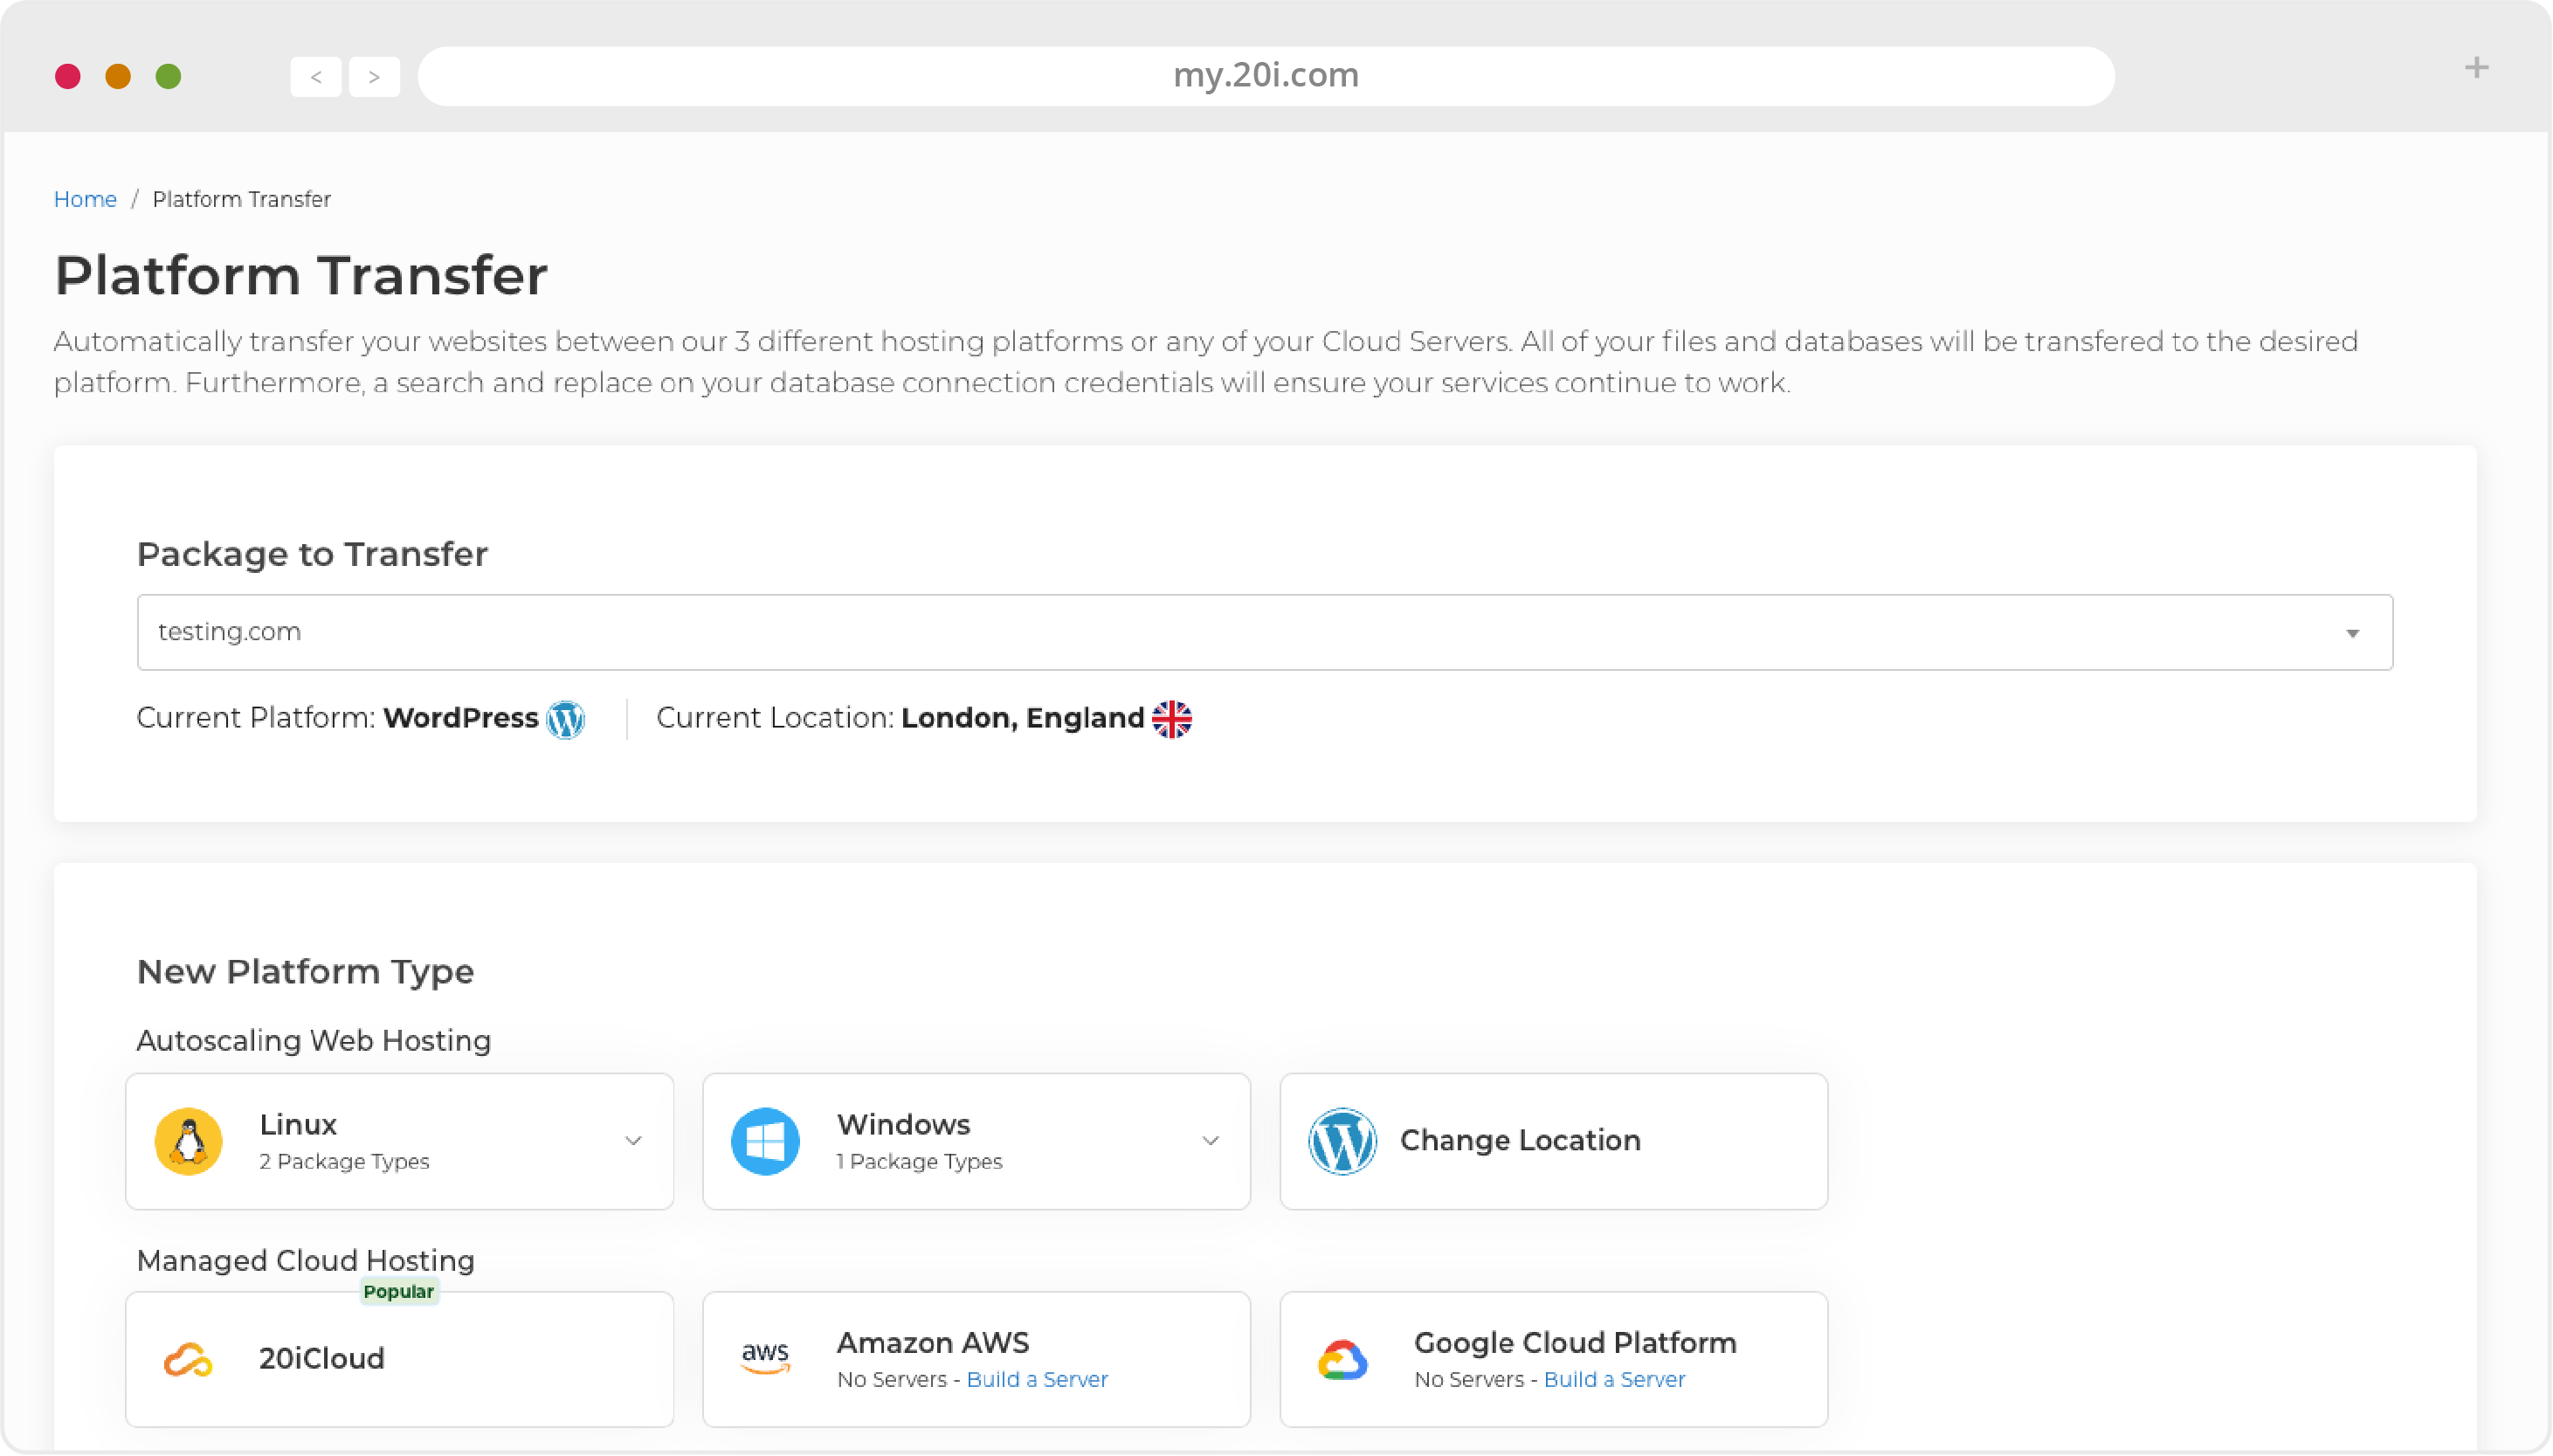
- In the New Platform Type section, choose ‘WordPress’. If your package is already on WordPress and you have other WordPress Hosting Package Types available, you will be able to choose a configuration to transfer to. You will then be given the option to select a Data Centre
- Click Begin Transfer. Your domain will appear in the ‘Current Platform Transfers’ box and be queued for transfer. An on-page notification will tell you when the transfer has completed, but in the meantime you’re free to close the page.
>> Next step: Registering new domain names