WordPress Hosting: WordPress Staging

20i WordPress Hosting includes a Staging tool that allows you to test new features in a safe, private environment without impacting your live site.
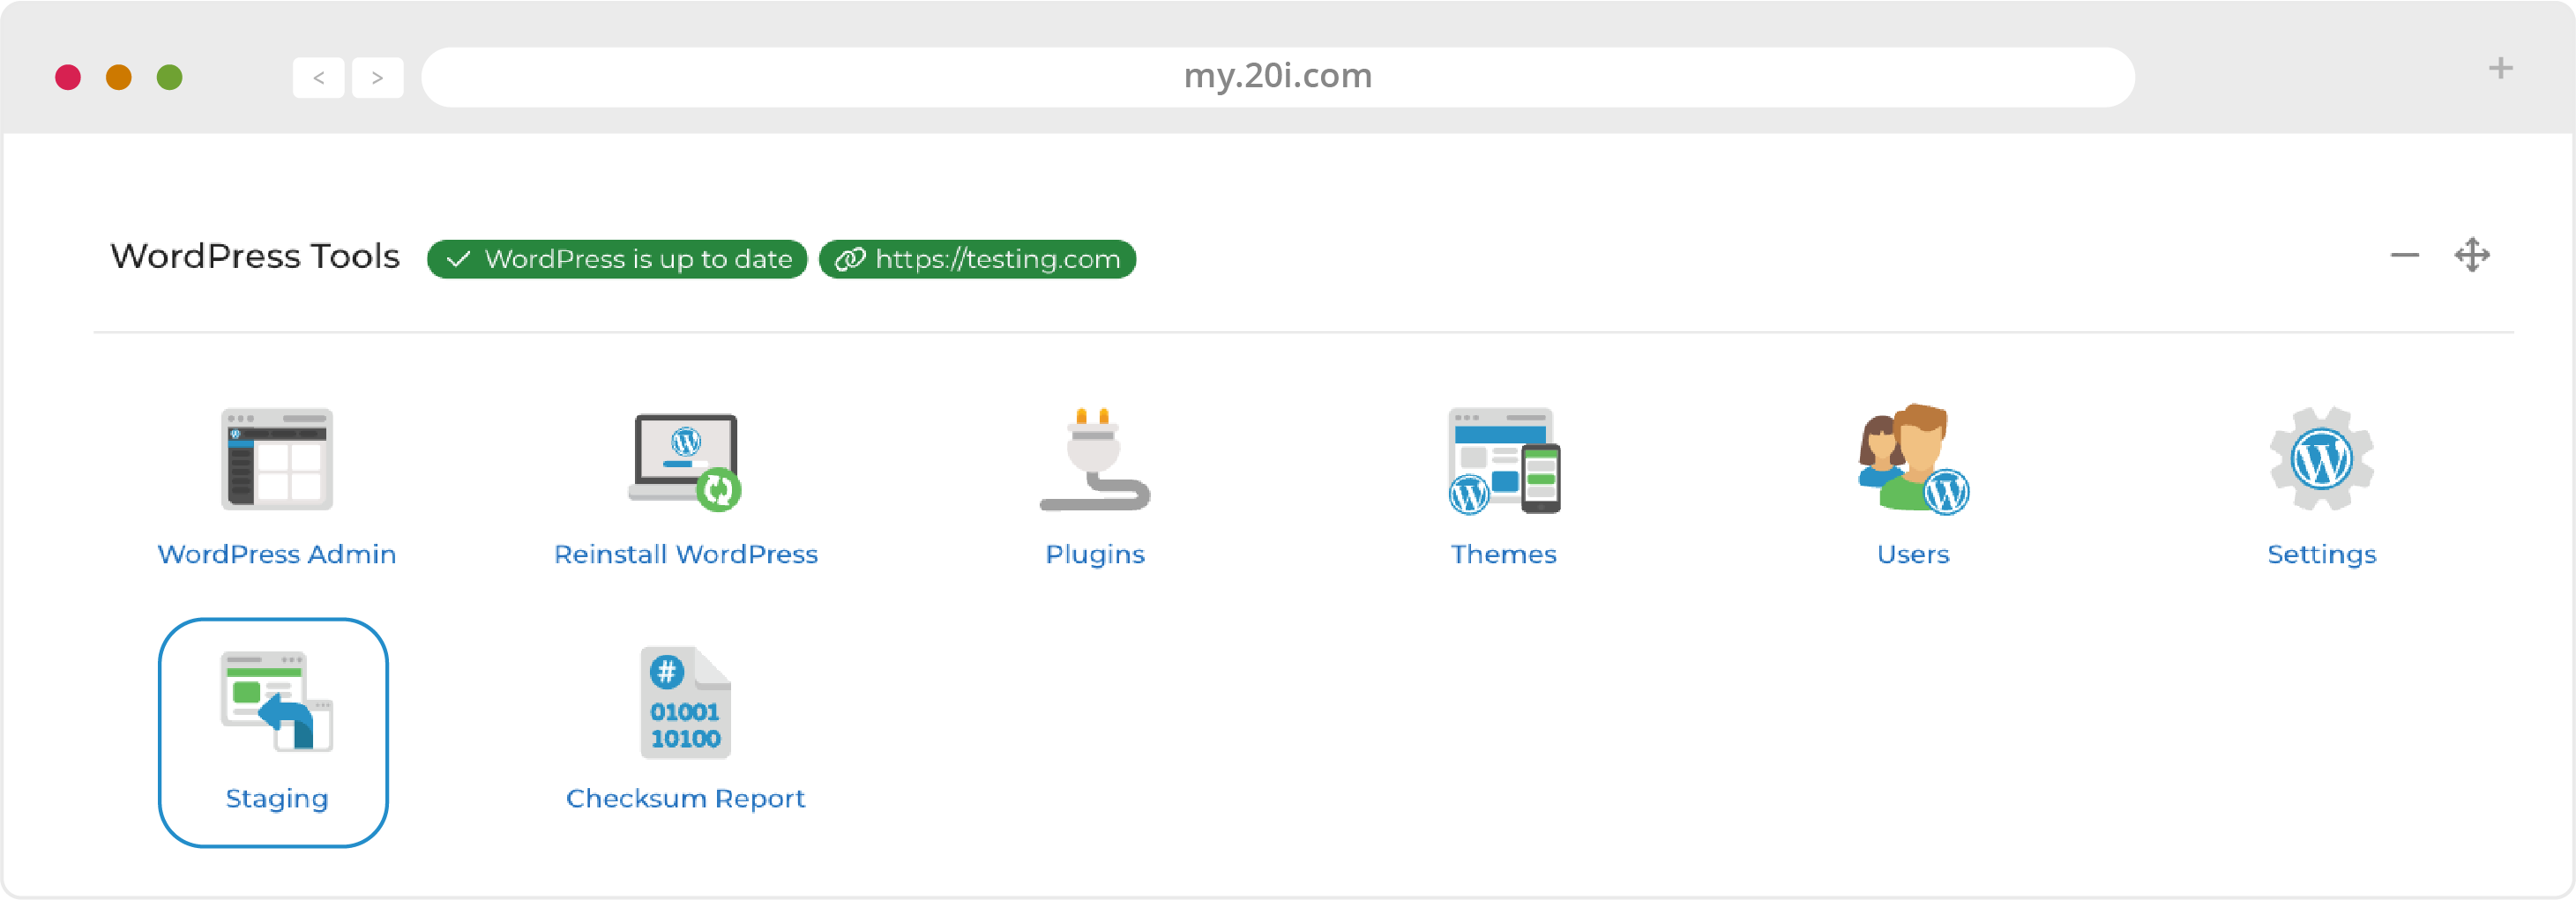
Staging is a part of the WordPress Tools suite, and is accessible when you manage an individual hosting package. Watch our video tutorial for more on how to set up WordPress Staging.
Creating the Staging Site
To begin the staging process, select the Staging icon:
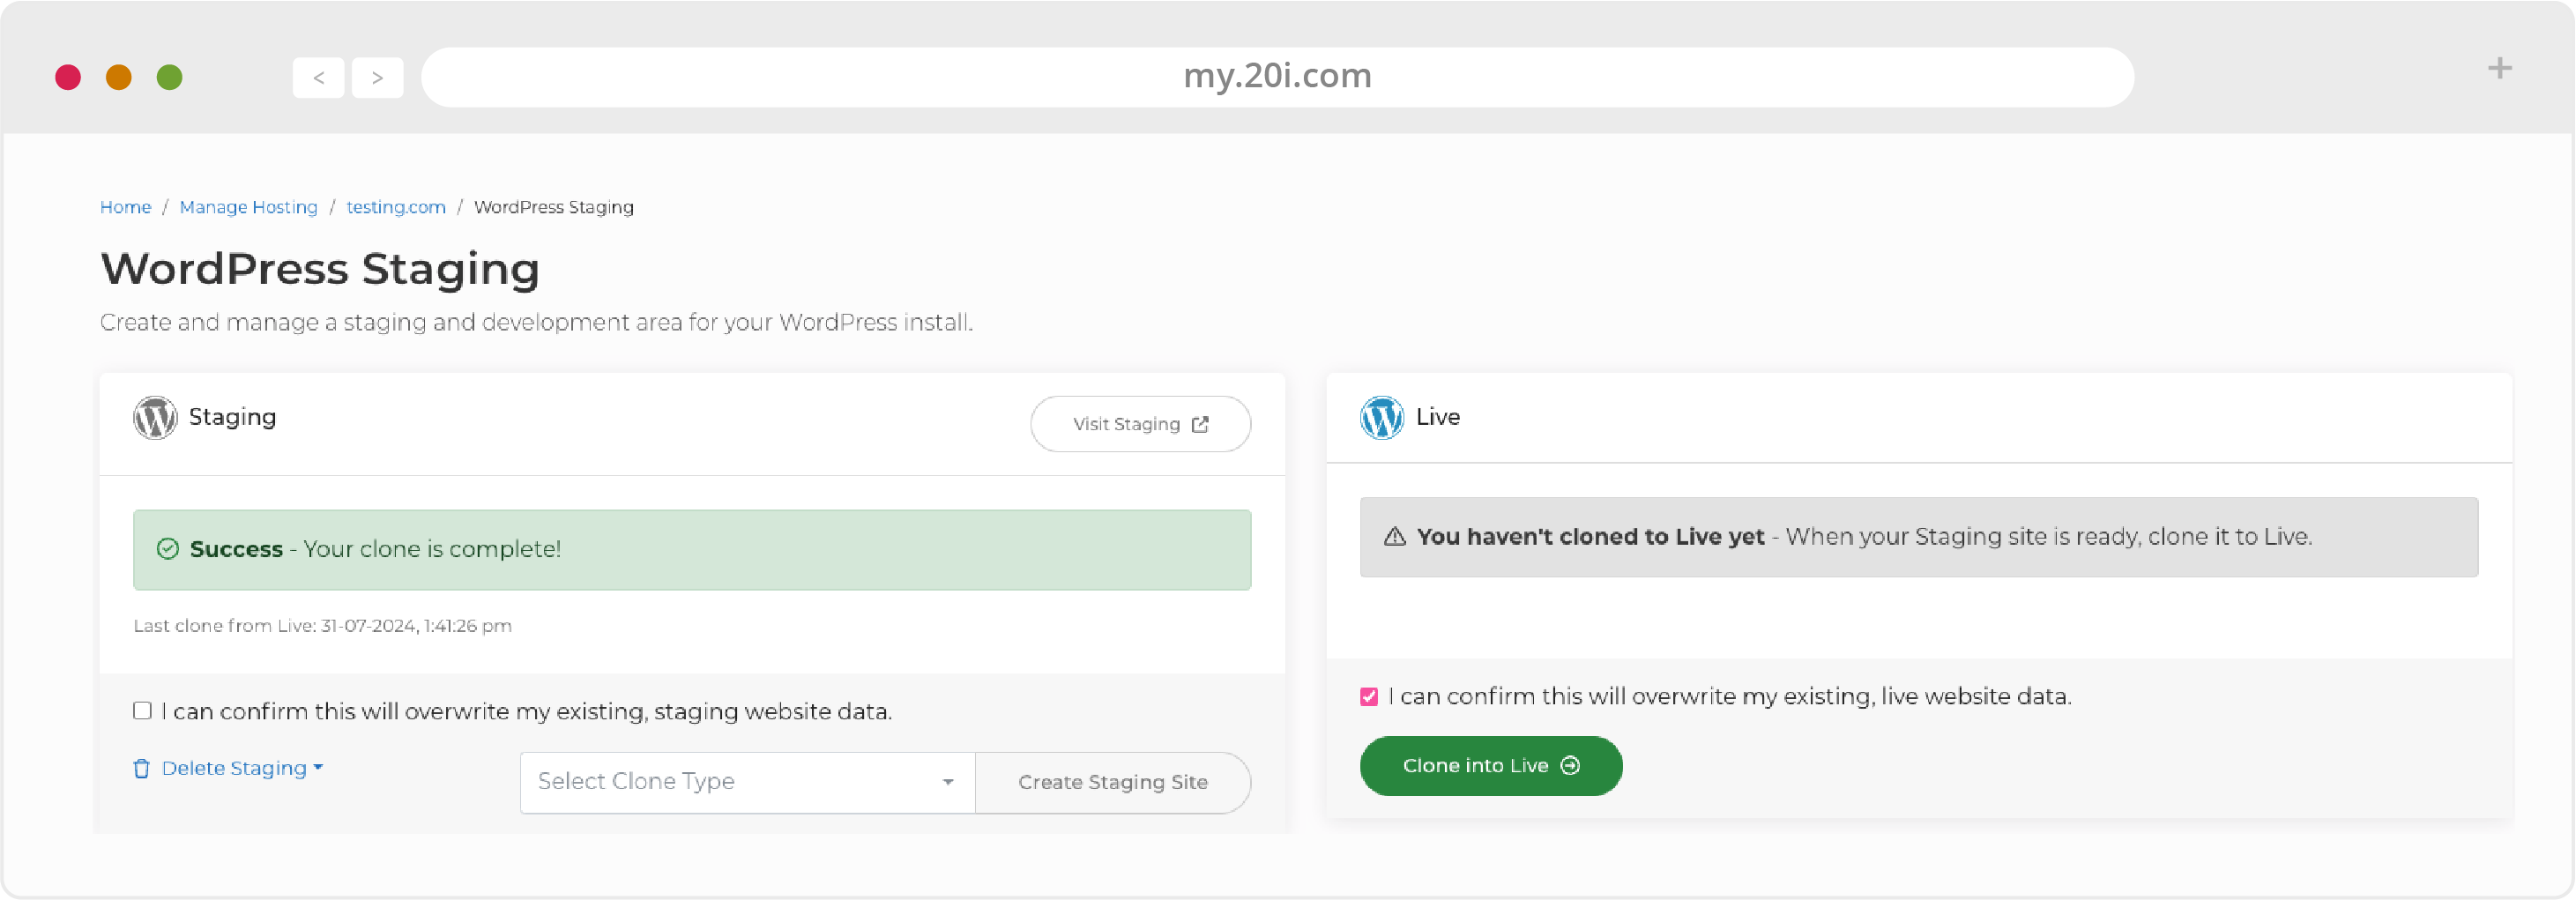
From the WordPress Staging screen; use the ‘Select Clone Type’ dropdown menu to choose between the two options.
1 - Install Default WordPress
Puts a fresh copy of WordPress onto the staging environment, allowing you to start building from scratch
2 - Clone live into Staging
Makes a duplicate of your live site and puts it into the staging environment. Your live site will keep serving your users, leaving you free to continue development and testing on the staged version.
Once the process is complete, you can access your staging site by clicking the Visit Staging button.
Editing the Staging Site
With your WordPress site successfully staged - everything is ready for you to continue developing and testing your website.
You can edit the staging site through WordPress Admin, File Manager or FTP.
If you are using File Manager or FTP then you’ll see a newly created staging_html directory where the cloned files are stored. These are files that you’ll need to work on to make the changes to your staged website.
To make changes to the database; head to MySQL Databases. You’ll see a newly created SCSTAGING database which you can login to via phpMyAdmin. The site and home URL for the WordPress site will be prefixed with the .staging subdomain.
Cloning the Staging Site to Live
On the WordPress Staging page: tick the checkbox that says ‘I can confirm this will overwrite my existing, live website data’.
Then press the ‘Clone into Live’ button. Depending on the size and complexity of your website; this may take a few minutes to complete.
Once completed, any changes you’ve made to the staging site will have been replicated onto the live version of your site
>> Next Step: Security and Backups