HostShop – Payment Gateways Questions
Payment gateway support: all you need to know about setting-up payment gateways with HostShop, 20i's Reseller Hosting billing solution.
Connecting HostShop to GoCardless
The GoCardless payment gateway is a way of taking secure payments from your customers through HostShop. It allows customers to set up recurring Direct Debit payments.
This helps to reduce late payments, avoid card fees and reduce accounting admin. To add GoCardless to HostShop:
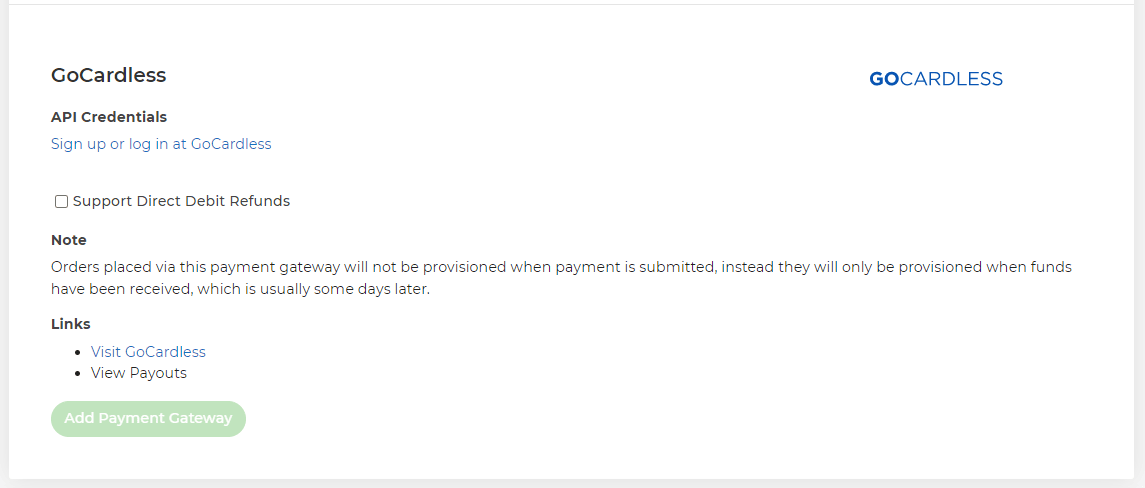
⦁ Head to Payment Gateways via Hostshop > Payment Gateways
⦁ Select GoCardless from the dropdown
⦁ Select Sign Up or Log In at GoCardless
⦁ If you have an existing GoCardless account enter your email address and password and select Connect Account. If you don't have an existing GoCardless account follow their sign up process to create one
⦁ You’ll then be redirected back to 20i – GoCardless should then show as Live and Enabled.
Your customers will then be able to select to add/use a Direct Debit at the checkout in your HostShop.
 Dominic Elford
How do I setup Stripe as a payment gateway?
Stripe is a well-regarded payment gateway provider you can use to take credit and debit card payments from your customers. It’s very easy to set up and link with 20i HostShop.
In order to set up Stripe as a payment gateway:
- Log in to My20i
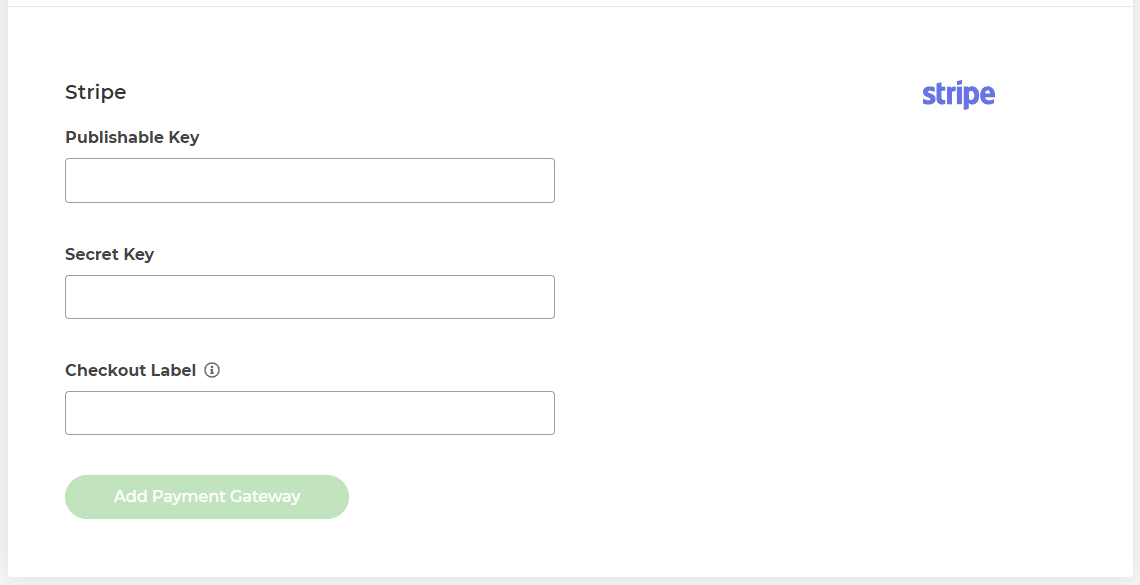
- Head to the Payment Gateways section and select Stripe from the list of payment gateways.
Now head to your Stripe account and go to the Developers section: https://dashboard.stripe.com/apikeys
Note: You’ll need to make sure your Stripe account has been activated, follow the guide here to see how to do that.
From here, you’ll need your Publishable Key and Secret Key. Copy each key into the relevant field within My20i.
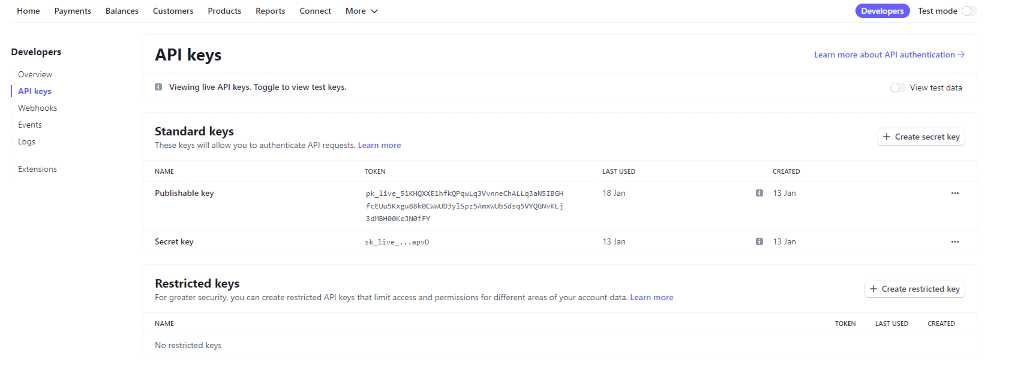
Once done, select Add Payment Gateway.
You'll now be able to accept credit and debit card payments from your customers.
 Dominic Elford
How do I set up PayPal as a payment gateway?
As a hosting reseller, you need to be able to receive money from your customers. To do this you’ll need to set up a payment gateway. PayPal is the most commonly-used payment gateway, so if you’re looking to get started then we’d recommend adding PayPal first.
To setup PayPal as a HostShop payment gateway:
Log in to My20i
Select Payment Gateways from the navigation menu on the left-hand side.
From the Add a Payment Gateway section, select PayPal.
Note: Your PayPal account must be Business Account. It’s simple to upgrade if you need to, please refer to the guide here.
To get these details:
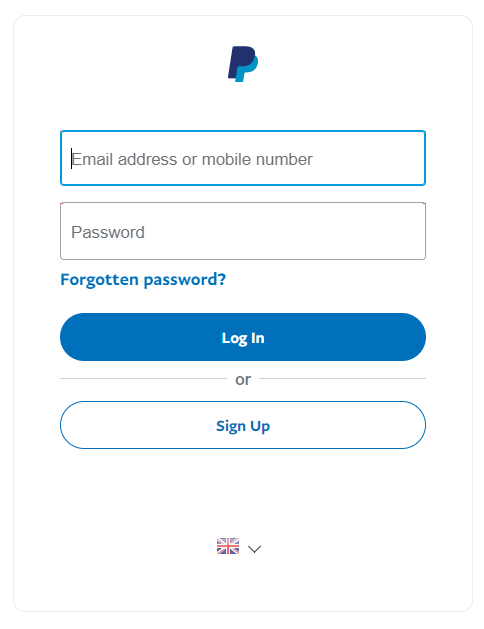
Log in to the PayPal Developer area with your normal PayPal login details.
Head to the PayPal Apps & Credential section if you're not already taken there.
Make sure you're in the Live section as this is required to configure a live payment gateway.
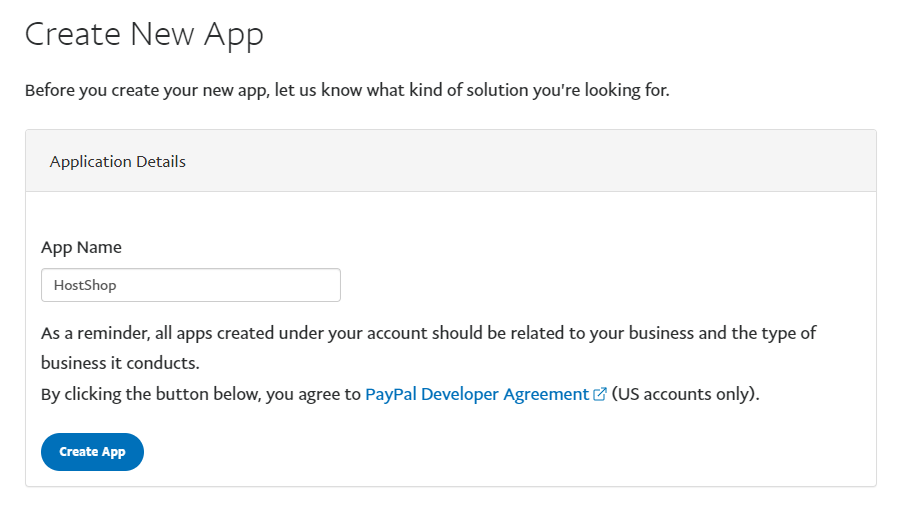
Select Create App.
Give your app a name. In our example we've called ours HostShop.
Select Create App.
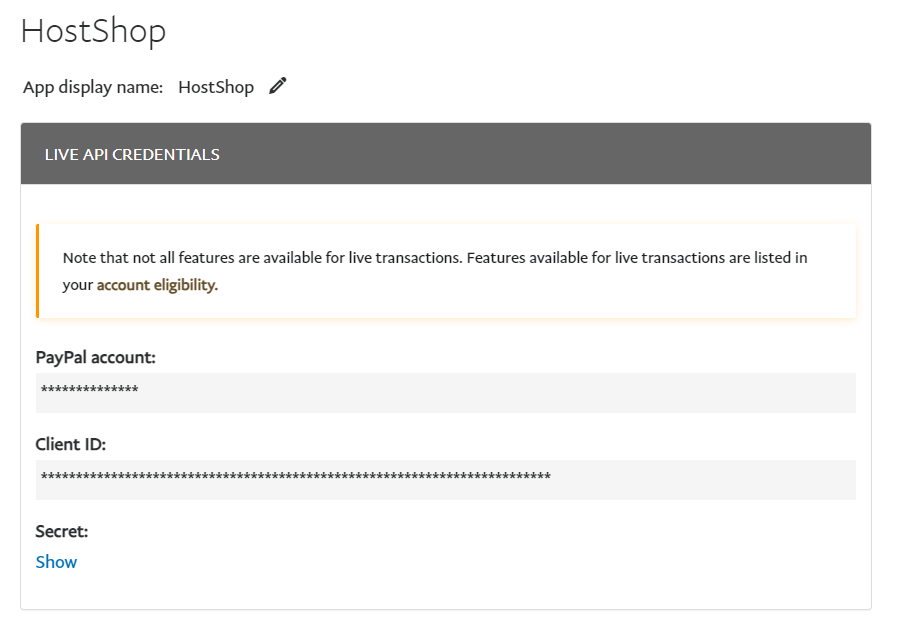
You'll now see your Client ID and the Secret required to set up the payment gateway. Select Show to Secret Key.
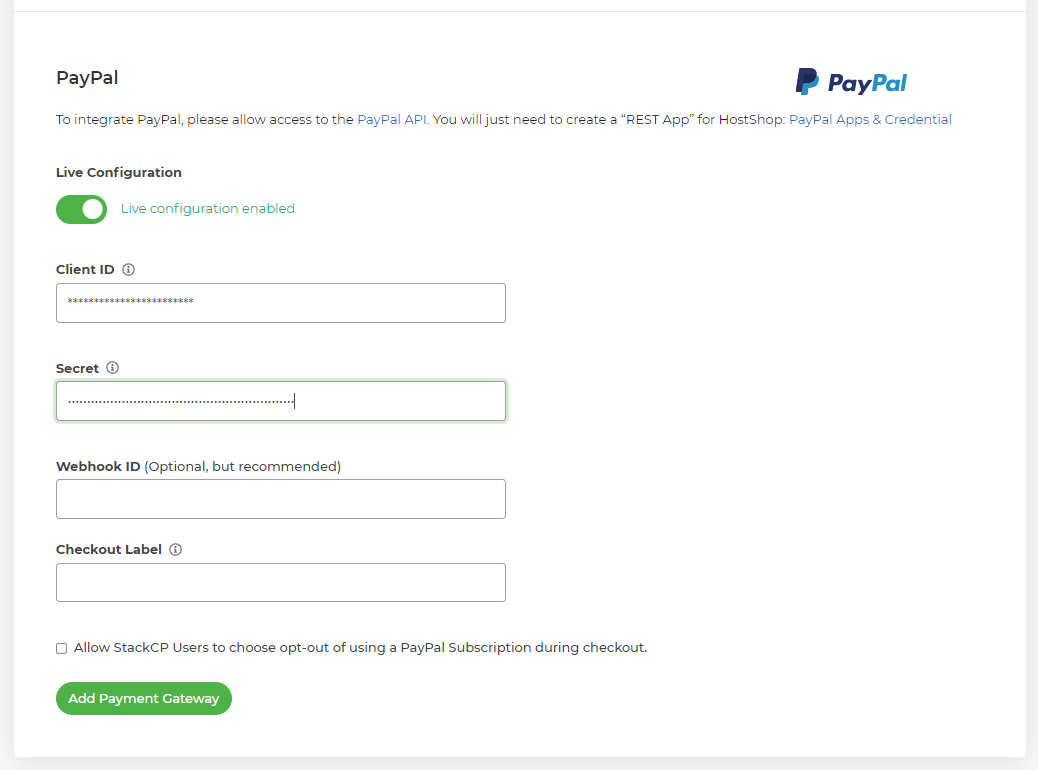
Copy the Client ID and Secret into their respective fields within 20i.
Select Add Payment Gateway.
PayPal will now be set up and enabled. This means that when customers head to your shop, they'll be able to select PayPal as a payment method from the basket to pay for your services.
 Dominic Elford
How do StackCP Users pay with balance in HostShop?
Before StackCP Users can pay with balance in HostShop you will need to either add balance as a product they can purchase or they will need to earn balance as commission from the affiliate system. You can find more information on these topics here:
Once a StackCP User has some account credit they can select it as the payment gateway at the checkout.
 Dominic Elford
 Austin B.