WordPress Hosting: Completing your WordPress installation

Having signed up for the best WordPress hosting in the business; you are now in a position to start adding hosting packages.
Head over to My20i where you’ll see the Hosting Management section. Press the ‘Add Package’ button under the ‘Manage Hosting’ icon.
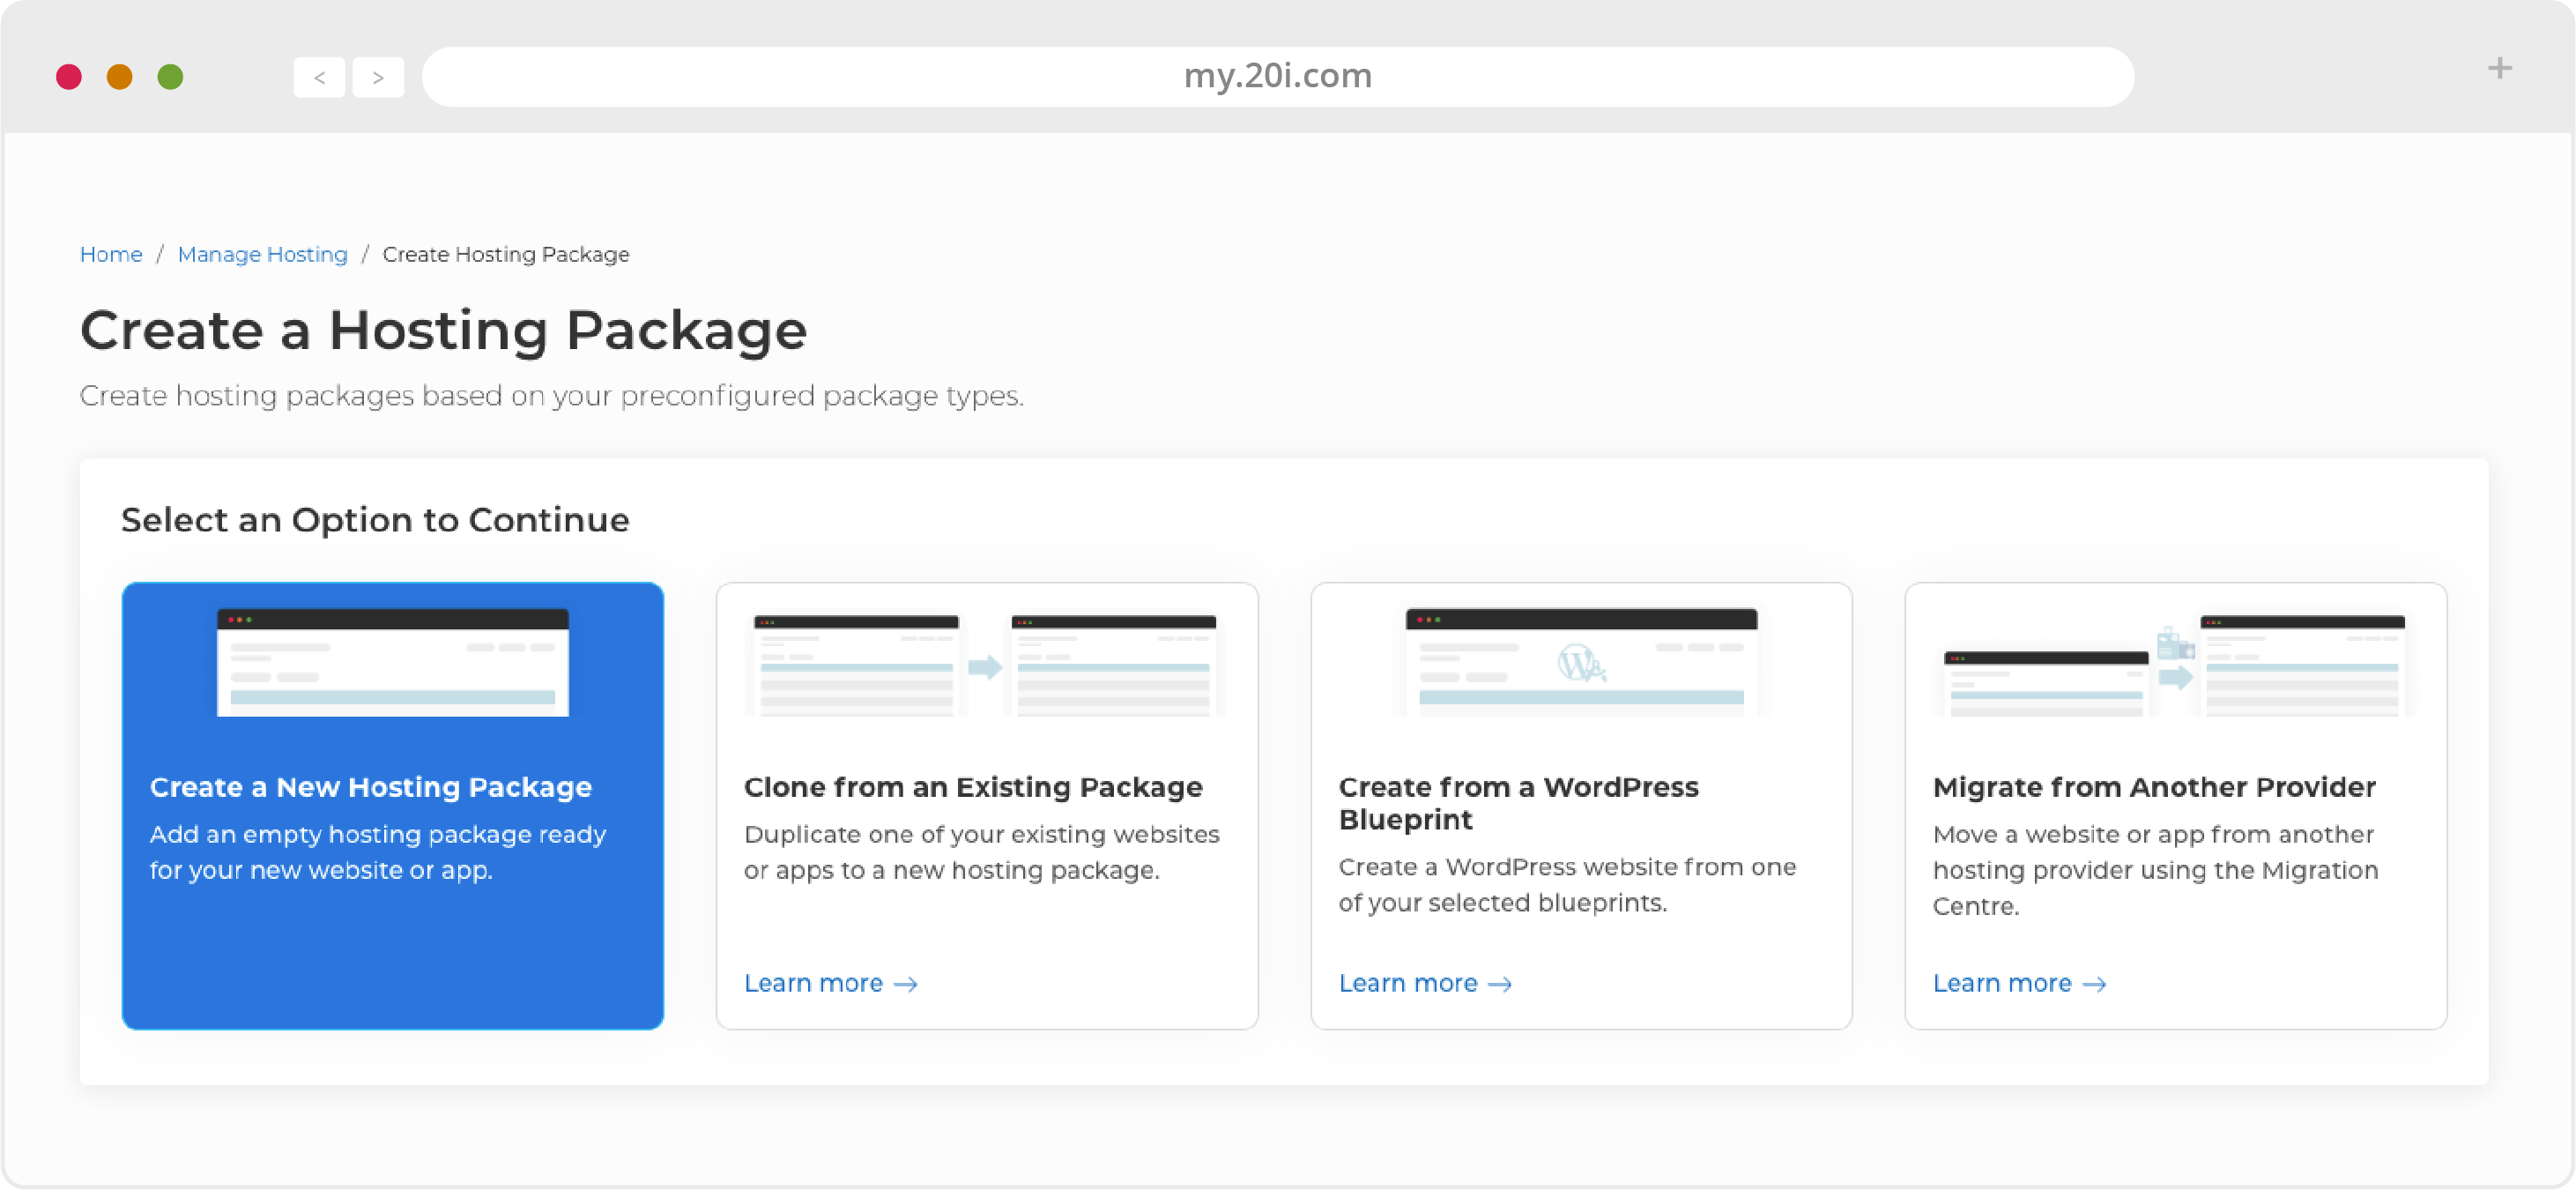
You will be presented with 4 ways to add packages. For this tutorial we will use ‘Create a New Hosting Package.’
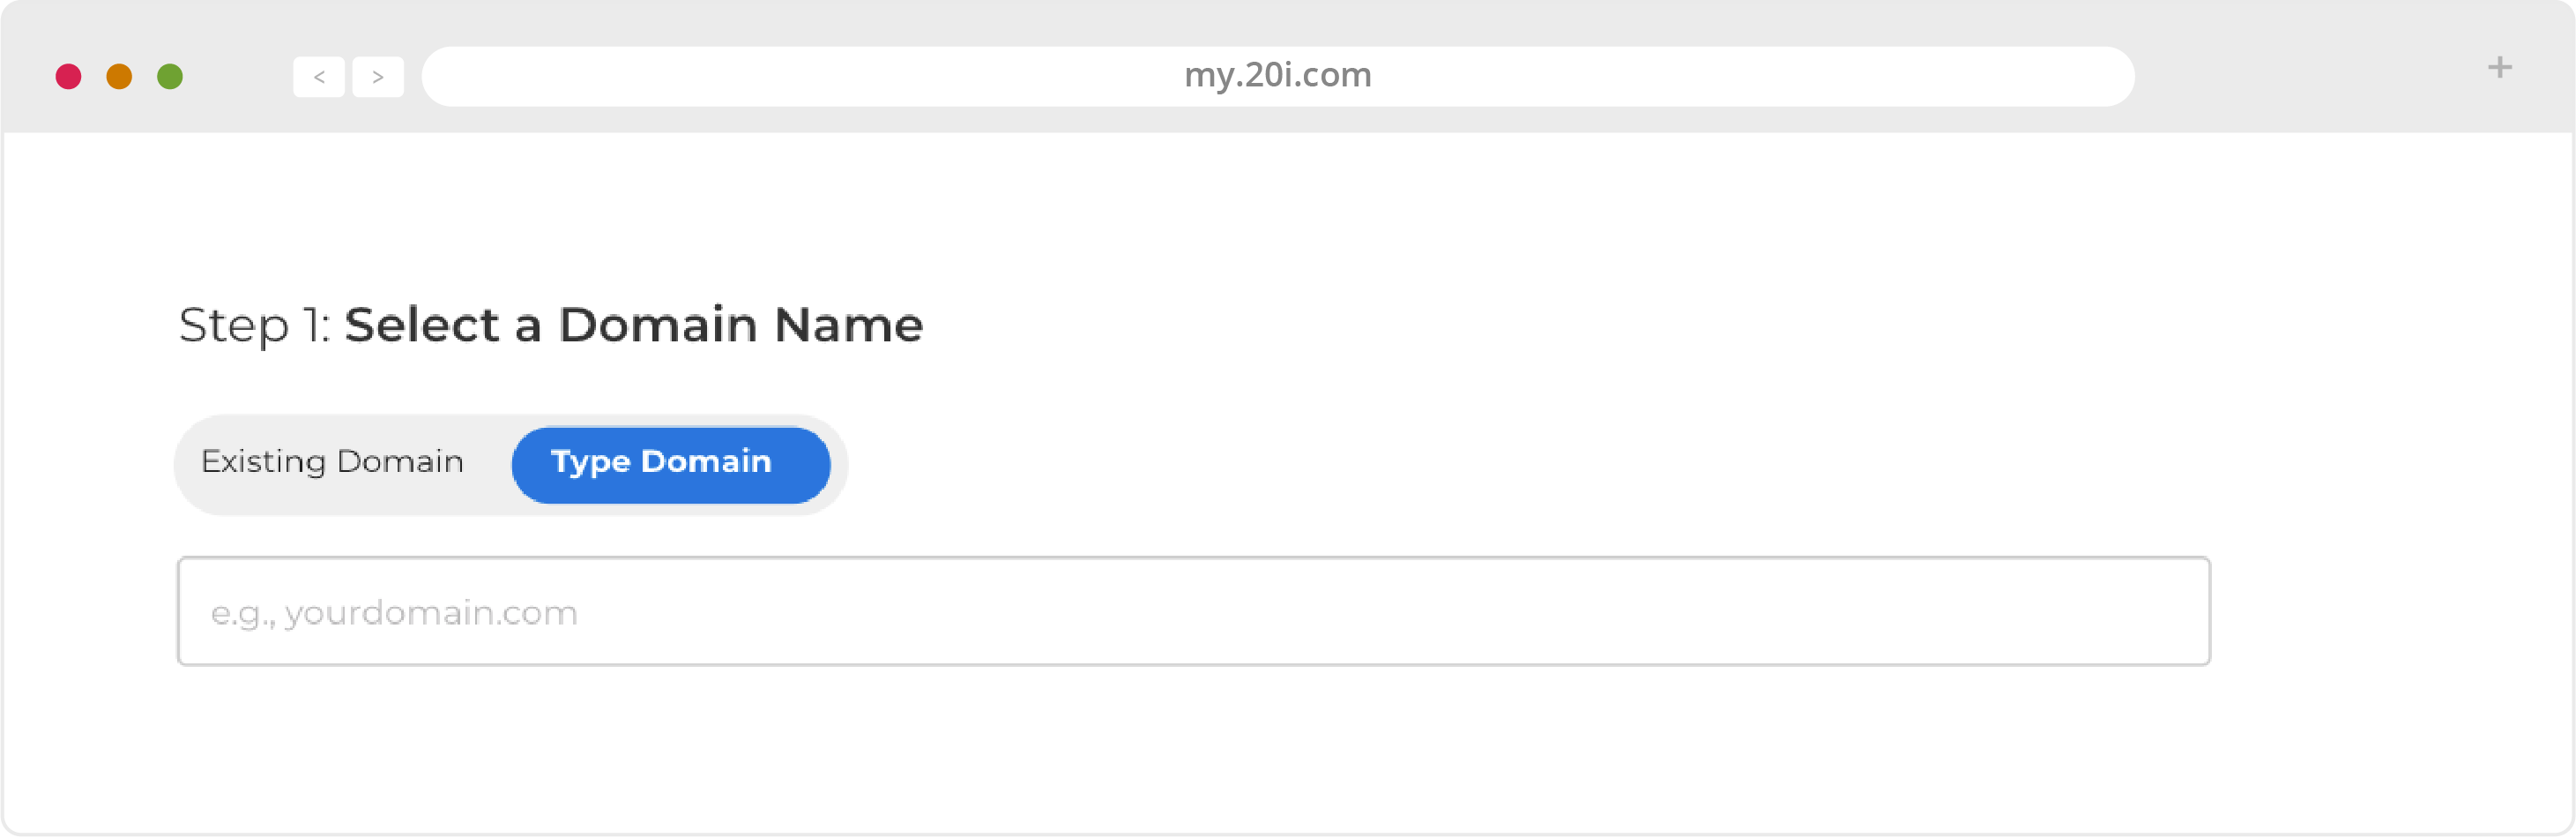
The next step is to select a domain name. If you already have a domain with us then you can use the drop down menu to select it. If not, you can type out the domain name in this box.
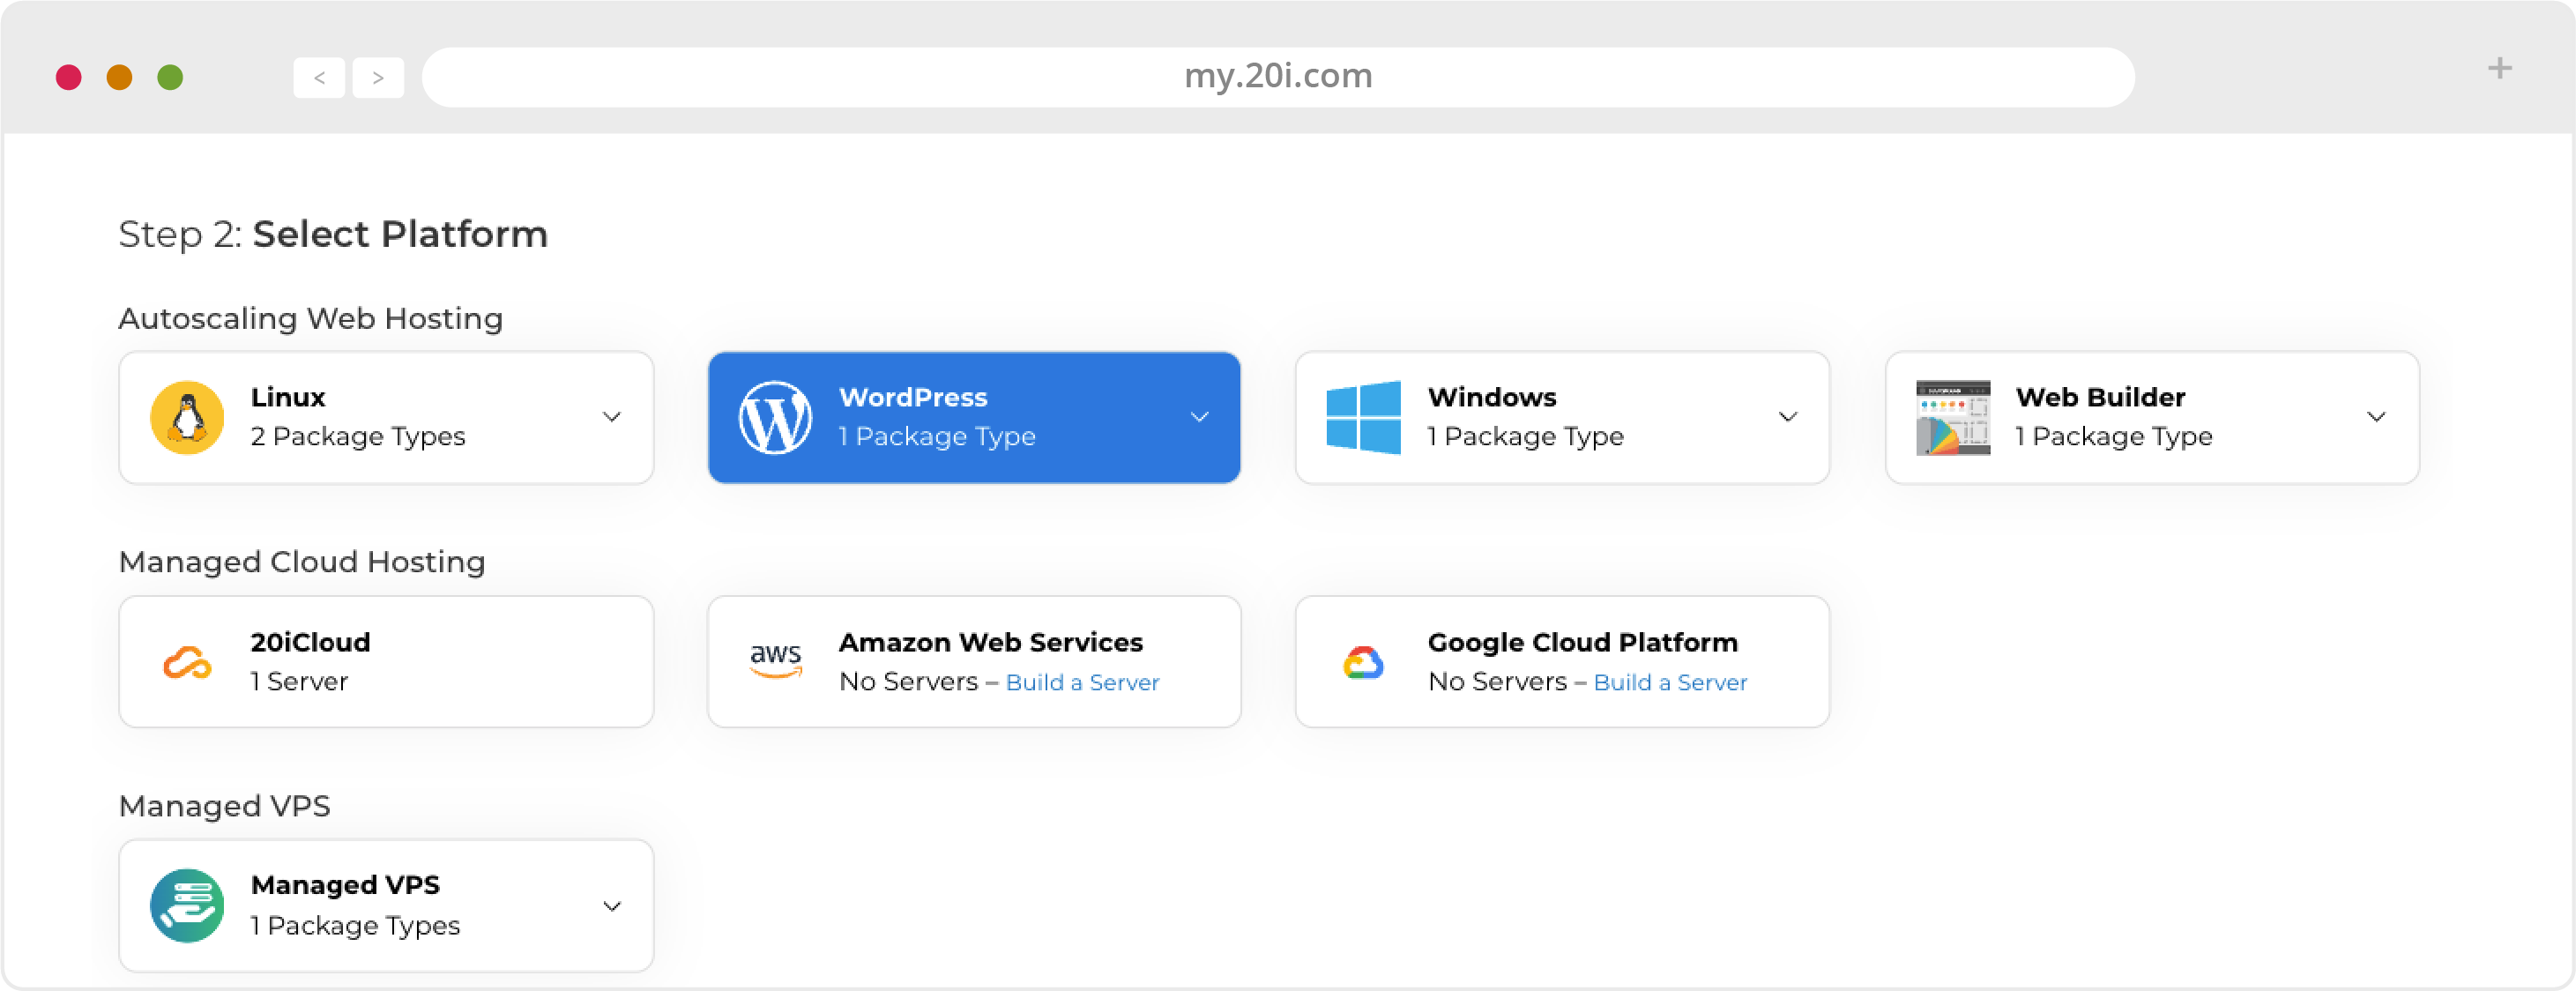
Choose WordPress from the available platforms.
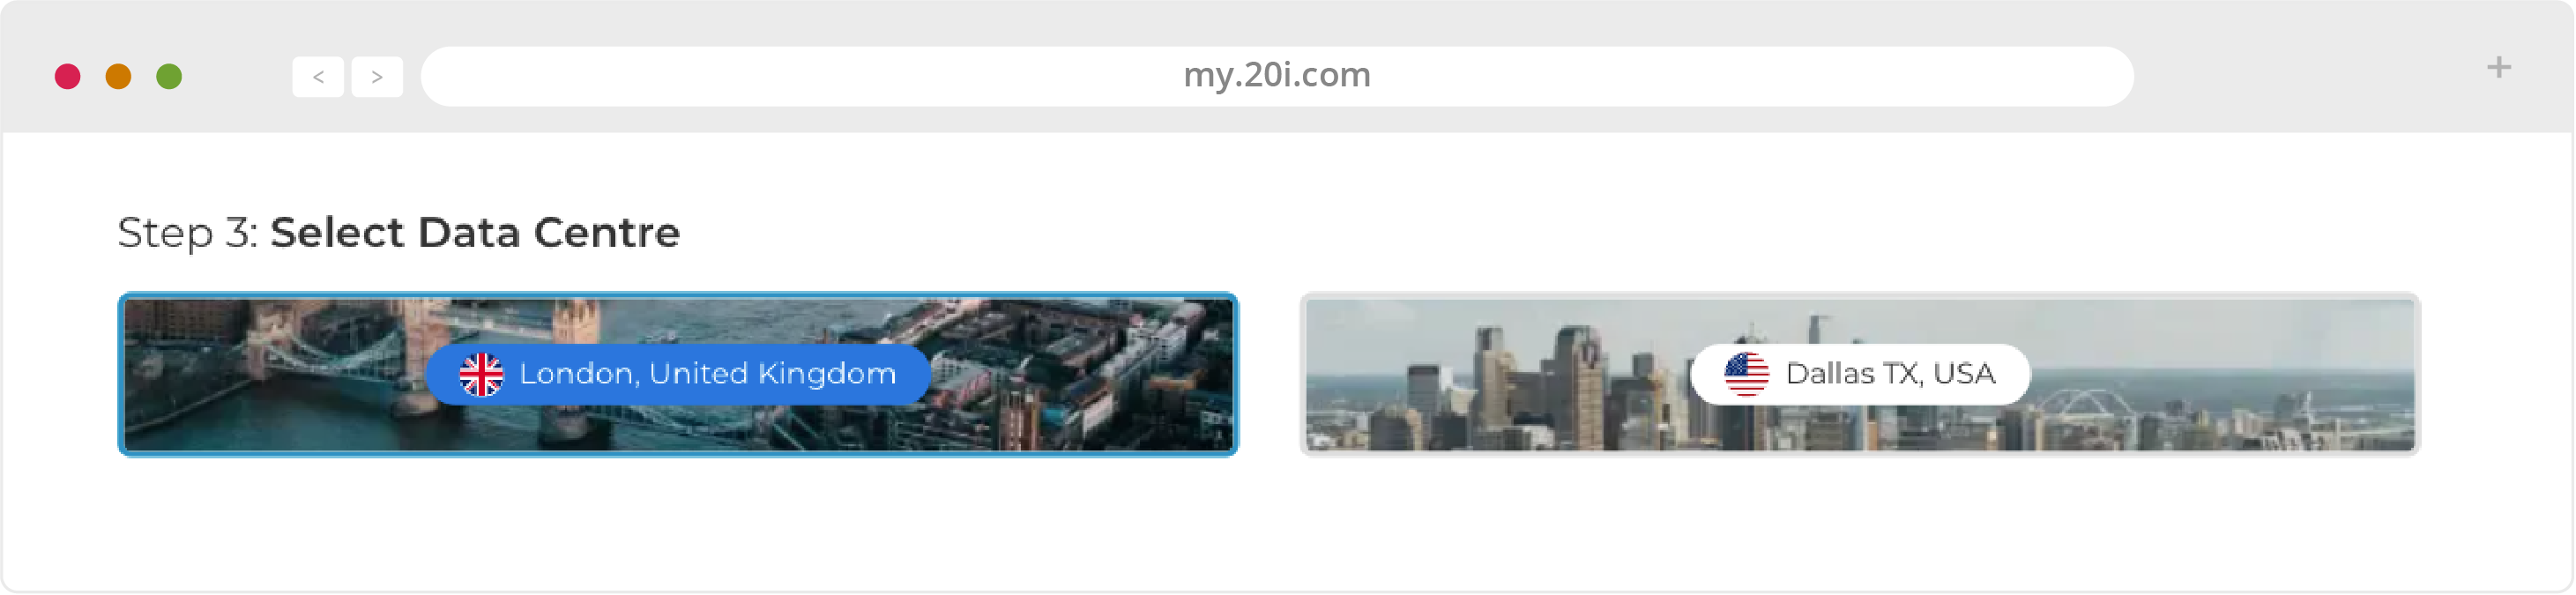
Now select the Data Centre situated closest to your users.
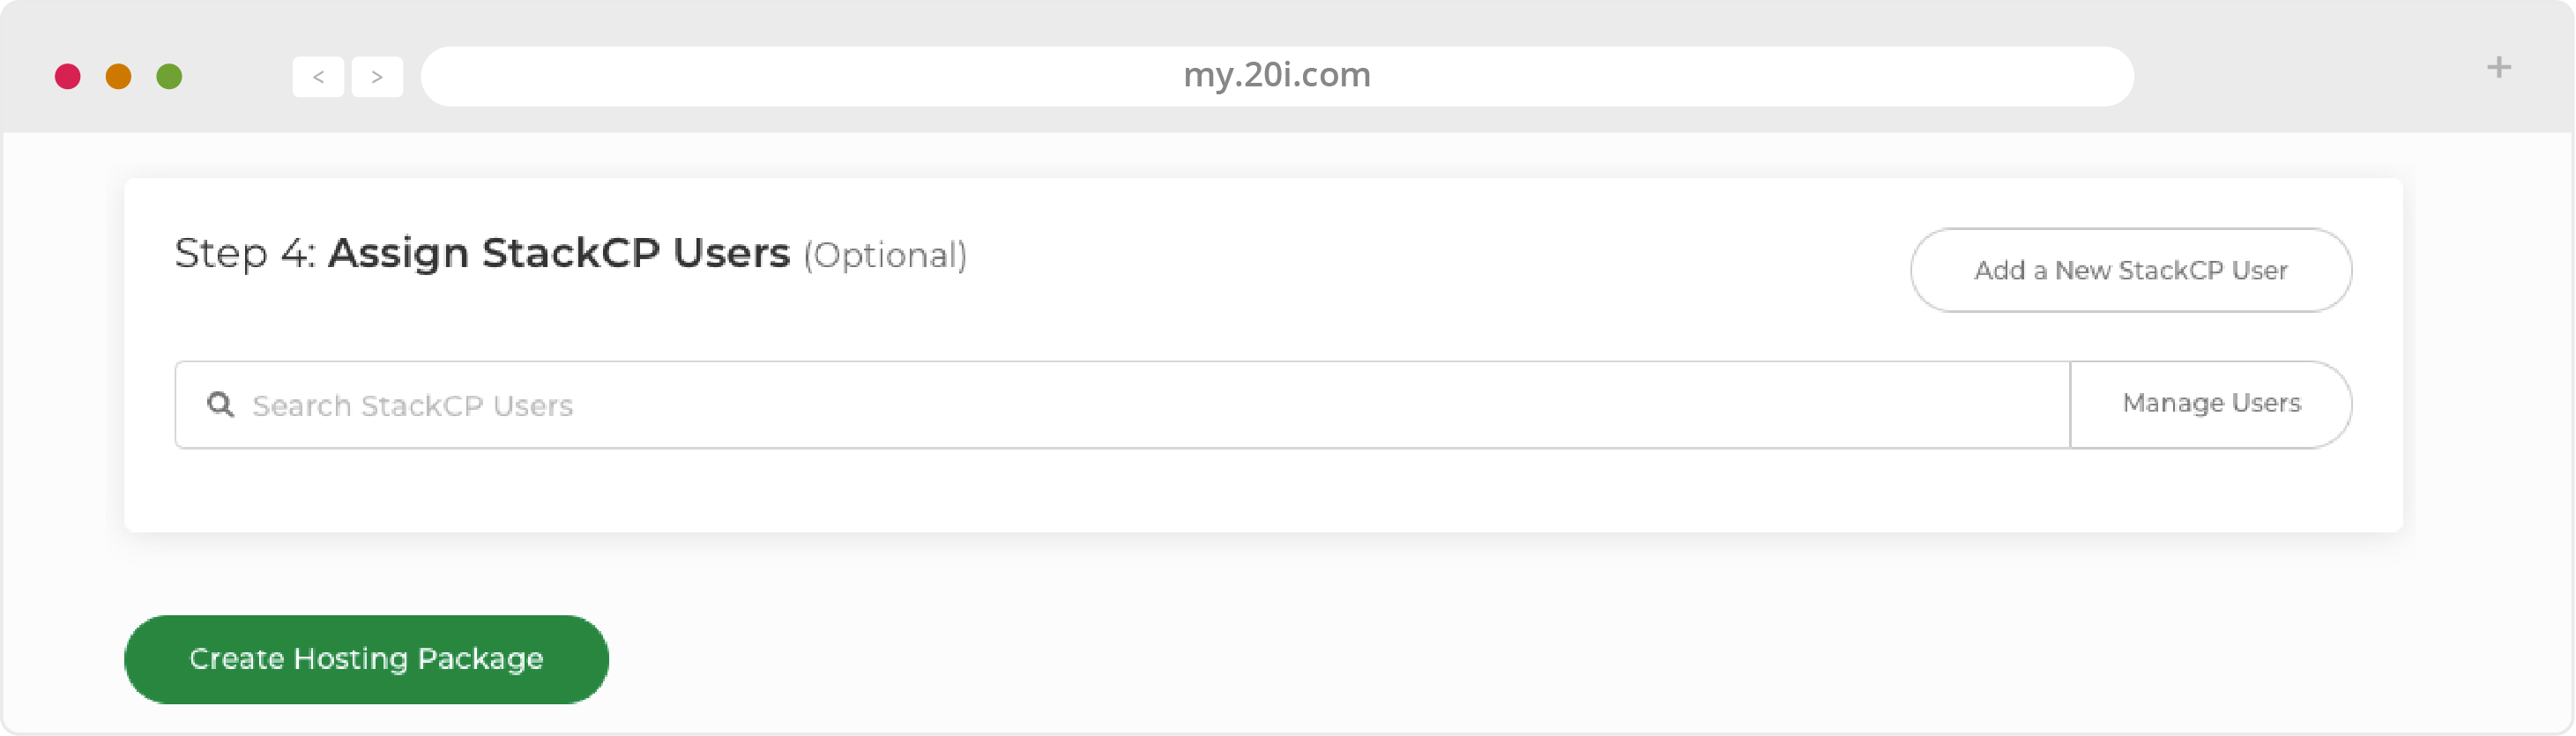
If you have created or imported users, you can assign them here. When ready - click ‘Create Hosting Package’.
After a few short moments your package will be added, and you’ll be taken to the ‘Manage Hosting’ section of your My20i control panel.
From here, you will be able to see all packages you have hosted with us. Click ‘Options’ and then ‘Manage’ on the package you just added.

By default, WordPress Tools appears at the top of the dashboard. We haven’t done anything with this newly added package yet, so you’ll see an orange error message at the top of WordPress Tools notifying us that ‘WordPress is not installed’. We’ll take care of that by clicking on the ‘WordPress Install Wizard’.
The WordPress Installer will now load.
Choose your language. English (United States) is the default option. If you need English (UK) or any other language then scroll down, click it and then press ‘Continue’.
We have reached the final part of the process - entering the information that you’d like the site to use.
- Site Title - Don’t worry too much about what you put here; you can easily change your title later on from your WordPress dashboard
- Username – This is the default administrator username for your WordPress install. Never use the username ‘admin’ (or a variant of) for security reasons
- Password – A strong password is generated for you, we recommend saving that password via a password manager of your choice rather than opting for a less secure password
- Your email address – Double-check for typos as WordPress will email you with all the details you need for your new WordPress website. Your email address can be changed later on, so if you’re setting up and configuring WordPress for a client, we recommend you enter your own email address for this part
- Privacy – We suggest leaving the ‘Discourage search engines from indexing this site’ box unchecked even if you’re not going to put your site live for a while. This is because it can take a long time for search engines to find, crawl and index your site even after you adjust the setting again in WordPress later on
After you’ve filled out the fields, select the ‘Install WordPress’ button. After a few seconds you’ll see the ‘Success!’ message, and
will be able to log into your new WordPress installation using the username and password that you specified in the previous step.
Building your website
With WordPress freshly installed; you are ready to build your website. There are a couple of ways to do this on our platform.
The first is to simply log into WordPress and begin building from scratch. We specialise in providing superb hosting services; the nitty gritty of designing and building websites is outside of the scope of what we do.
If you need help or inspiration then you’ll be pleased to know that there are thousands of templates and guides available online to help you achieve your goals. Remember to apply Maintenance Mode (detailed here) if you’d like some privacy while you build.
If you have moved to us from another provider, then you may already have a WordPress website ready to go. Transferring an existing WordPress website is a simple and straightforward process that we’ll cover in the next chapter.
We also have a staging feature that lets you work a on private clone of your WordPress installation away from prying eyes. The idea of this feature is to develop, test and perfect the staged version and then essentially copy and paste it in place of your blank installation. See chapter 5 for more about WordPress Staging.
>> Next Step: Migrating an existing WordPress website to 20i